Converting a manual Grizzly G0704 to CNC represented the next evolution in my workshop capabilities. For approximately $2,000 in parts, I built a machine comparable to commercial units costing five times as much. The G0704 brought genuine machine tool quality: ground dovetail ways, cast iron construction, and an R8 spindle, making it an ideal platform for conversion.
Understanding the Foundation#
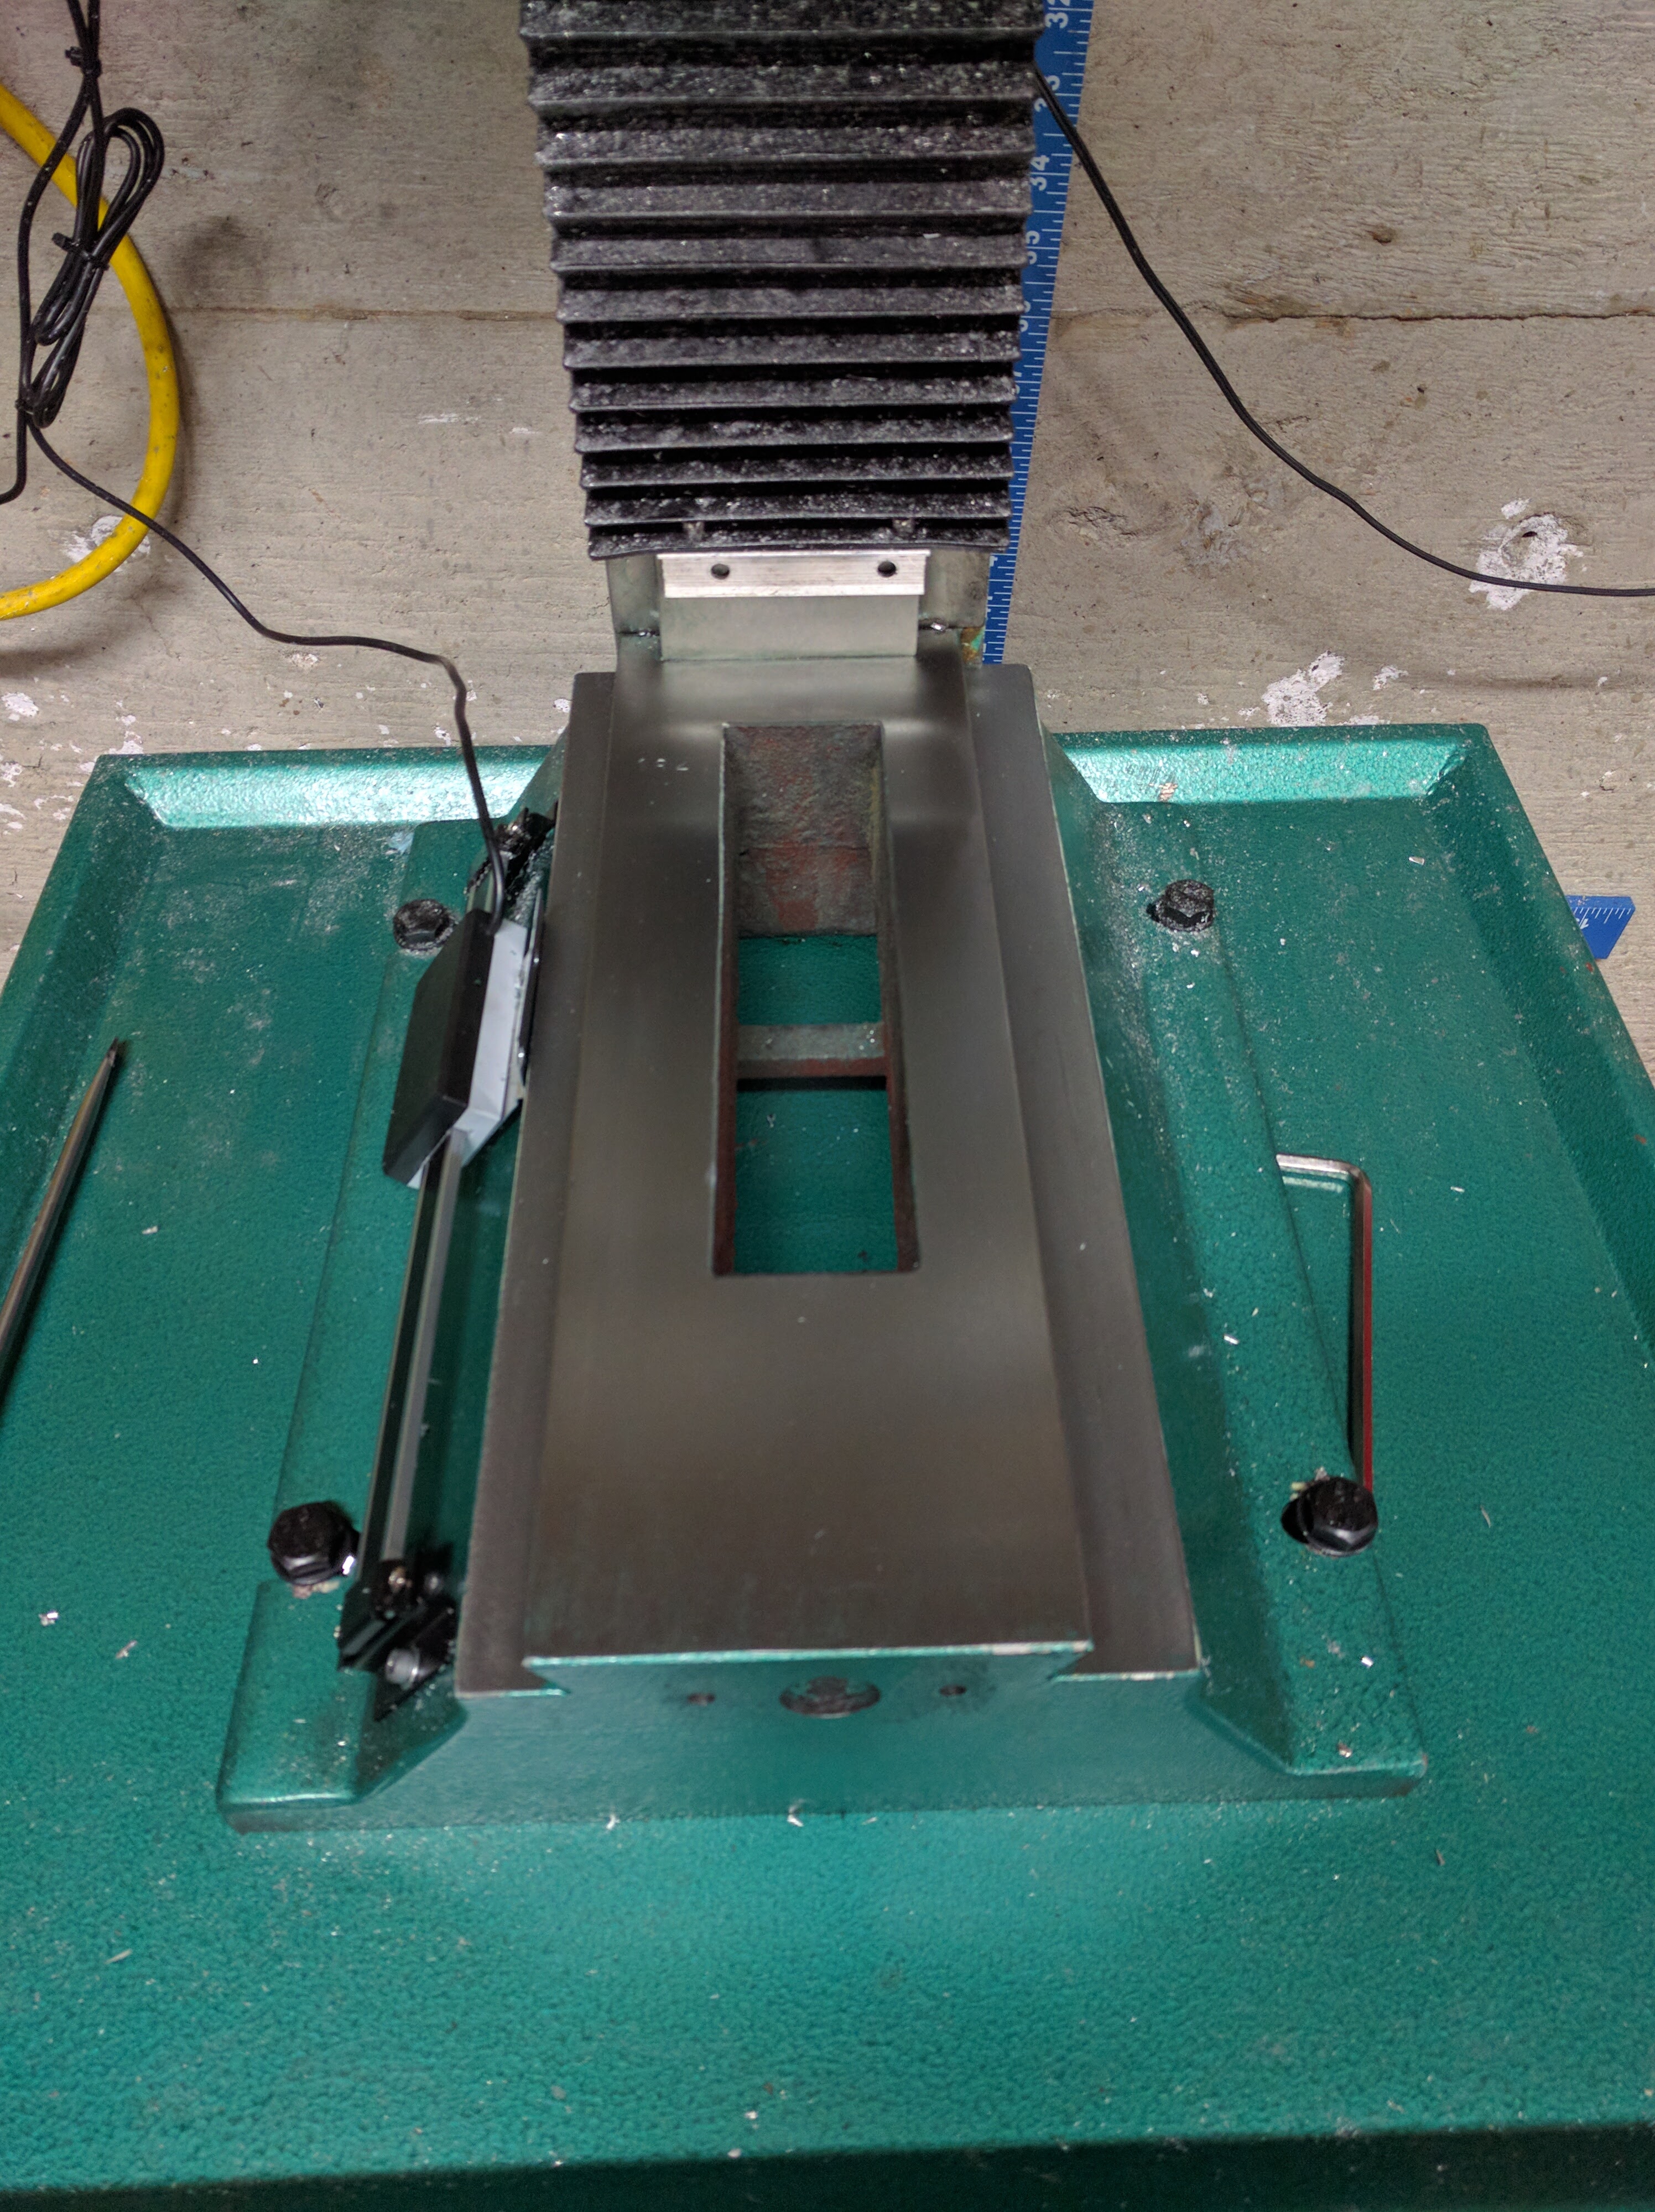
I began with complete disassembly to assess the base machine. The quality underneath exceeded my expectations. Ground dovetails provided smooth, accurate motion. Thick castings damped vibration. Proper bearings supported the spindle. This solid foundation made the conversion effort worthwhile.
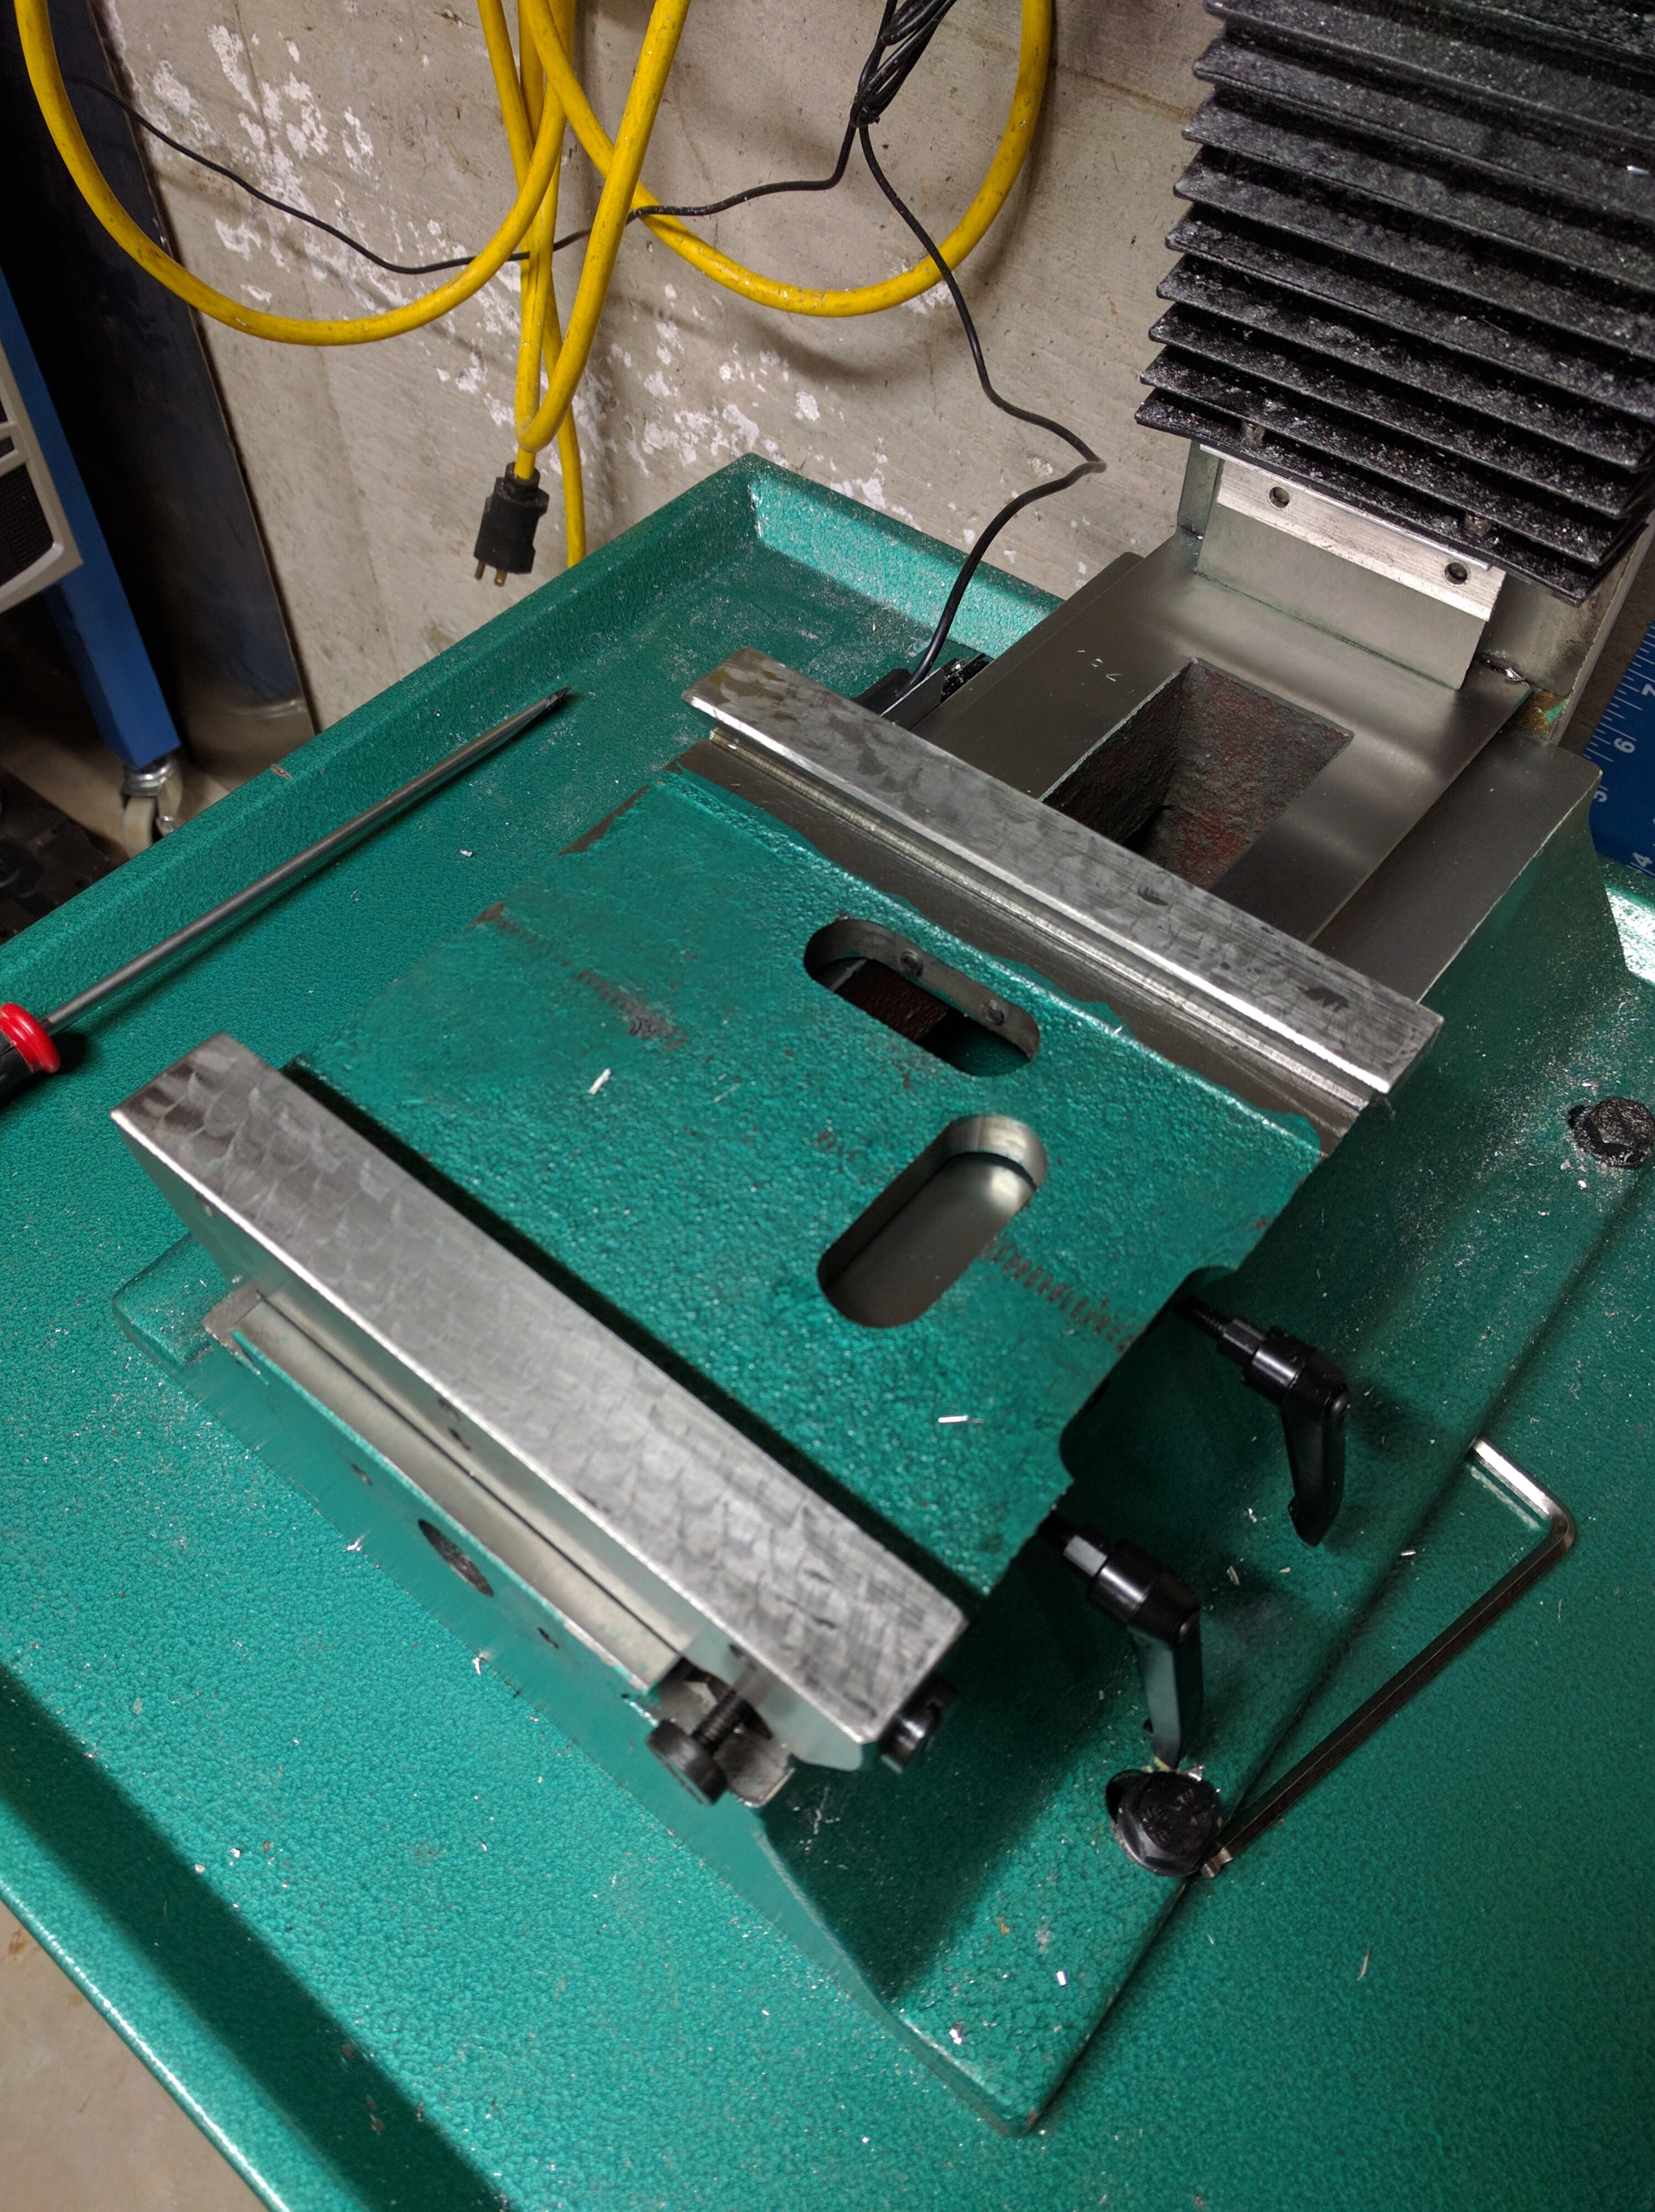
The teardown revealed both opportunities and challenges. The existing Acme leadscrews had significant backlash of approximately 0.2mm, which would prevent achieving acceptable positioning accuracy. I needed to replace them with precision ballscrews, but the mill base wasn’t designed for this modification. I would need to machine custom mounting brackets.
The Chicken-and-Egg Problem#
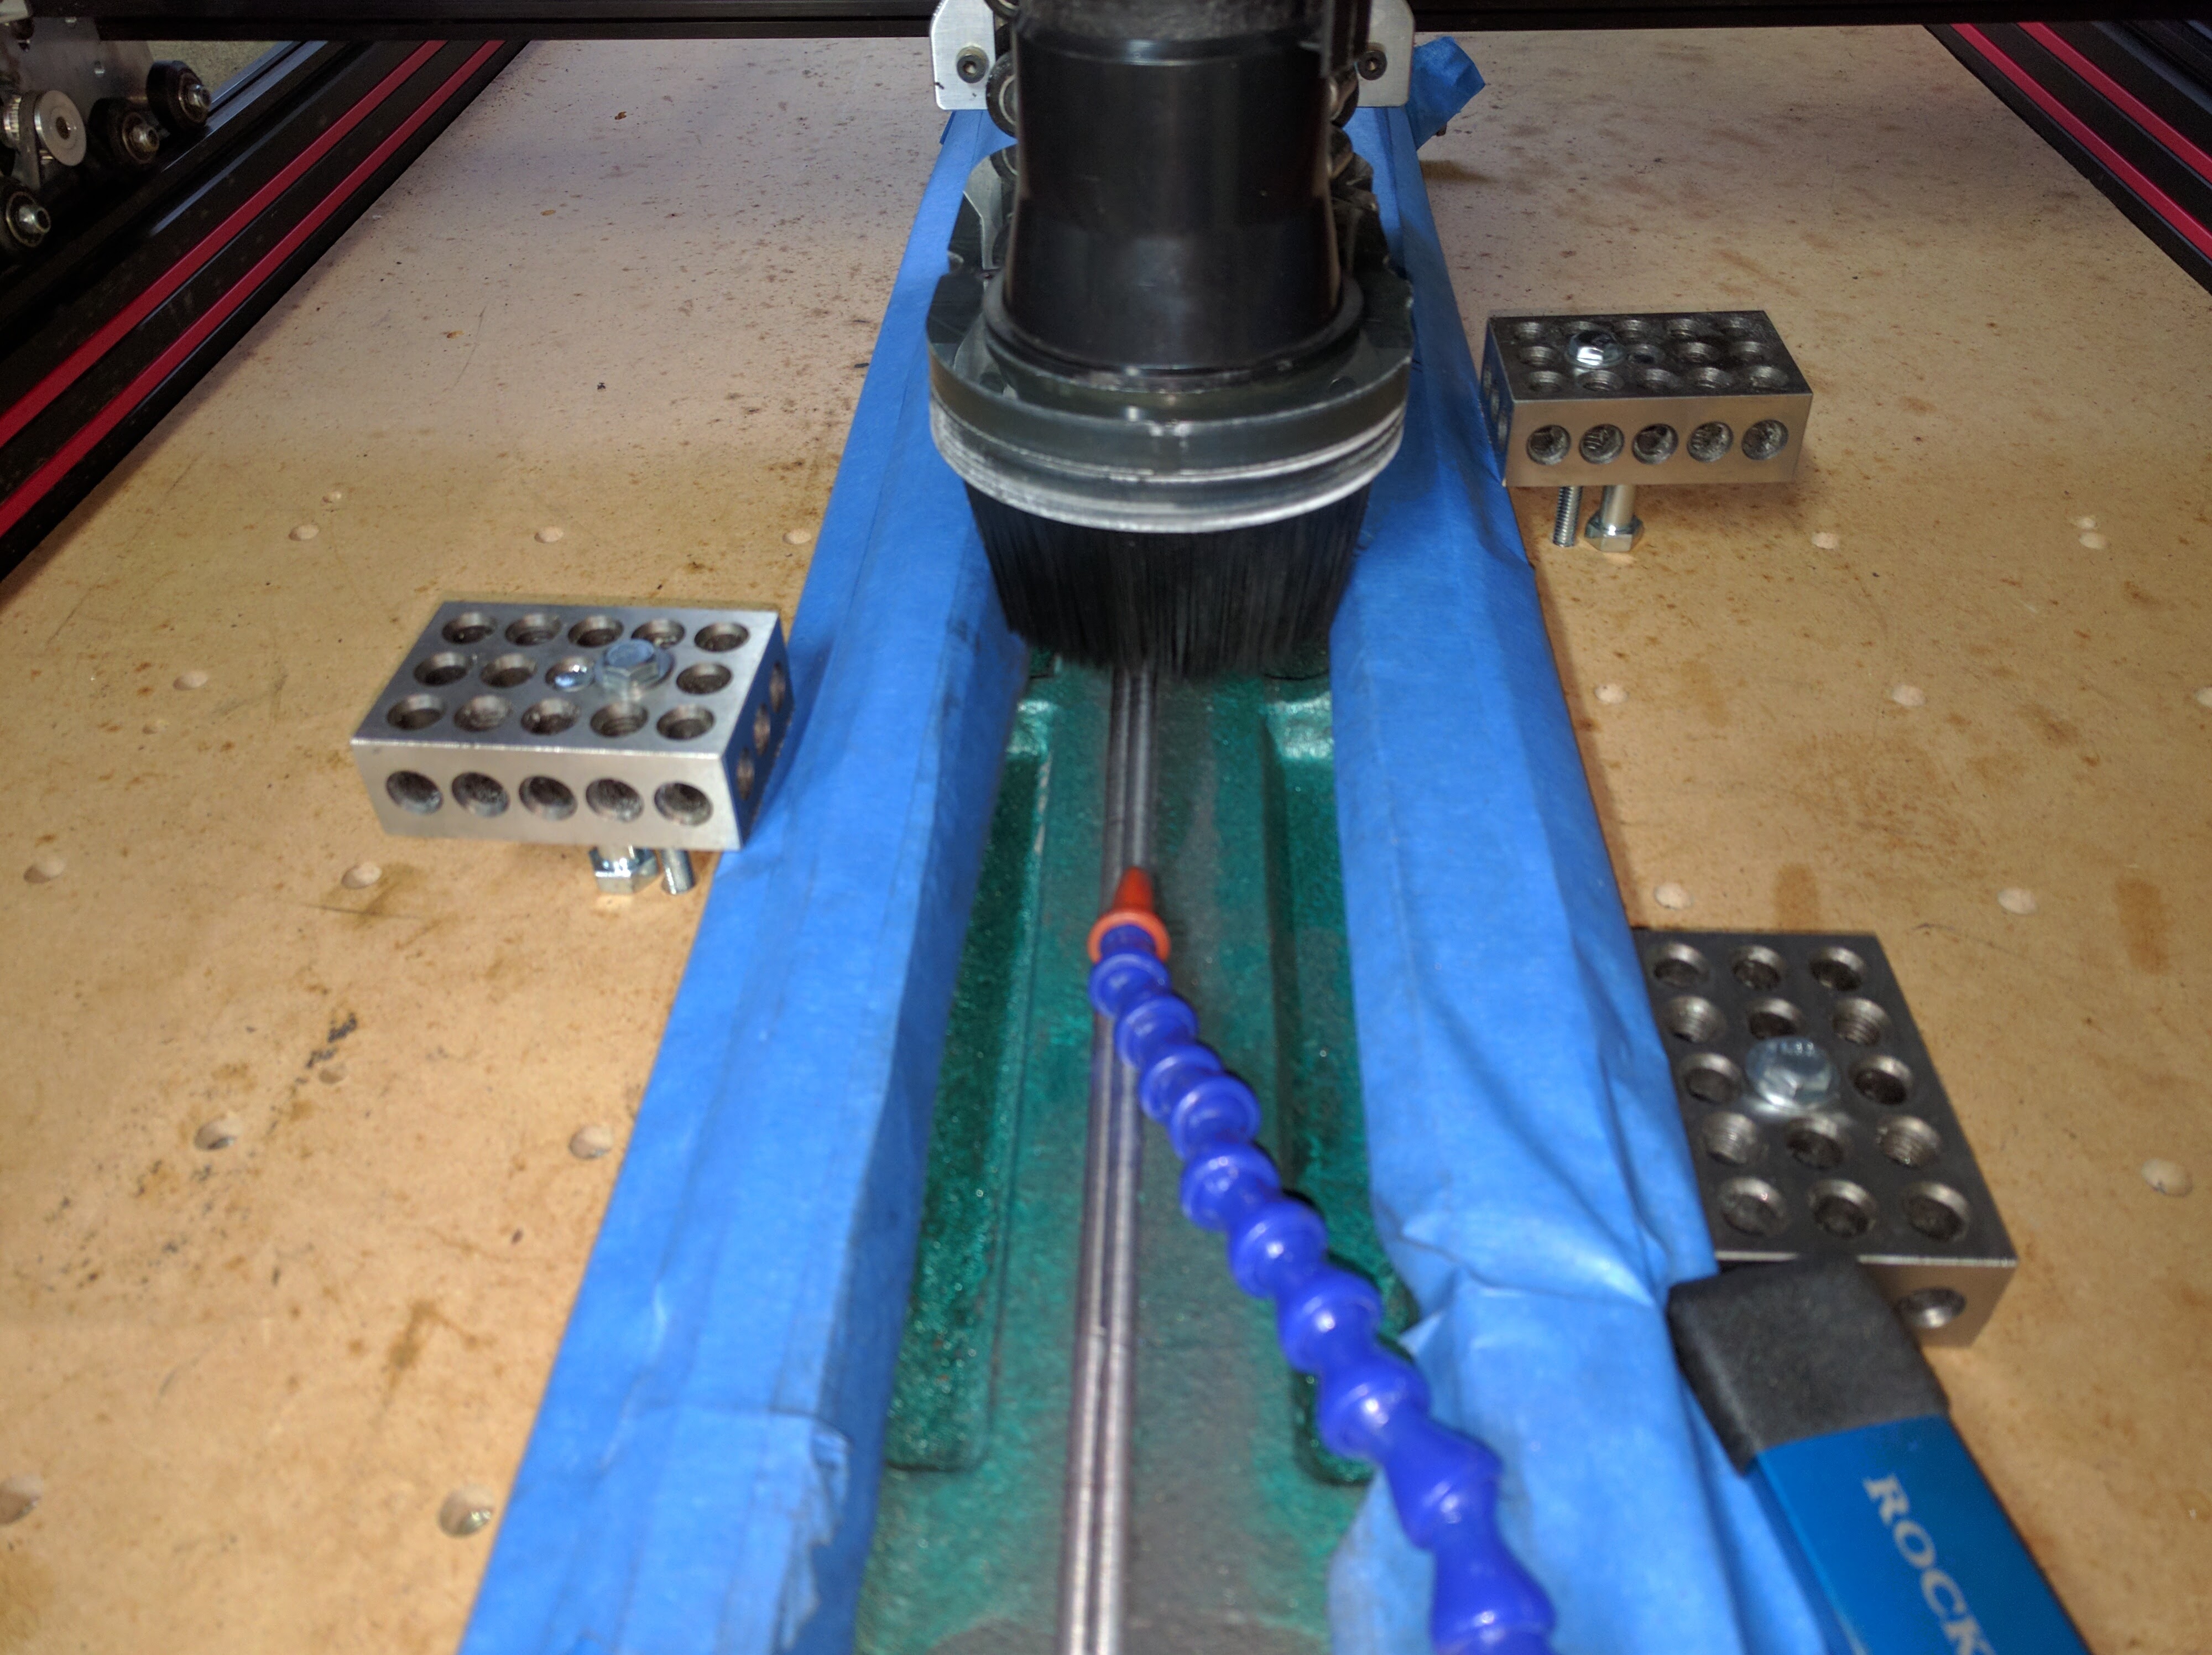
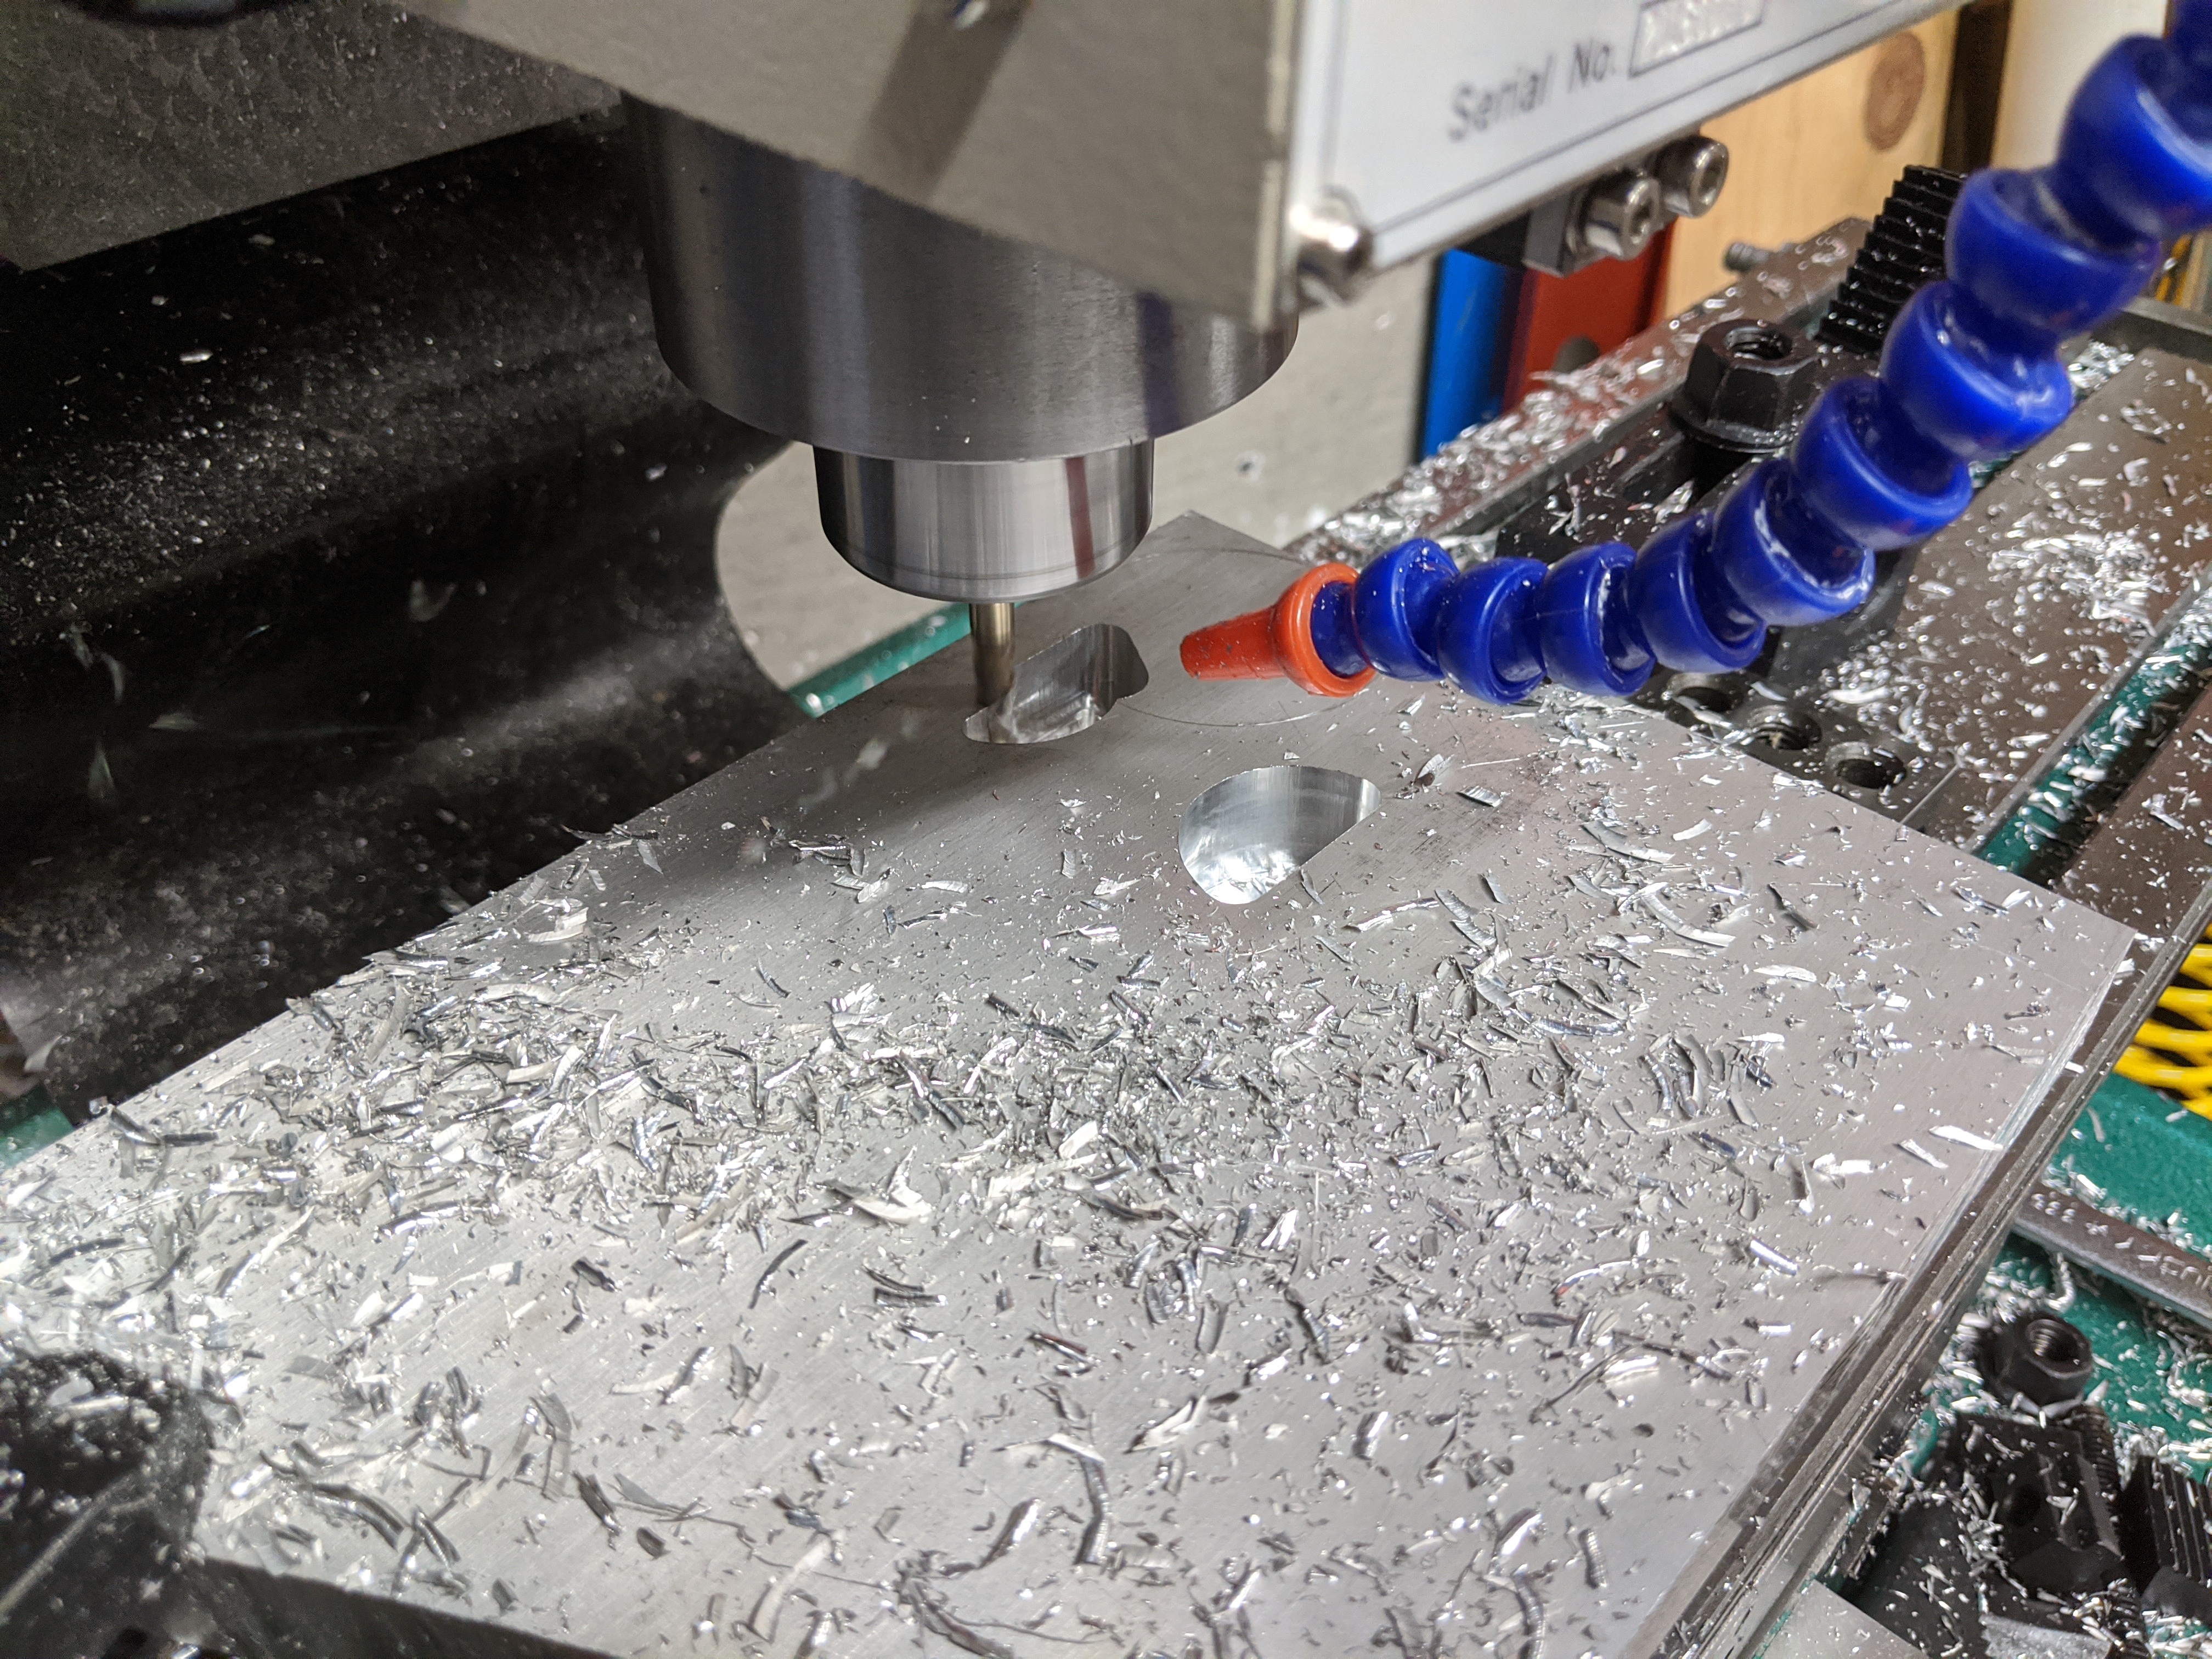
This presented a classic dilemma: I needed a CNC mill to machine the parts required to build a CNC mill. Fortunately, my OpenBuilds OX CNC router could handle aluminum and cast iron with appropriate tooling and feeds. The OX became essential for this conversion.
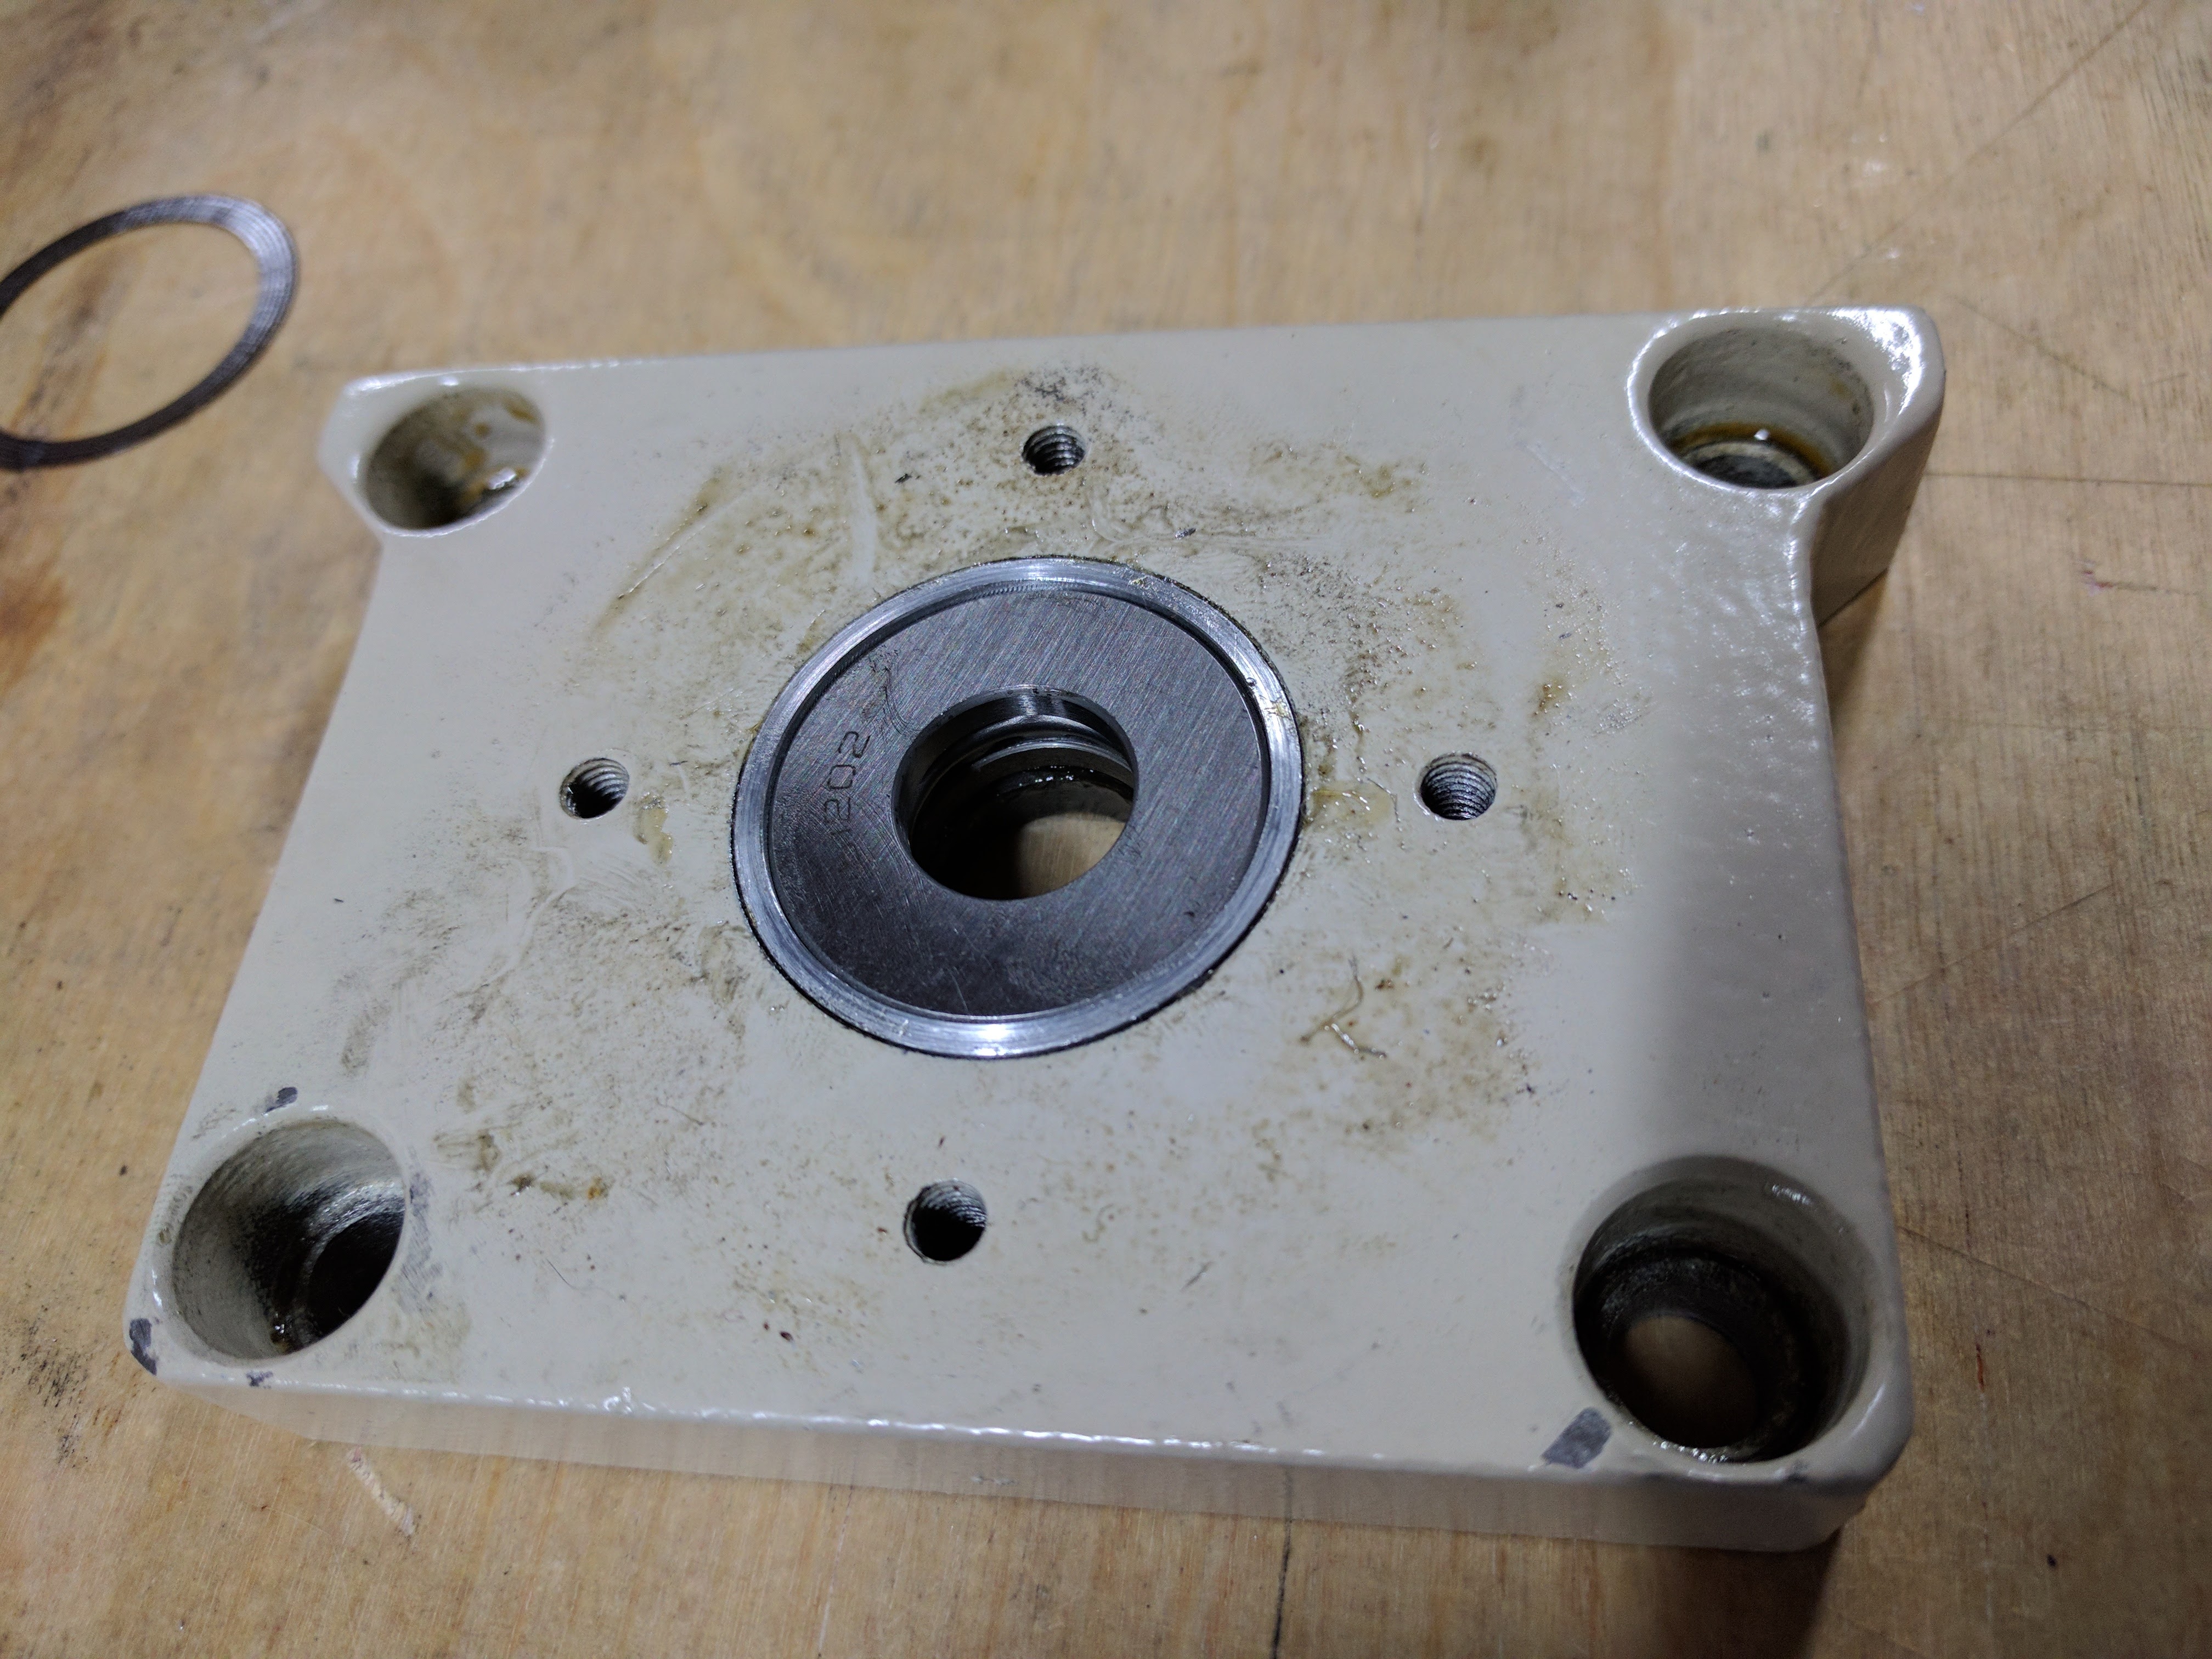
I machined ballscrew mounting brackets from aluminum plate on the OX. The Y-axis modification proved more challenging because it required milling slots directly into the cast iron base. This pushed the OX to its limits. I used carbide endmills, took shallow cuts, applied generous amounts of coolant, and worked slowly. The process consumed hours, but the results were accurate enough for the ballscrew installation.
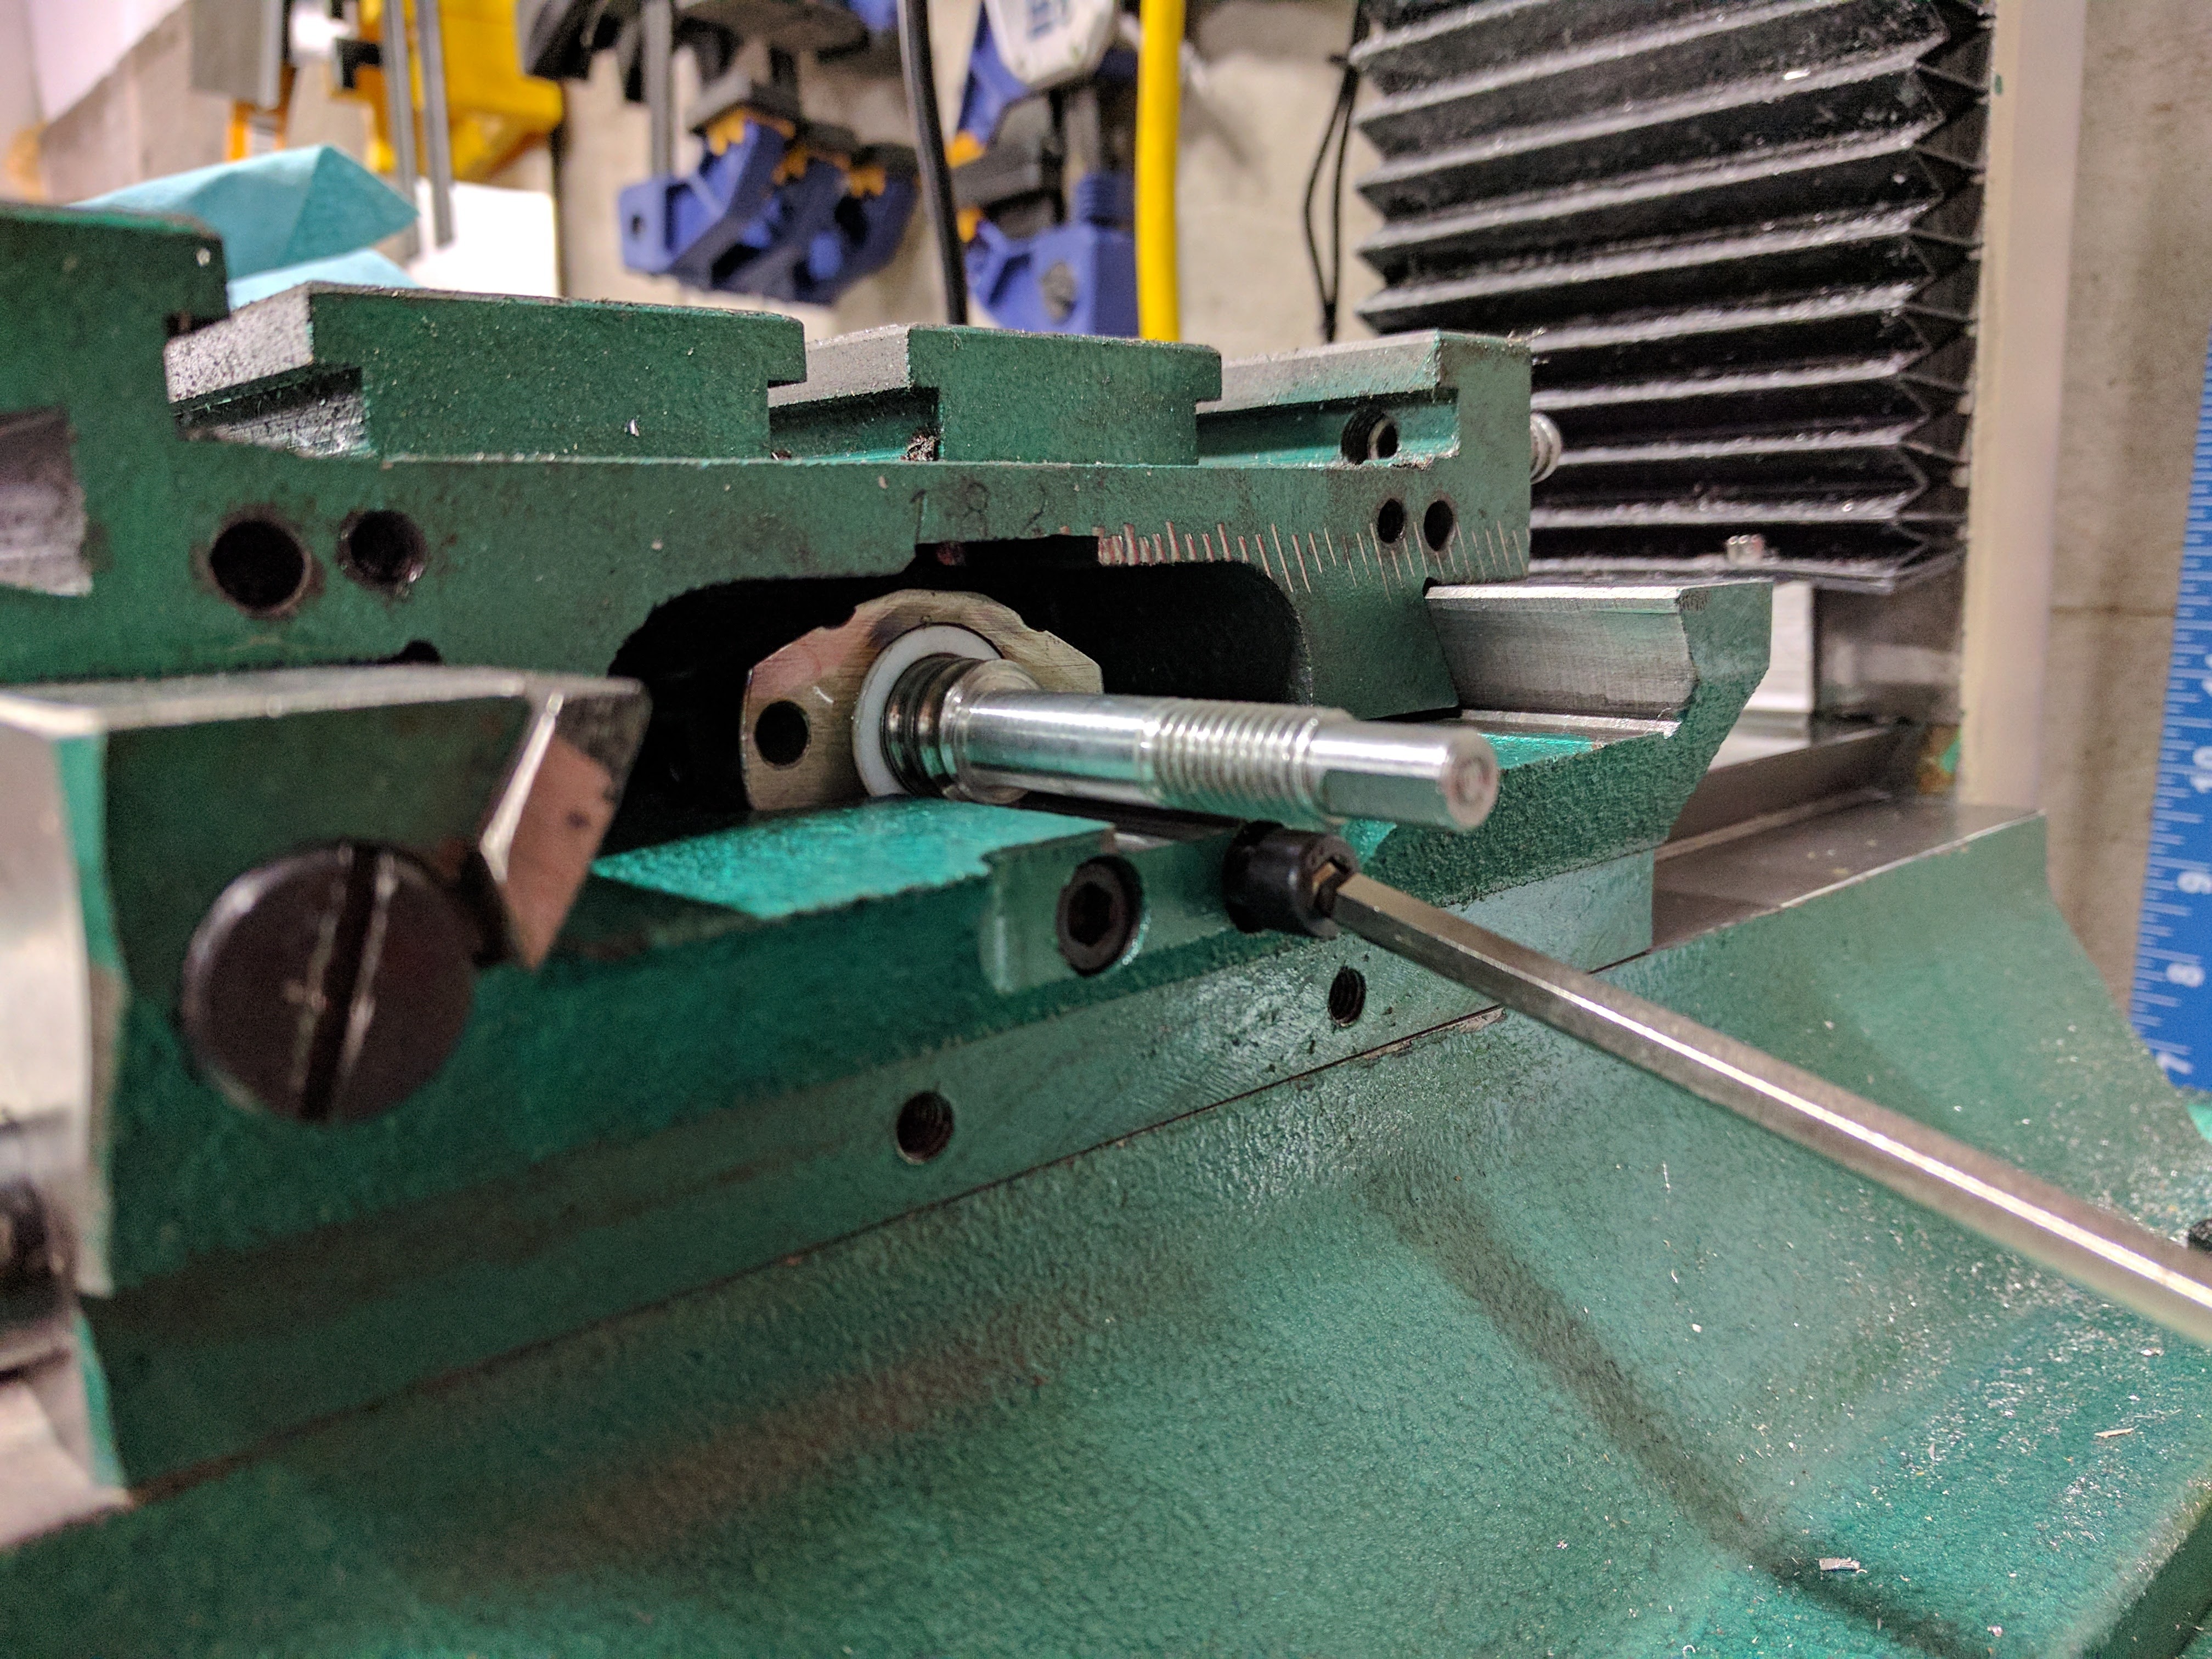
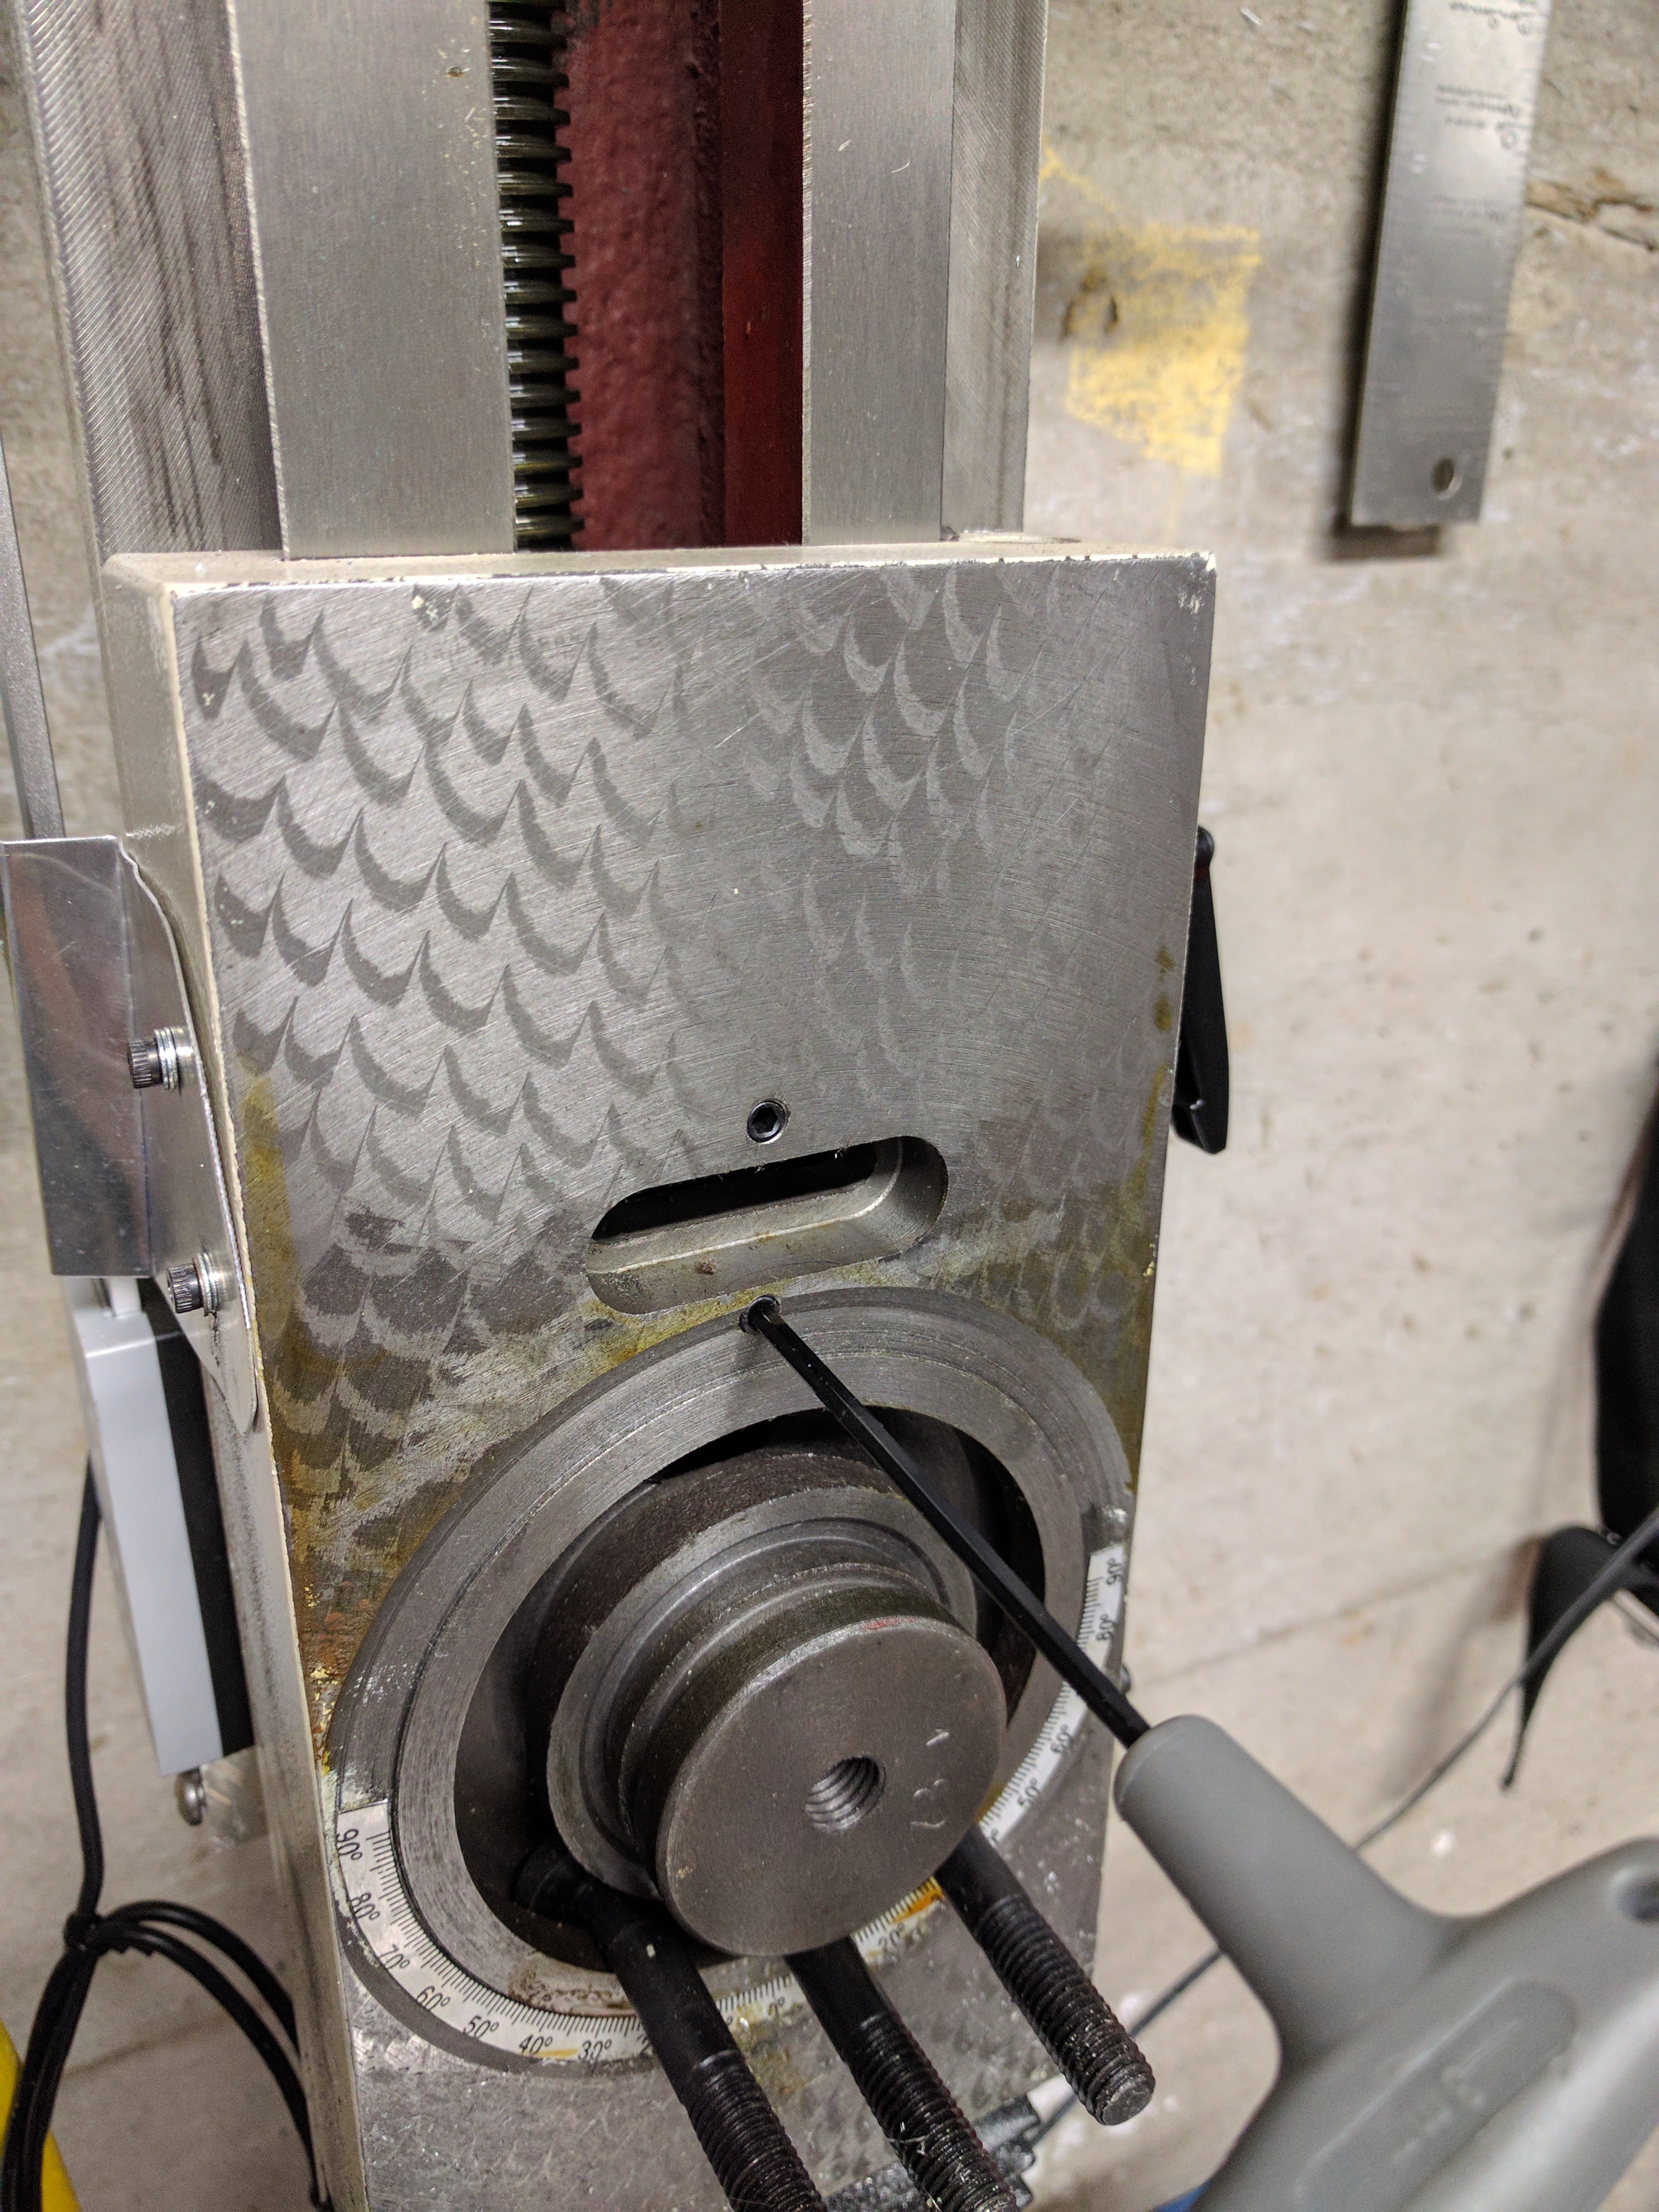
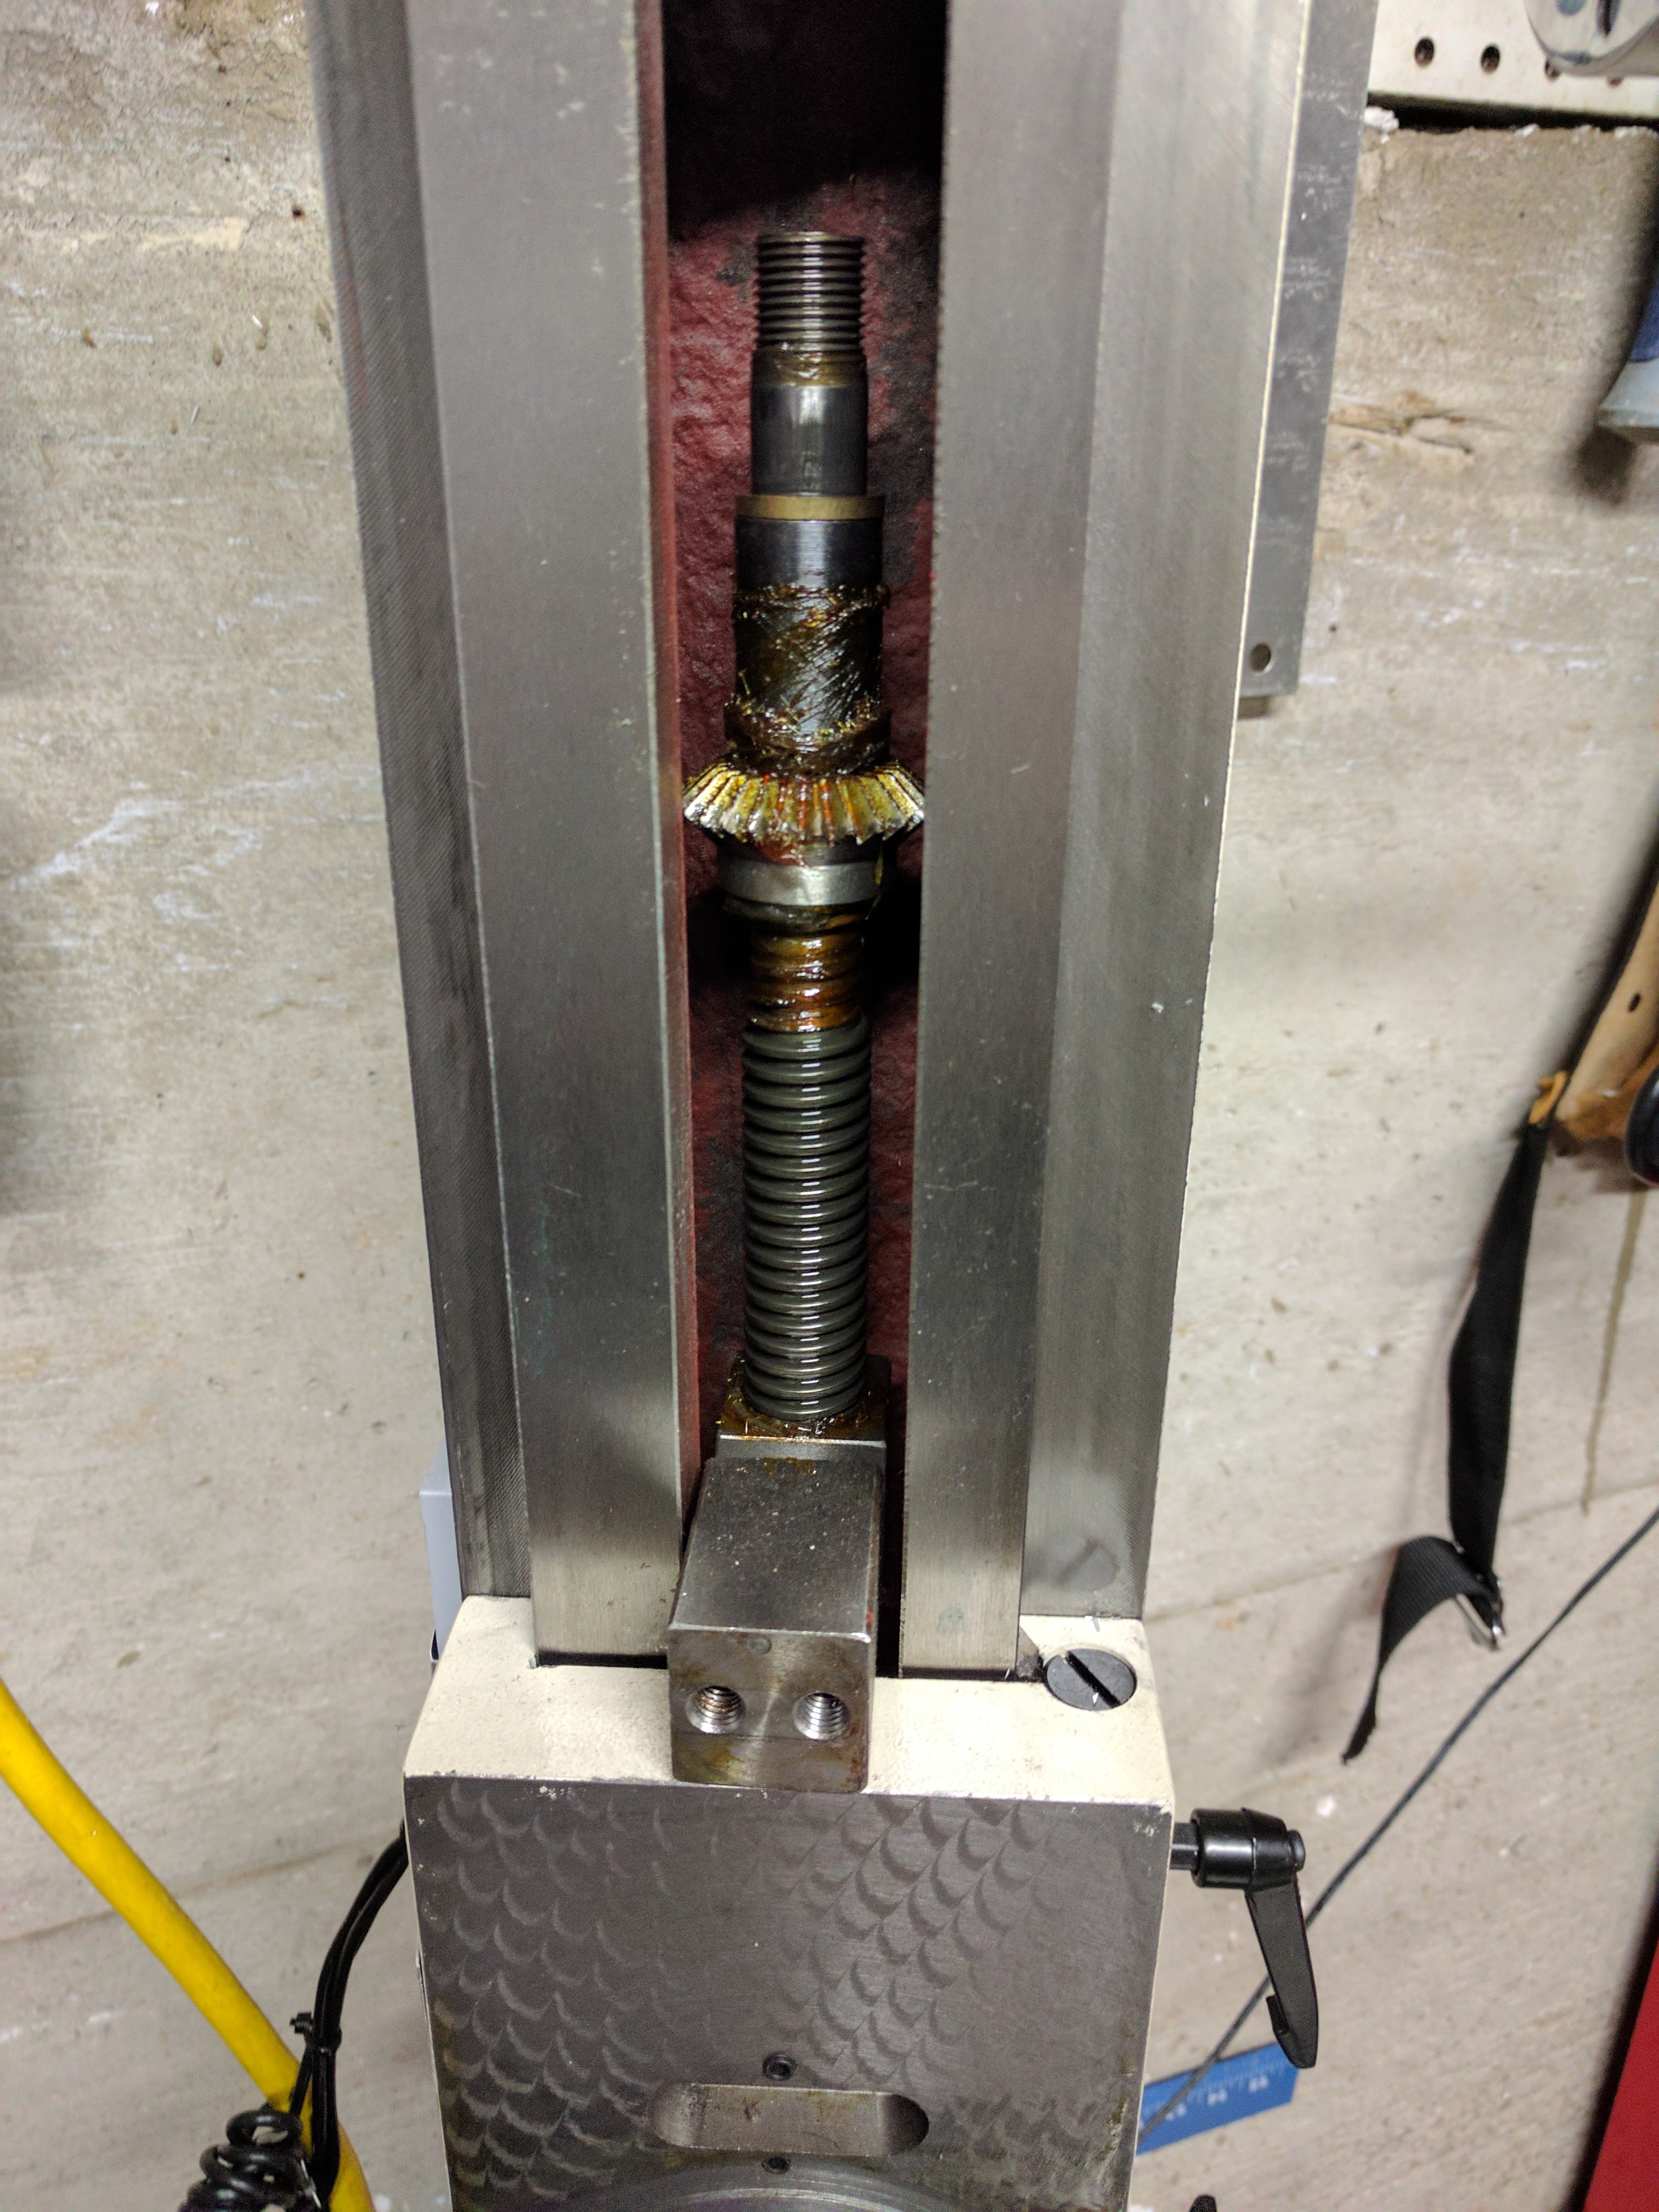
Ballscrew Installation and Alignment#
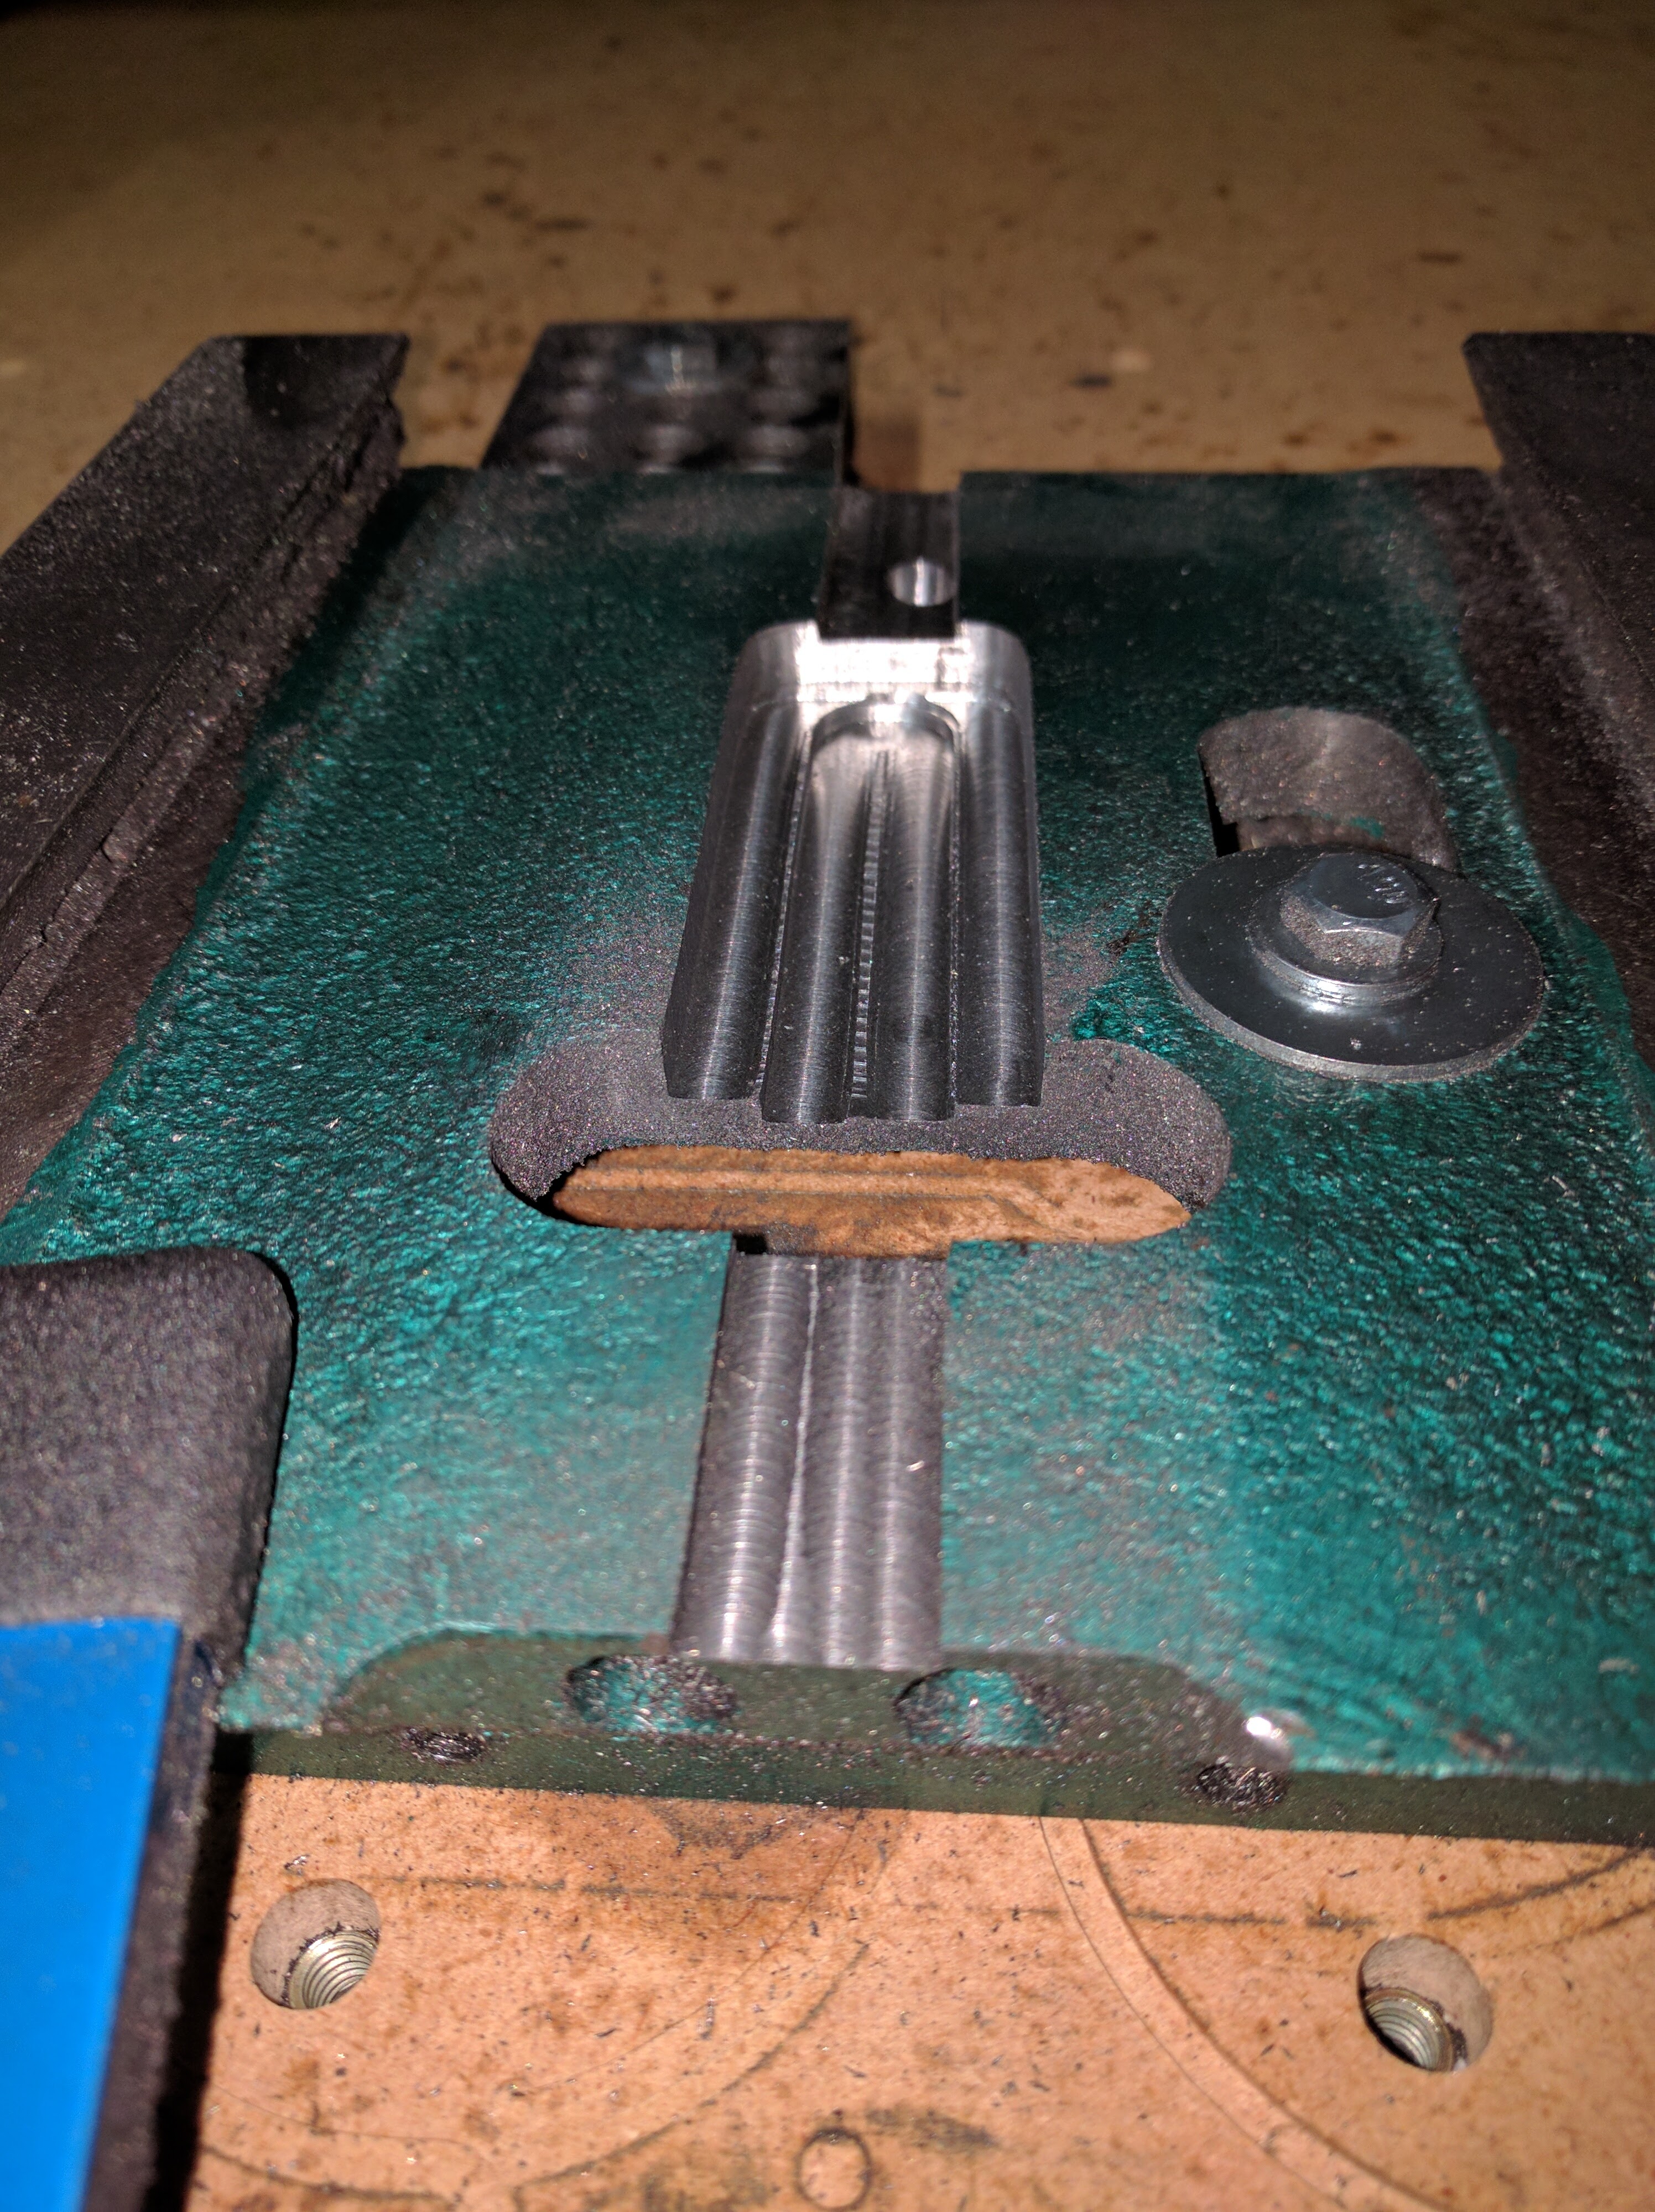
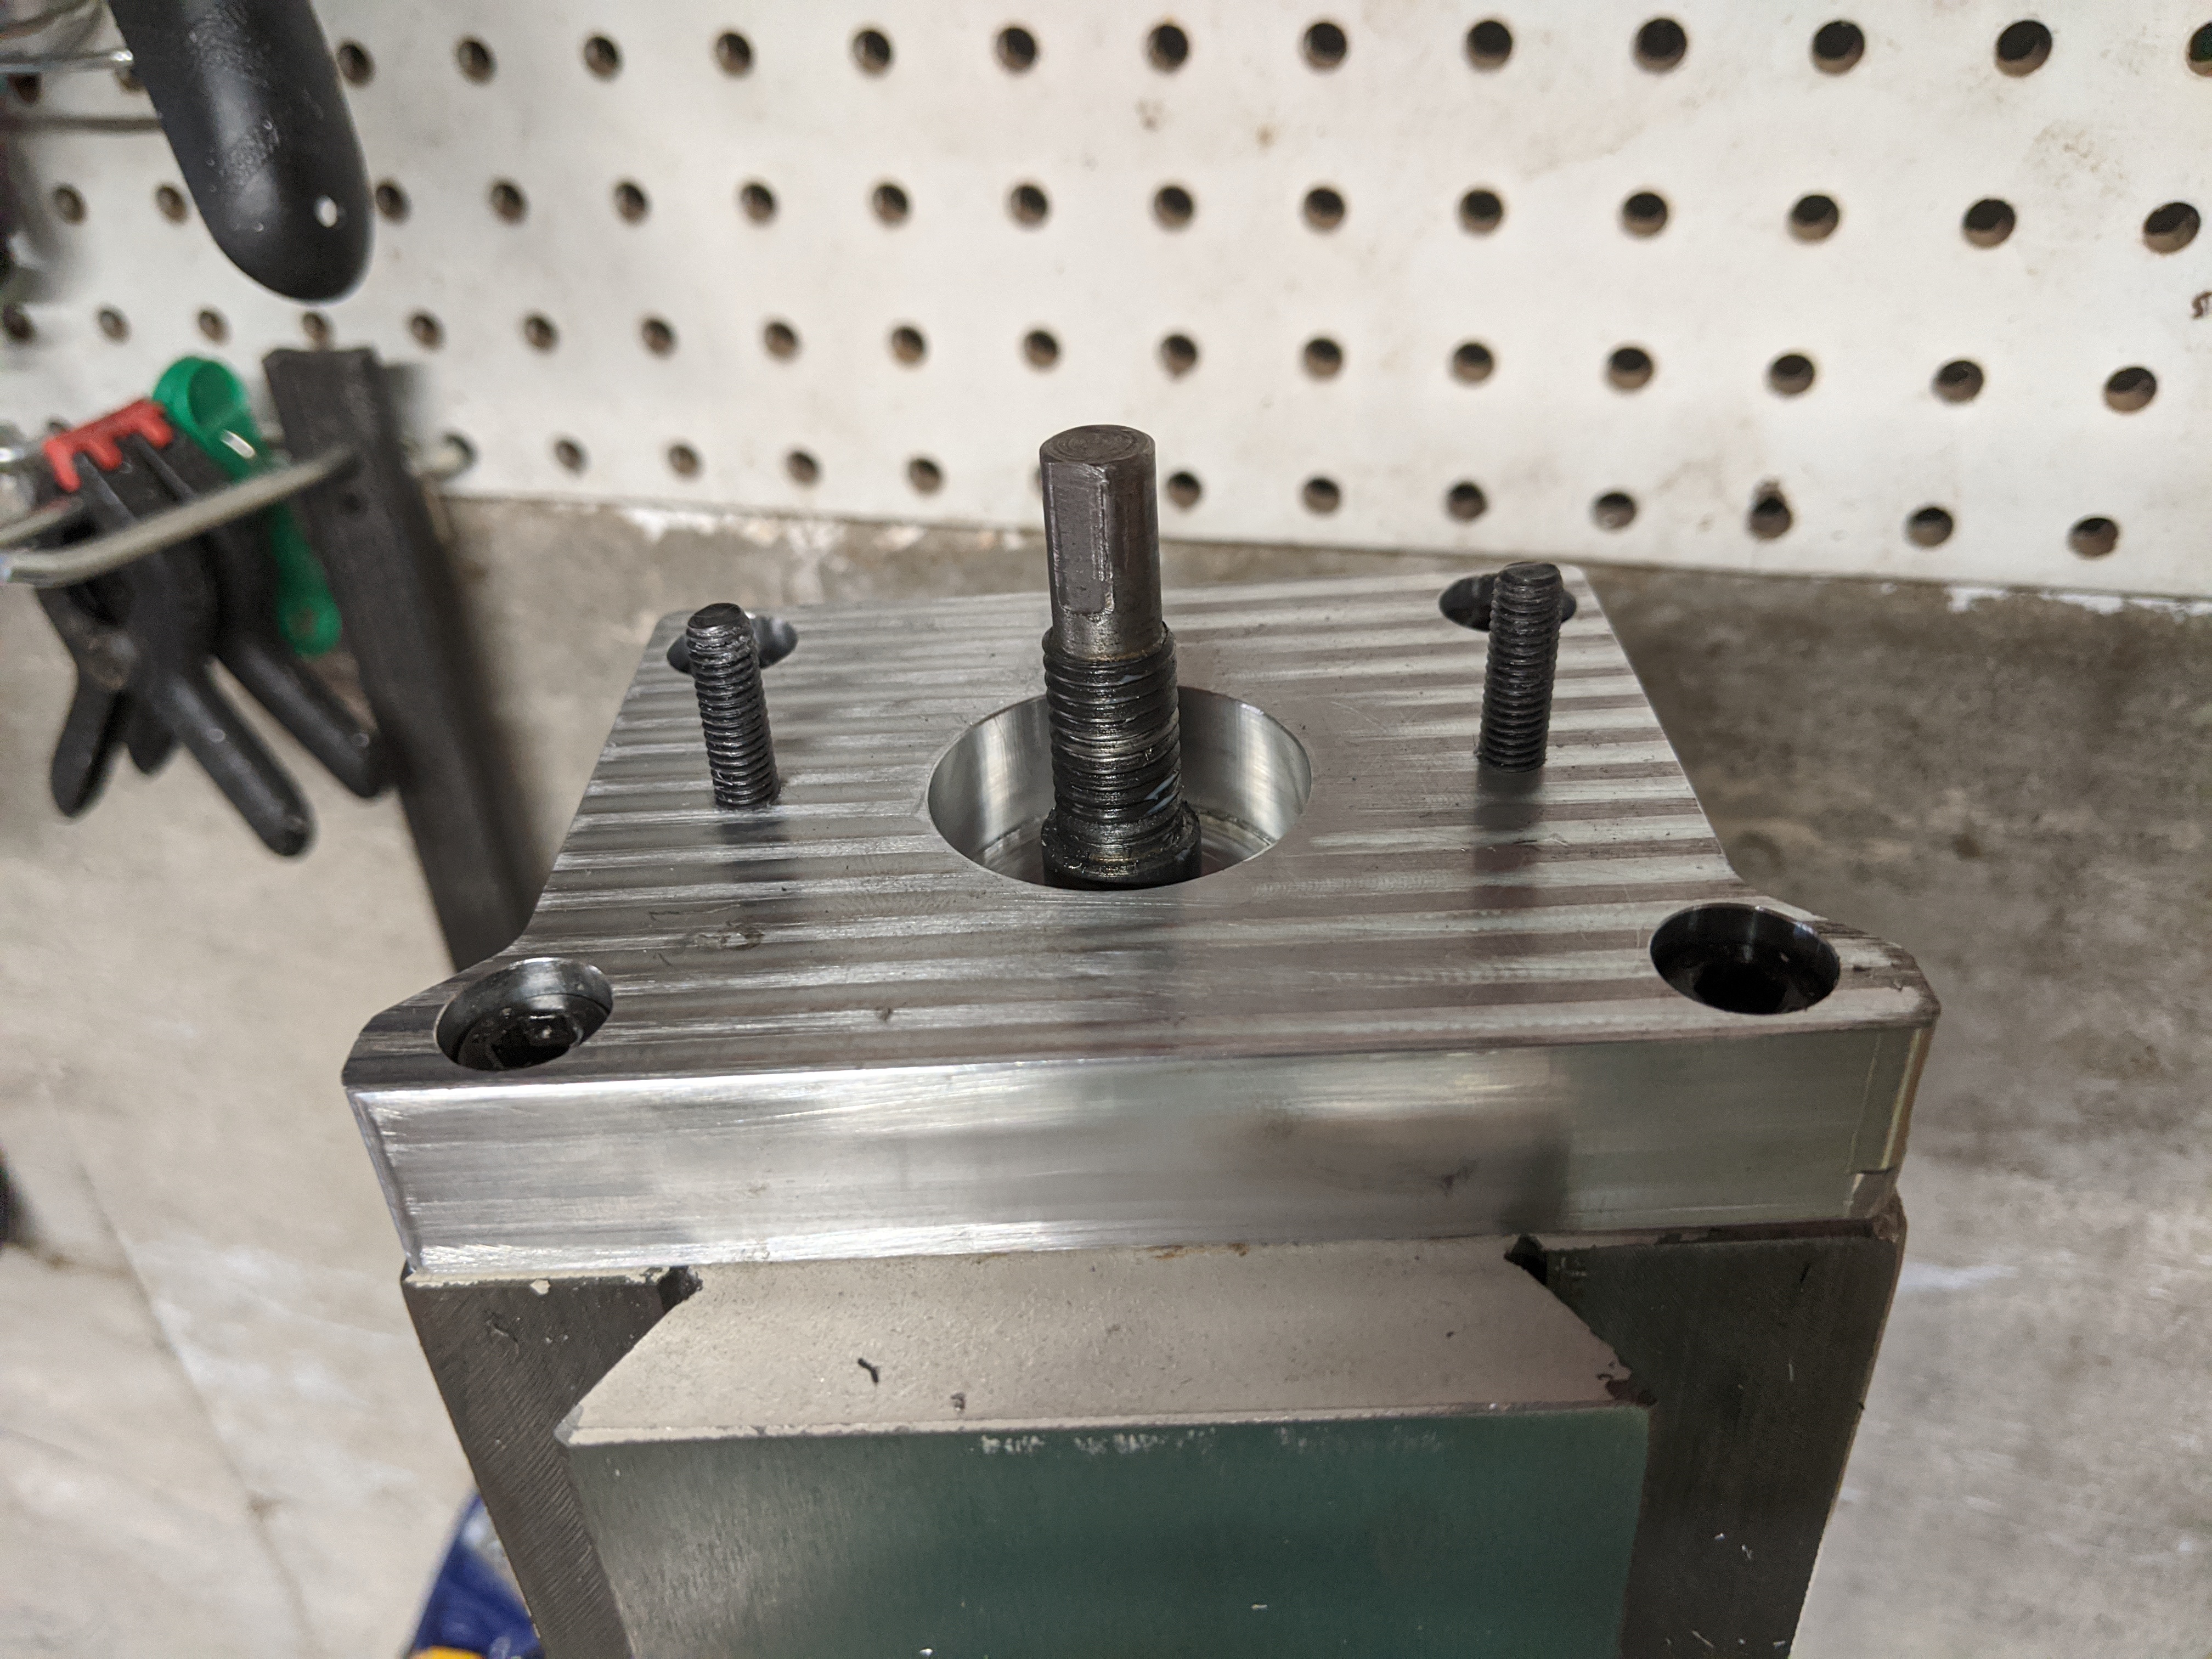
Ballscrews demand precise alignment; they must run parallel to the motion axis or they bind and wear prematurely. I mounted angular contact bearings in back-to-back configuration at one end, preloaded to eliminate axial play while allowing smooth rotation. Finding the correct preload took experimentation. Too much preload caused the motor to fight the bearing friction. Too little allowed slop that defeated the purpose of using ballscrews.

The Bootstrap Approach: 3D Printed to Aluminum#

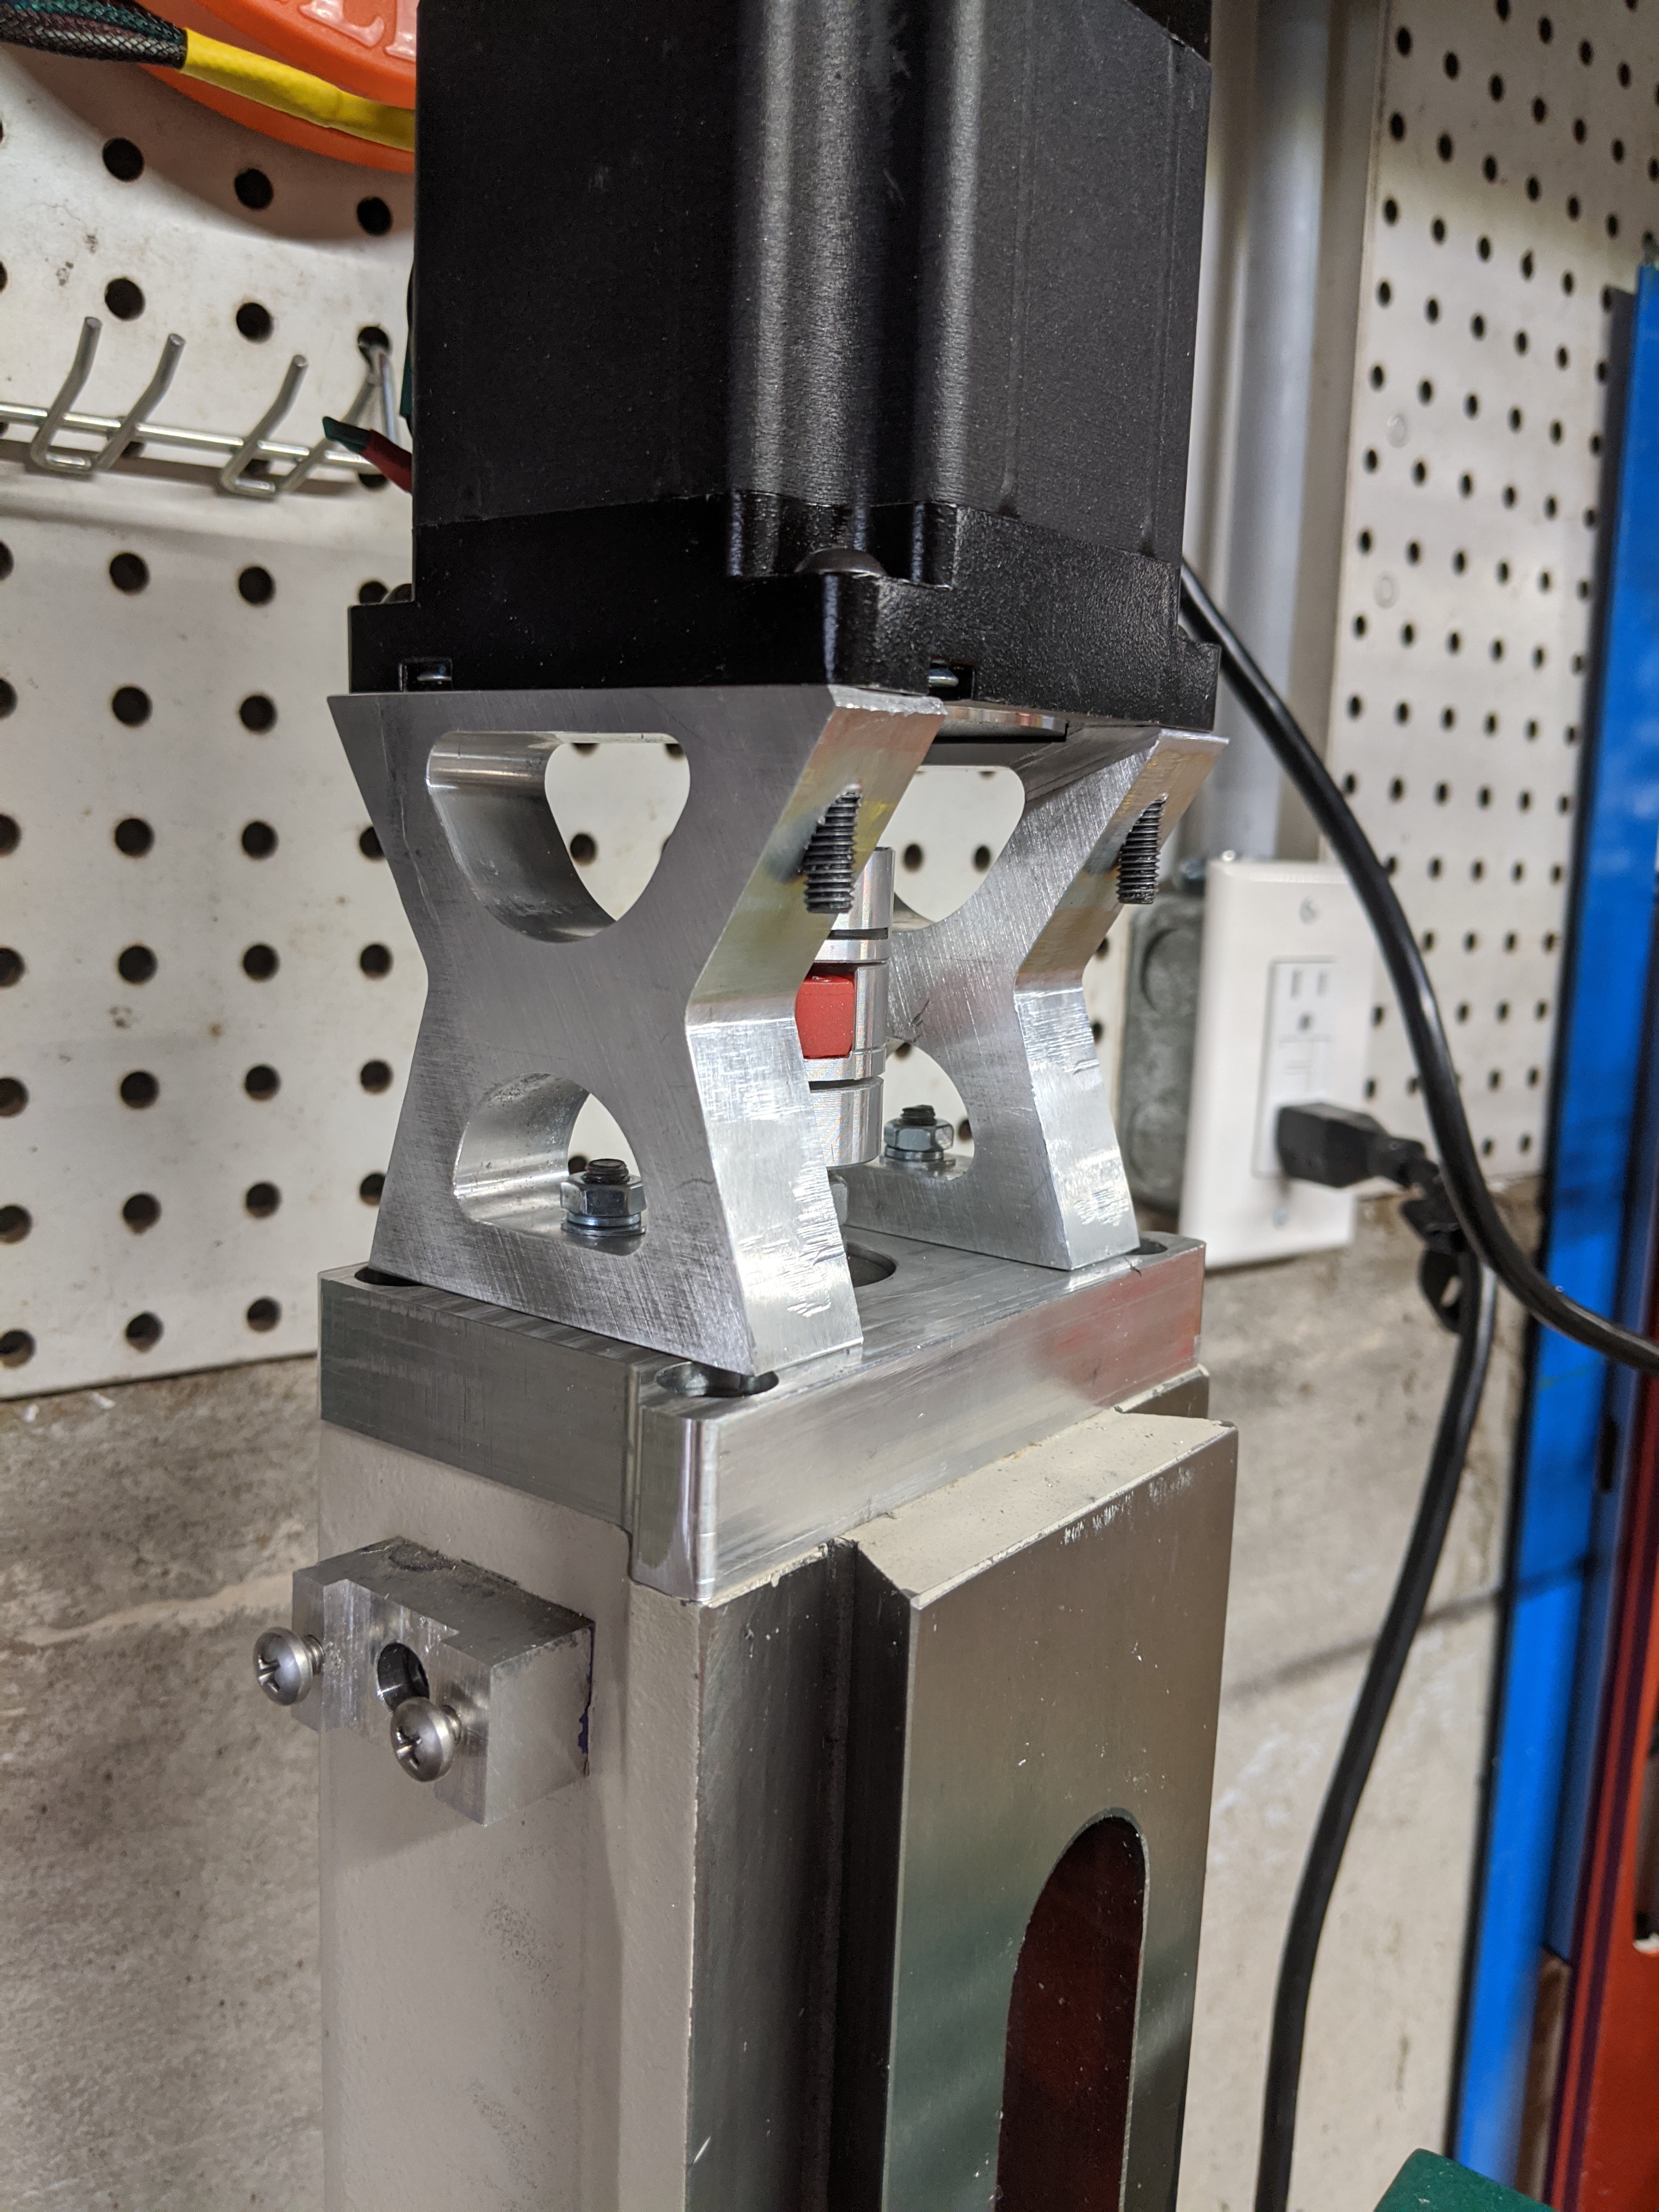
Rather than wait to machine perfect motor mounts before testing anything, I 3D printed initial brackets. This allowed rapid iteration and got the mill operational quickly. The printed mounts flexed under load but served their purpose as temporary parts that let the mill prove its own design before manufacturing permanent components.
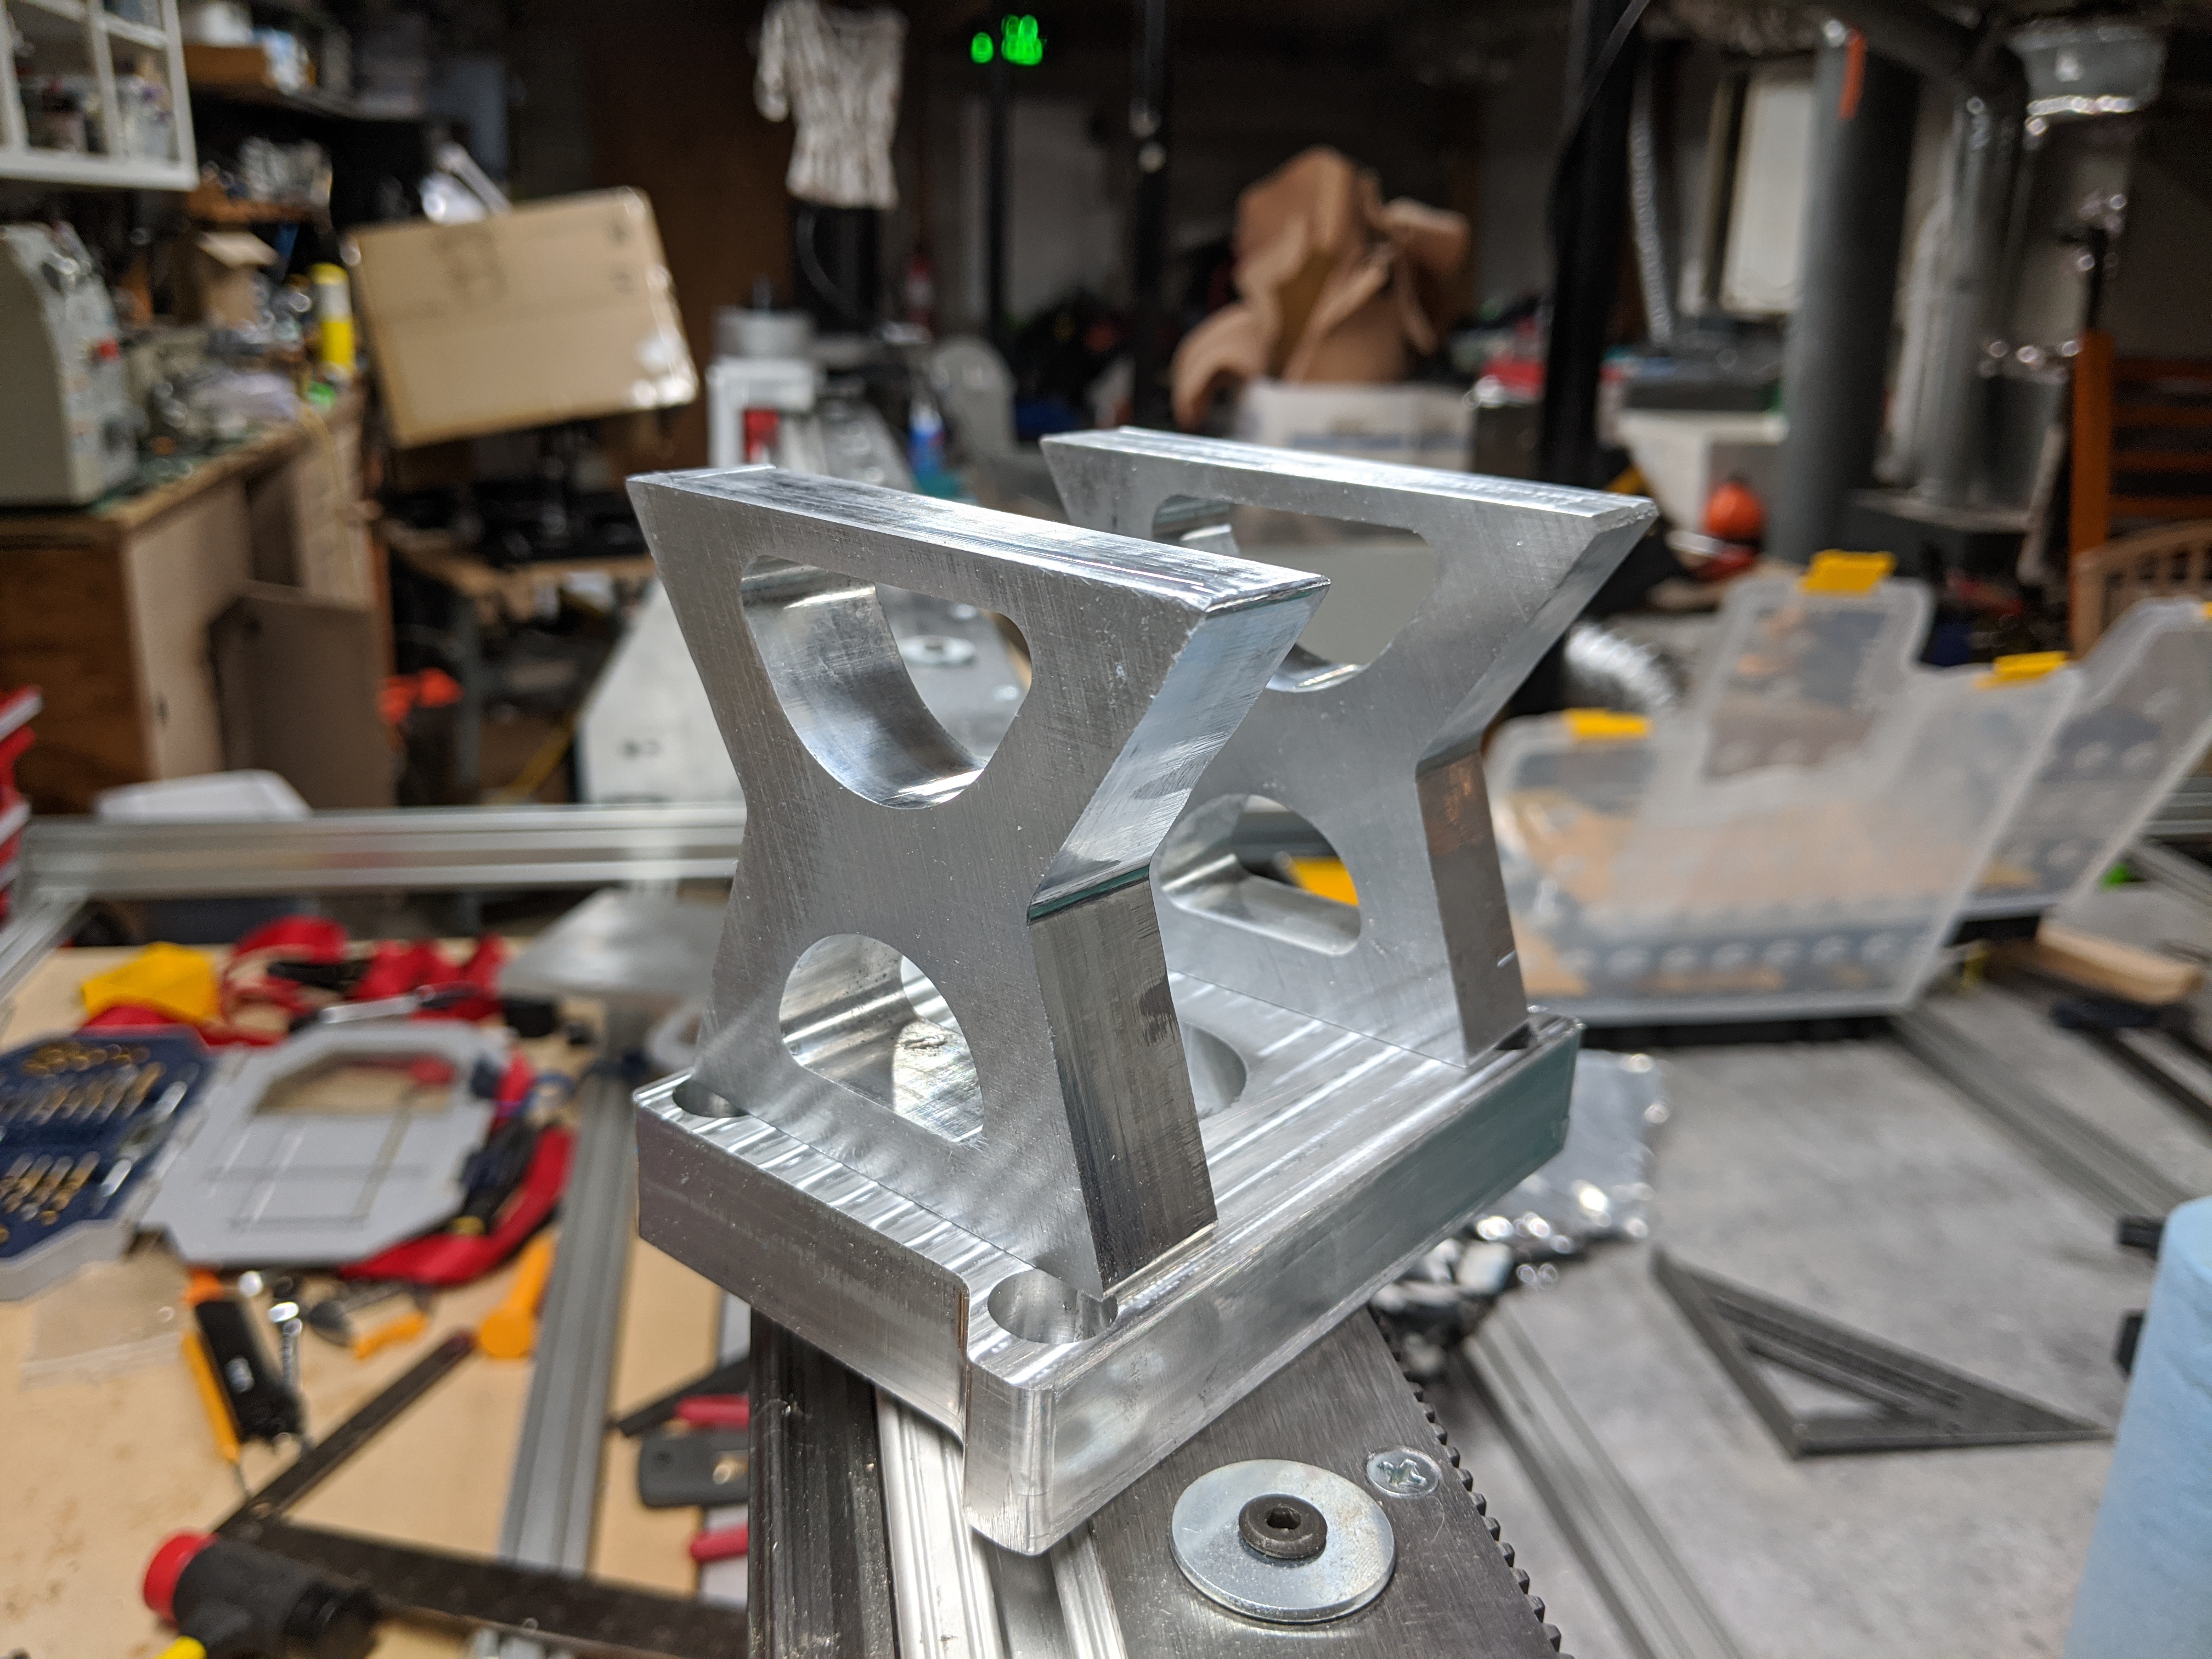
Once the mill ran reliably with printed brackets, I machined aluminum replacements on the machine itself. This proved revelatory. Every hole landed exactly where programmed. Operations that had taken hours with manual machining now completed in minutes. The mill was manufacturing its own upgrades.
The aluminum mounts transformed the machine’s performance. They exhibited zero flex under cutting loads, maintained perfect alignment, and dissipated motor heat effectively. The improvement was immediately noticeable.
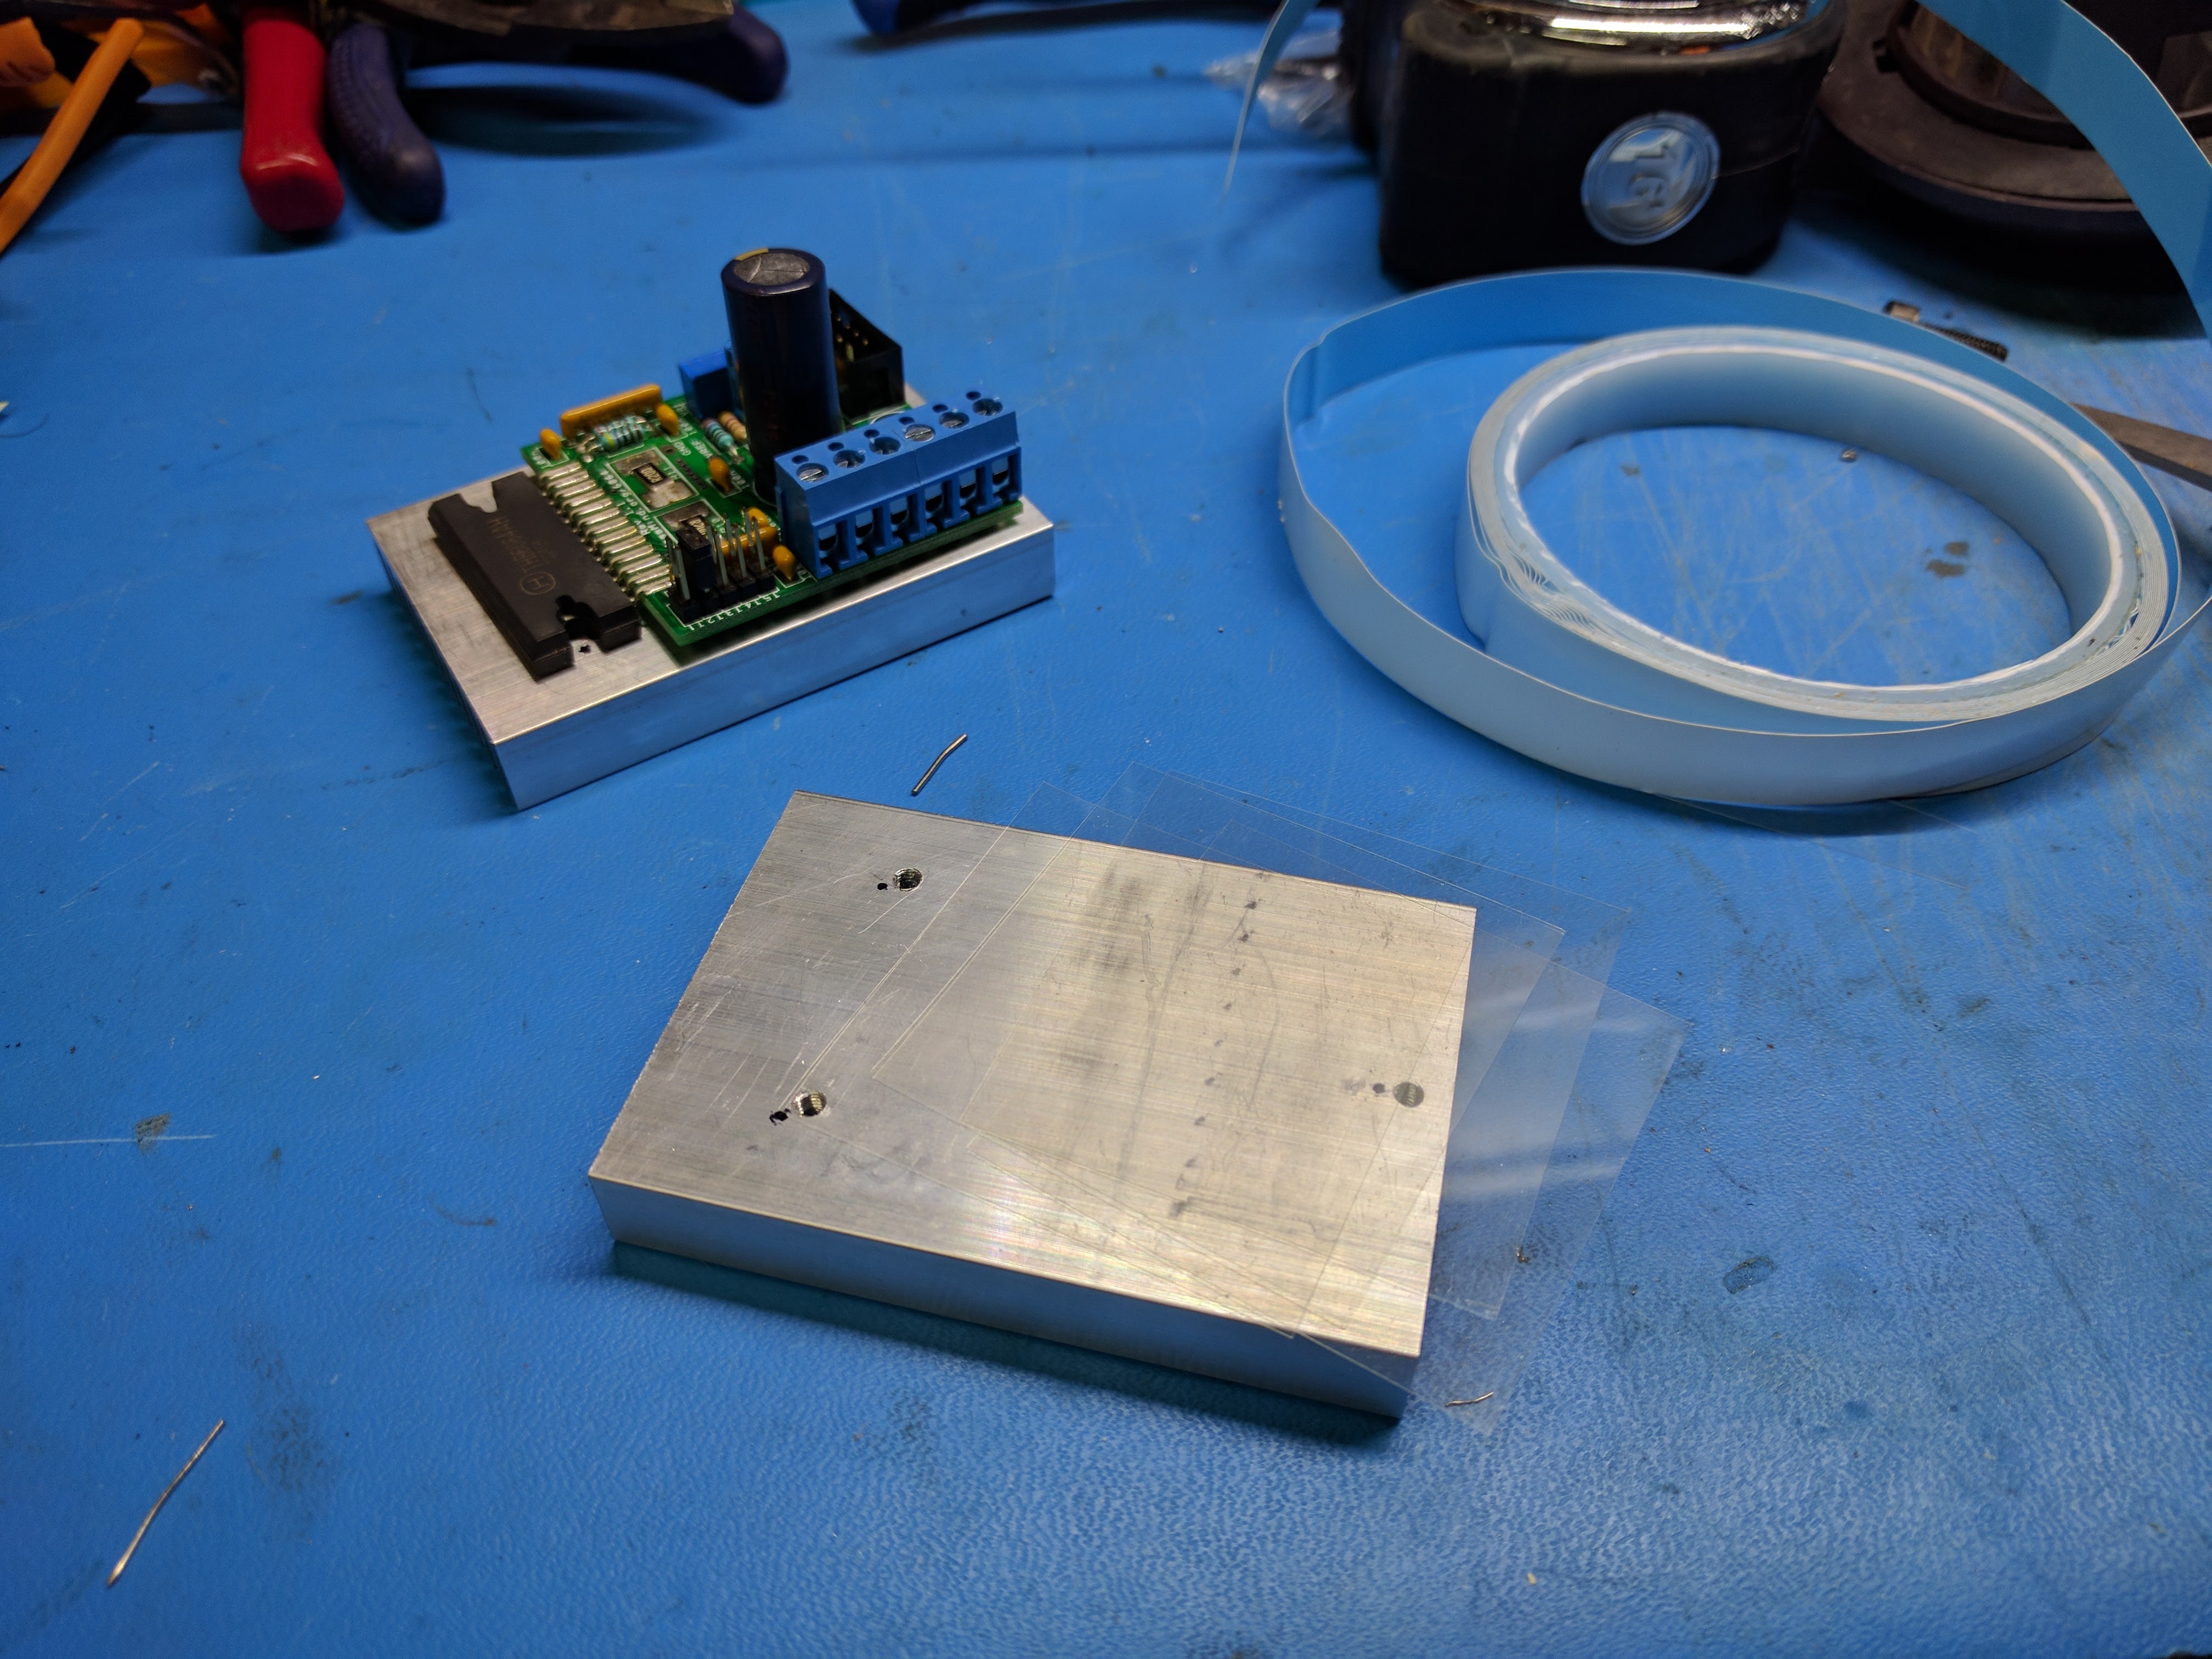
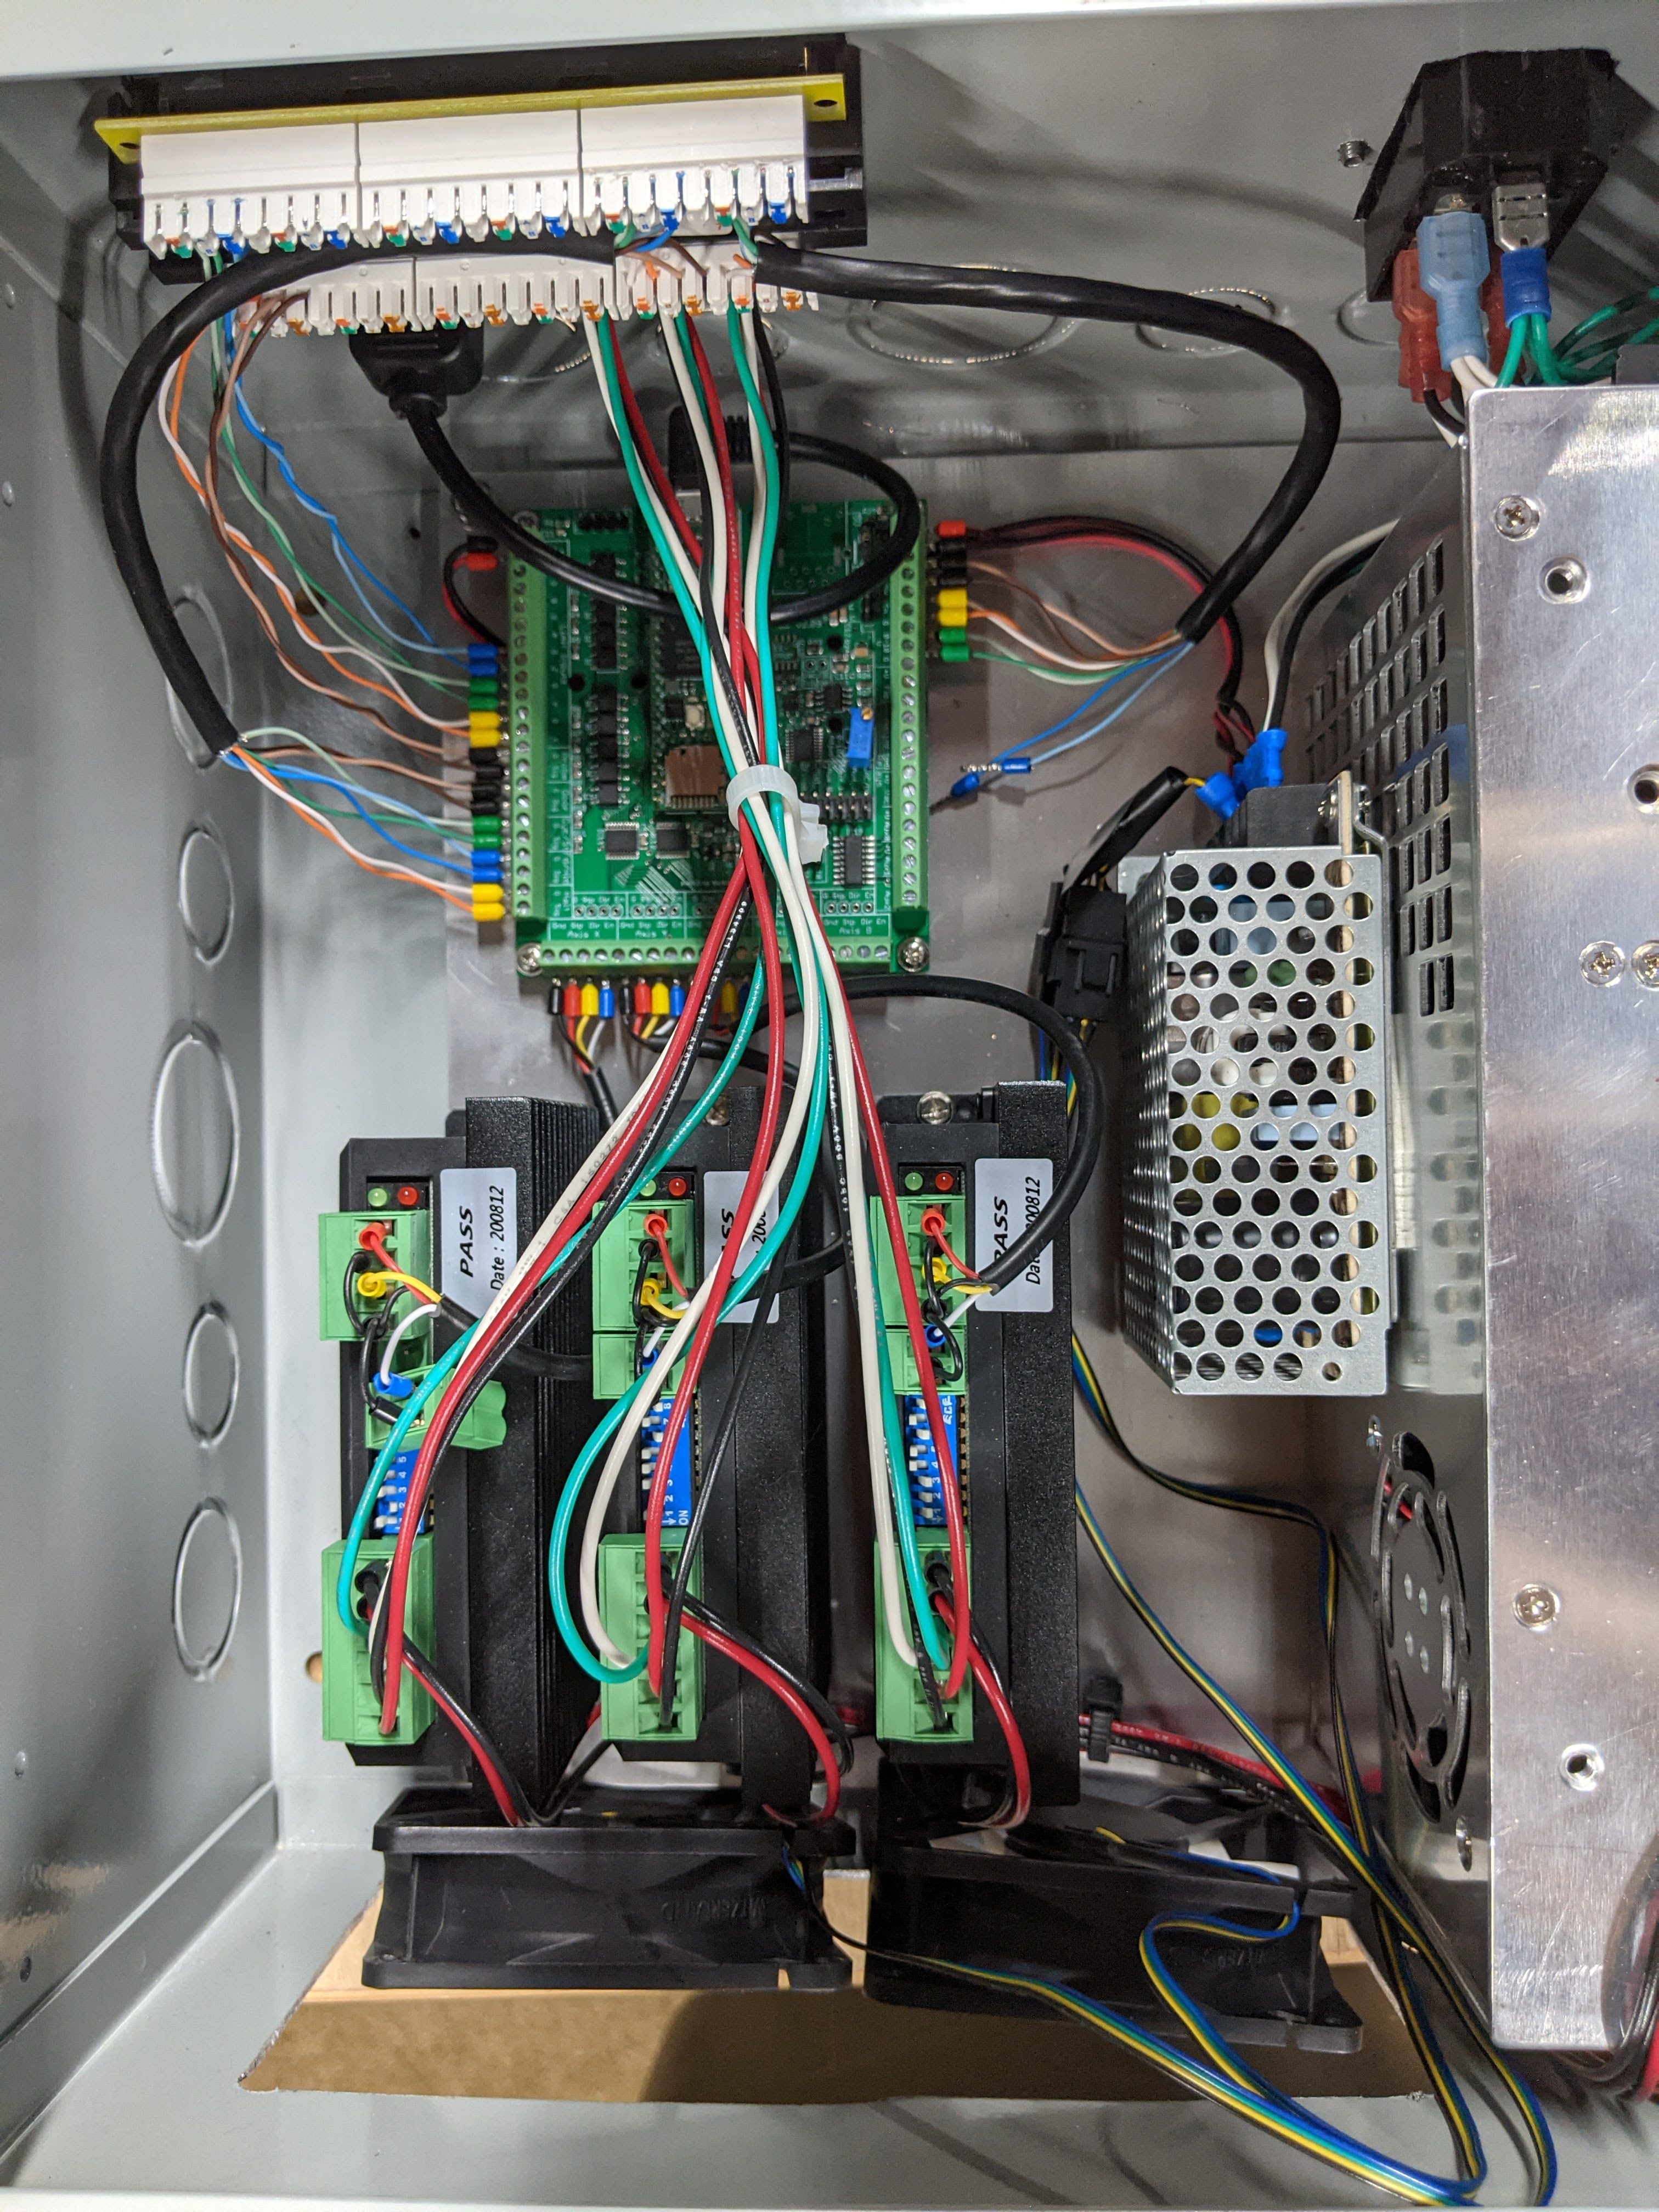
Electronics and Control System#
I equipped the mill with NEMA 23 stepper motors and digital stepper drivers. Initially, I ran Mach3 for machine control. Later, I upgraded to LinuxCNC, which provided superior trajectory planning and smoother motion profiles.
First cuts in aluminum after the conversion
Calibration and Performance#
Calibration followed a straightforward process: command the machine to move a known distance, measure actual movement, calculate the error, and adjust the steps-per-unit values in software. The ballscrews dramatically reduced backlash from the original 0.2mm down to under 0.005mm, a forty-fold improvement.
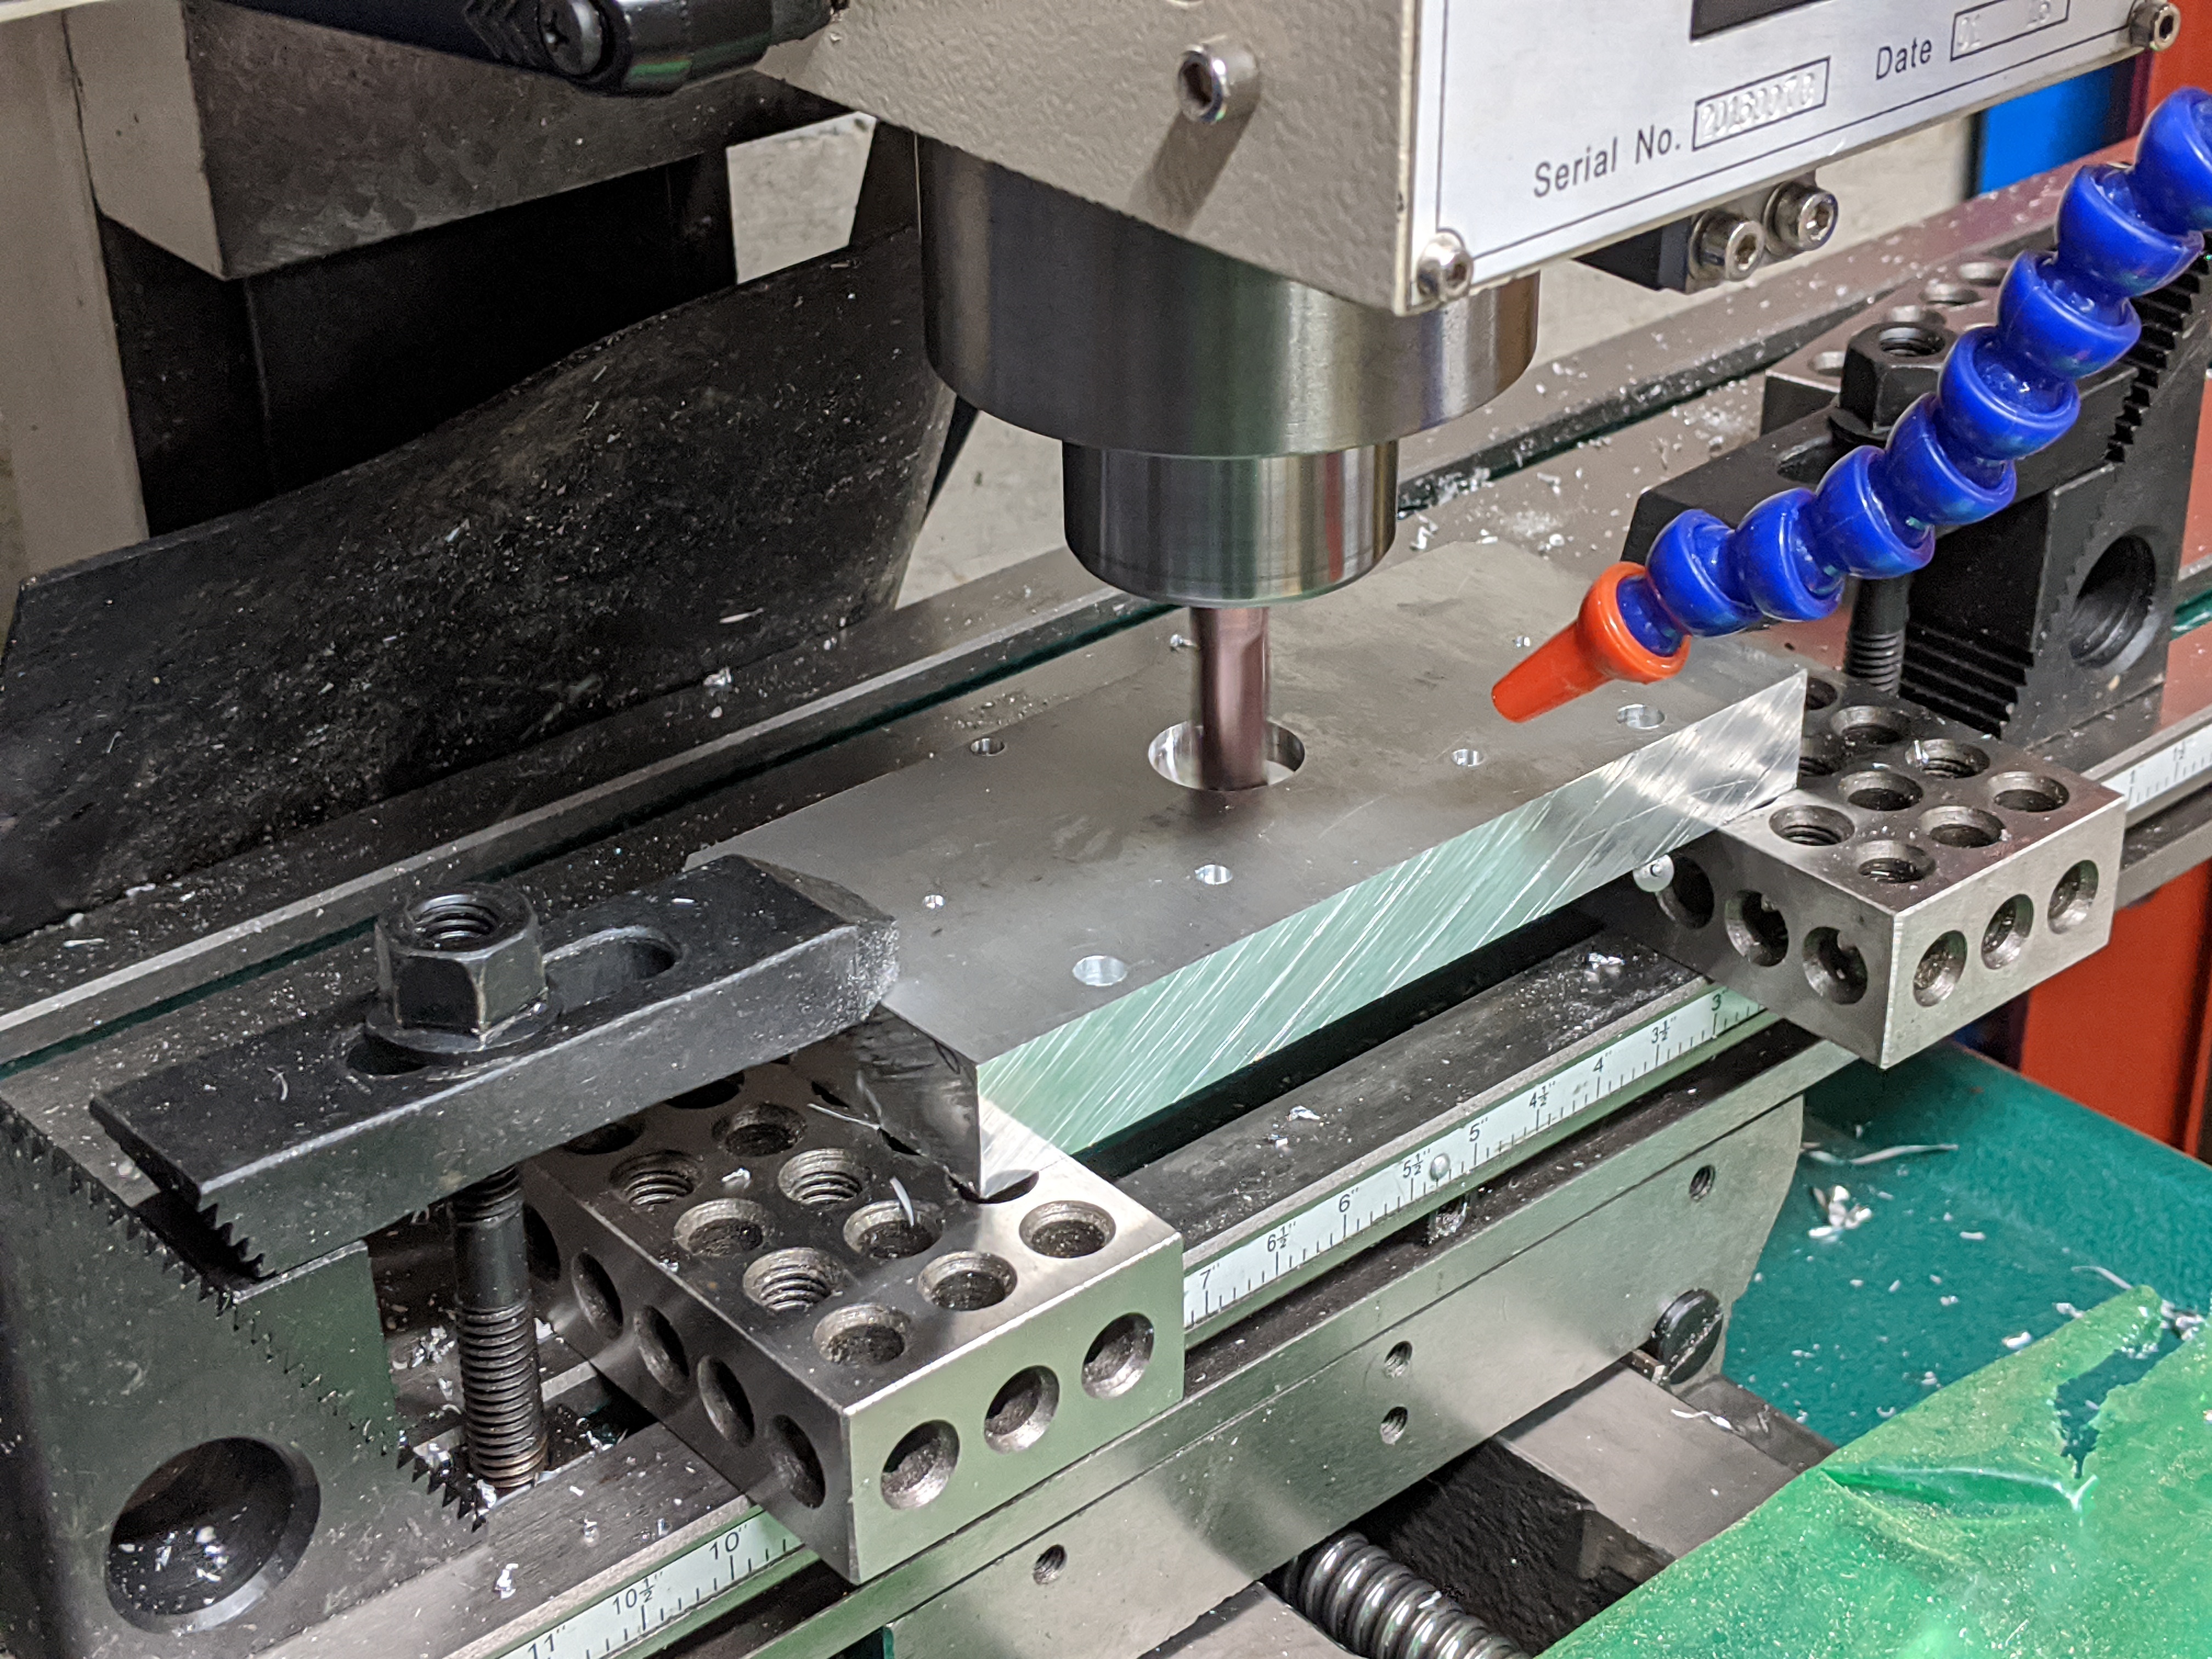
Milling the Z-axis gantry plate on the completed conversion
The ballscrew investment paid immediate dividends. Compared to Acme screws, they provided ten times lower backlash, smoother motion, and significantly better positioning accuracy. The cost difference was modest at approximately $300, but the performance improvement was substantial.
The Tool-Building Progression#
This conversion exemplified the tool-building-tools philosophy. The McWire RepStrap printed parts for a RepRap Mendel. The Mendel printed components for a larger 3D printer. That printer manufactured mounting brackets for the OX CNC router. The OX machined parts for the G0704 conversion. The G0704 then improved itself by manufacturing aluminum motor mounts, and subsequently machined components for even larger projects. Each machine enabled construction of the next.
The staged approach proved effective. Using 3D printed motor mounts accelerated the initial build and validated the design. Once the mill ran successfully, it manufactured its own permanent aluminum components. This bootstrap methodology minimized risk while maintaining forward progress.
Years after the conversion, the G0704 remains my primary precision machine. It has required minimal maintenance and shows no significant wear. The machine performs comparably to commercial mills costing substantially more, validating the conversion approach.
Editor’s Note (2025): G0704 conversions remain popular in the hobby machining community. Modern conversions increasingly use closed-loop stepper motors or servos for even better performance. LinuxCNC and UCCNC have largely replaced Mach3 for new builds. Commercial ballscrew kits are now available that include all necessary mounting hardware, reducing the chicken-and-egg problem of needing a mill to convert a mill. Regardless of specific component choices, the fundamental approach still matters: proper alignment, quality ballscrews, rigid mounting, and careful calibration remain the key to success. The G0704 continues to be an excellent platform for learning precision machining and CNC conversion techniques.