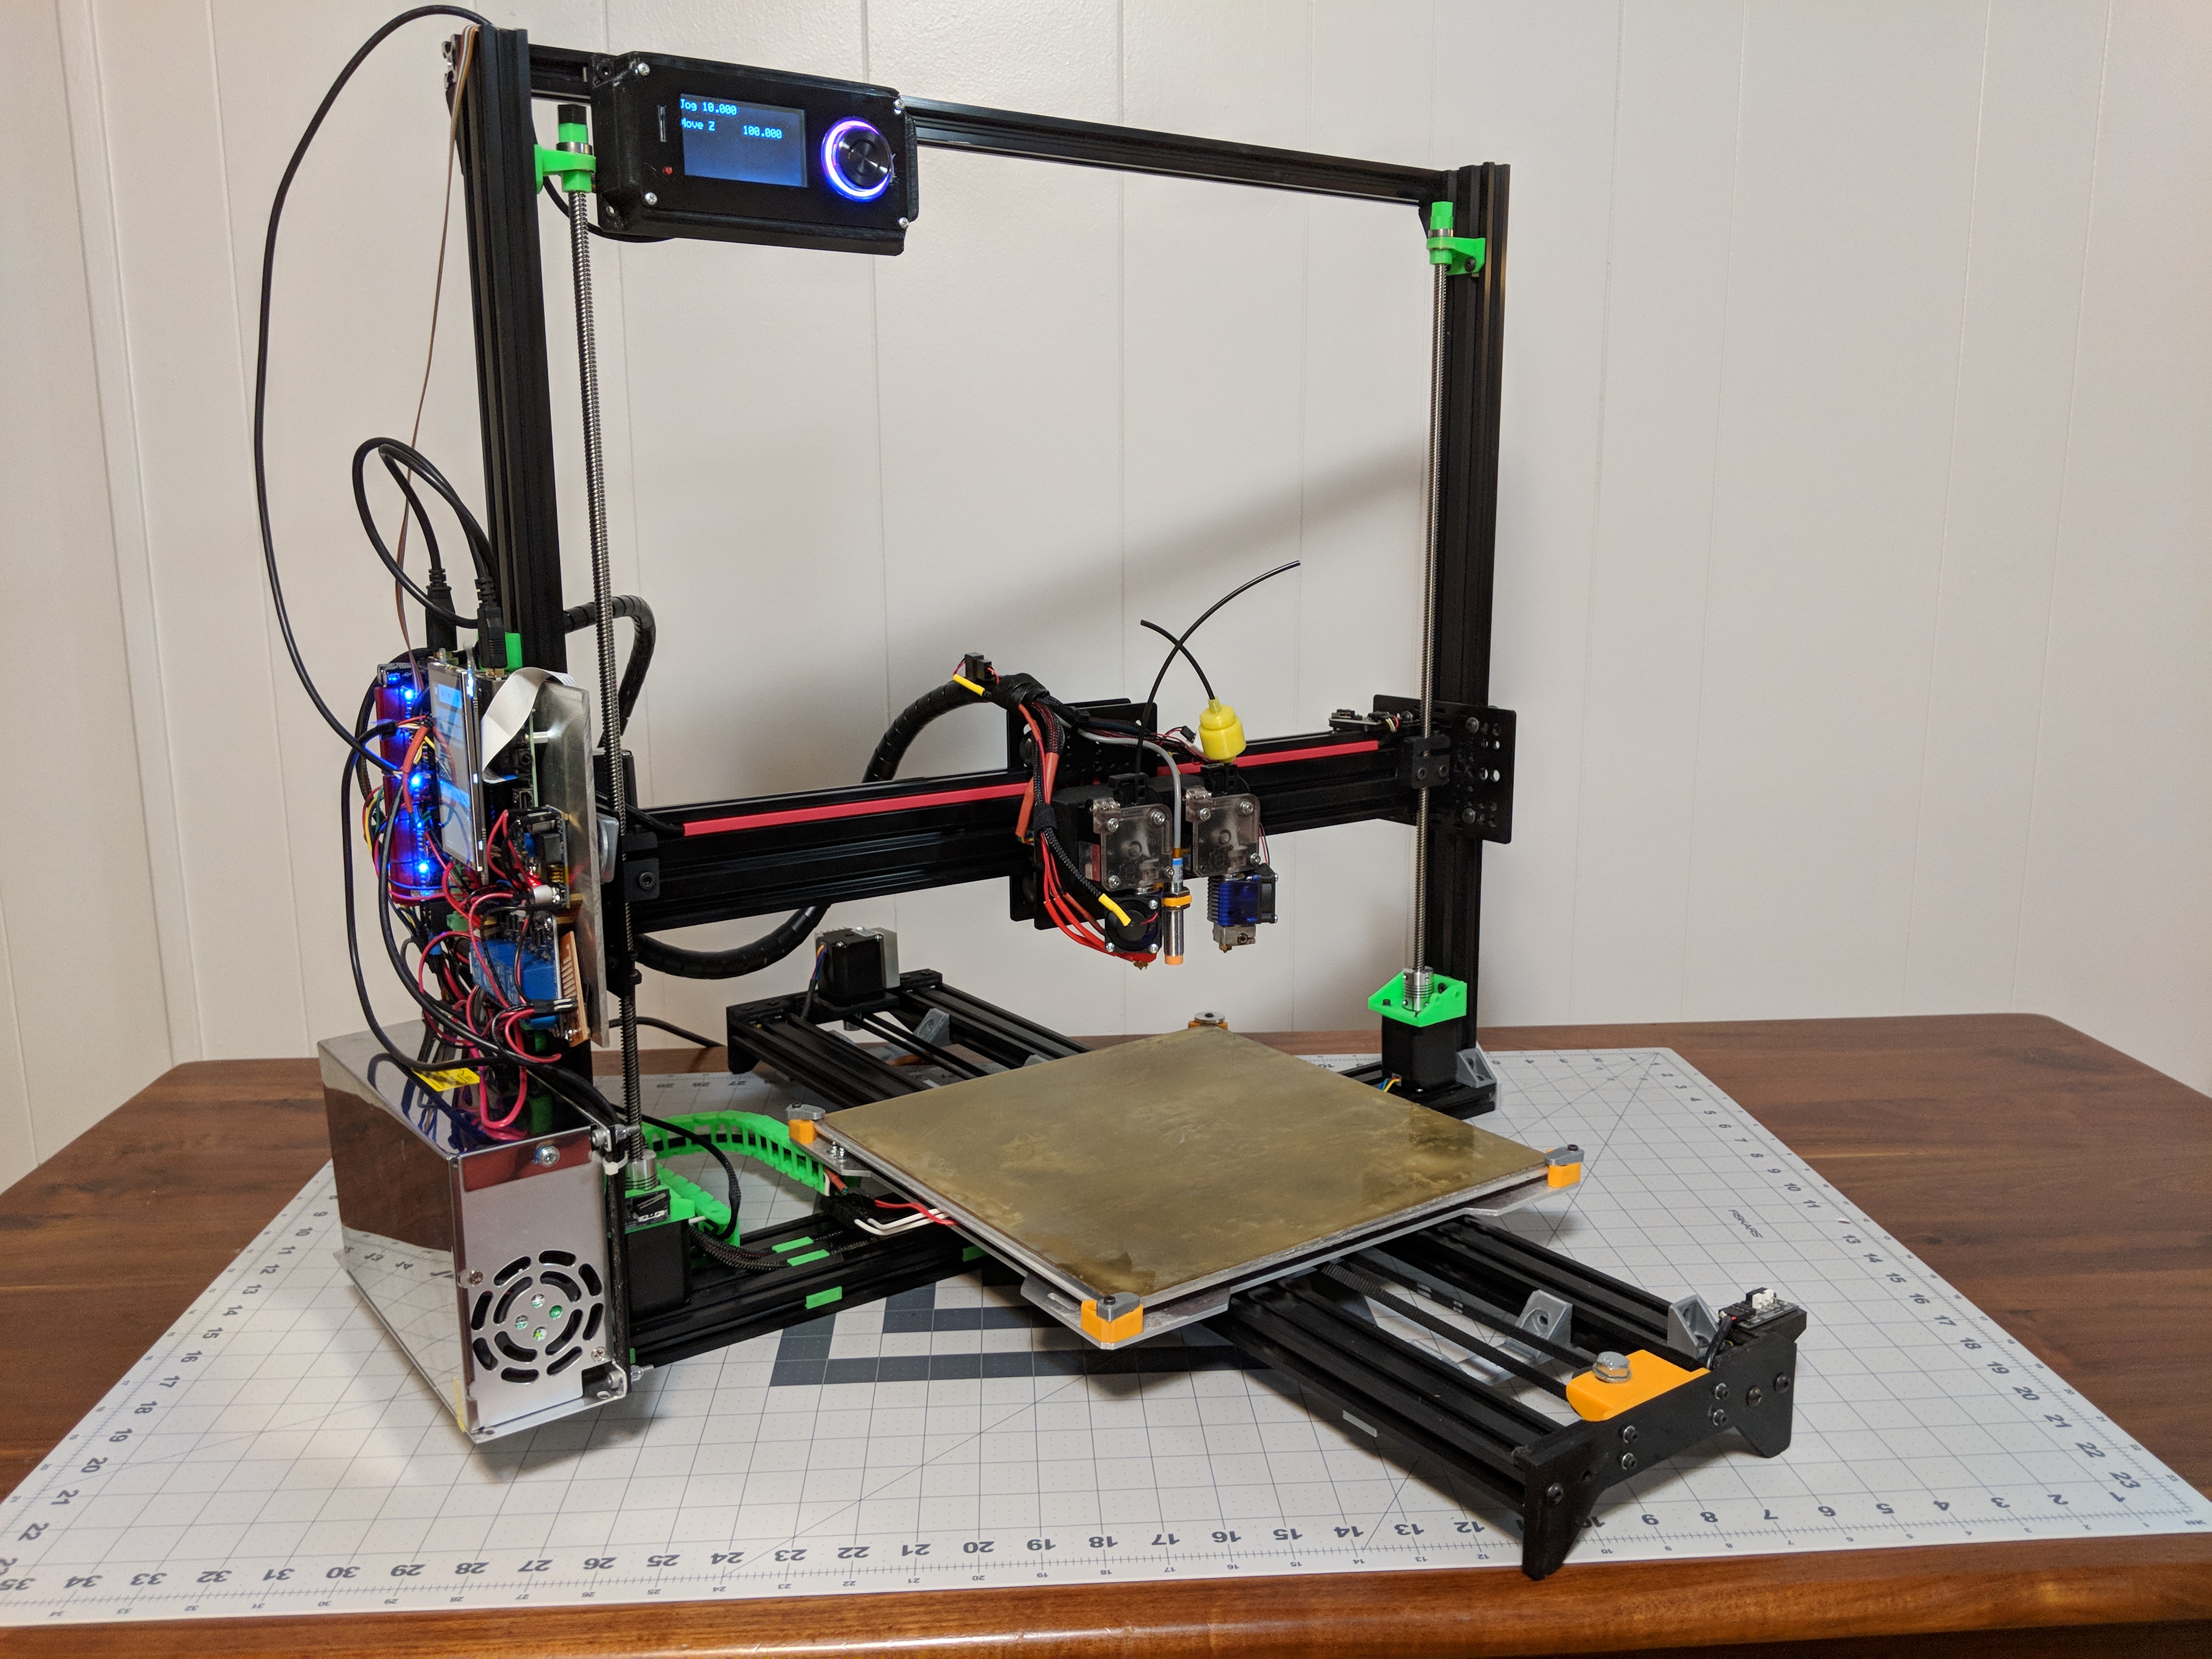
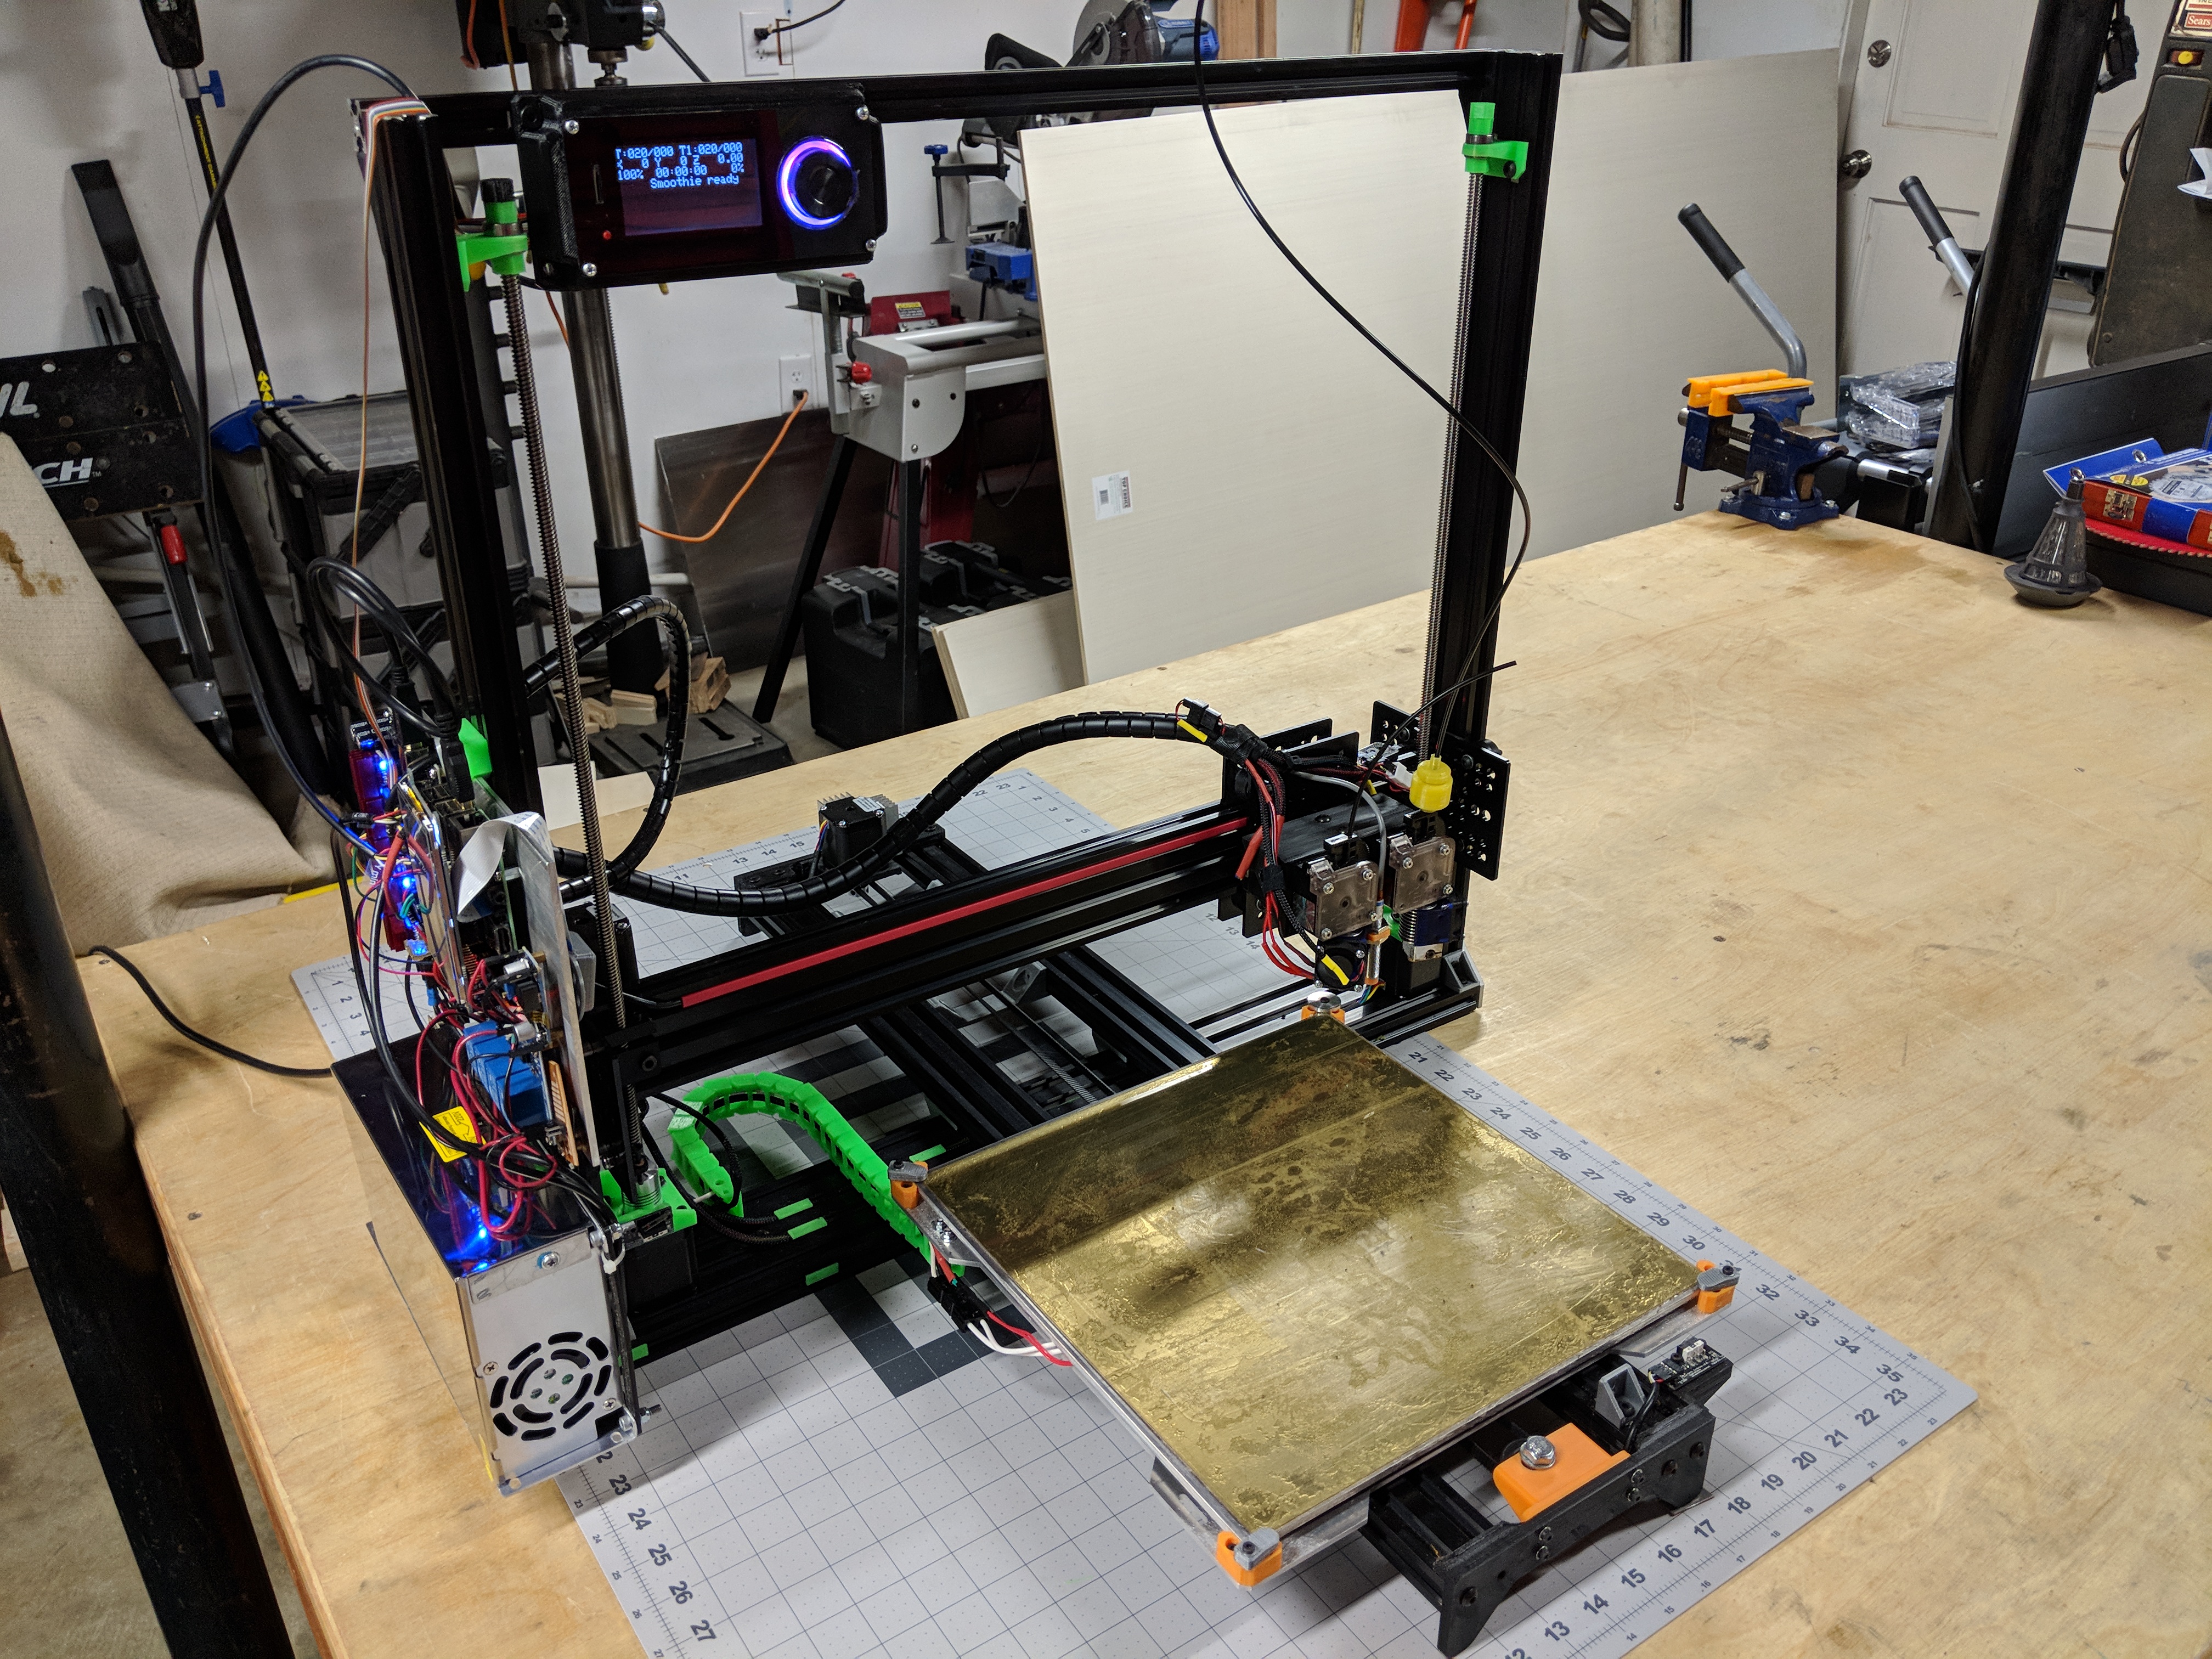
After years of working with RepRap Mendel printers, I wanted something larger, more capable, and more reliable. The Mendel’s 200mm build volume felt cramped, the triangular frame was awkward to modify, and I kept dreaming of multi-material prints. This custom bed-slinger design represents everything I learned from the McWire and Mendel builds, scaled up with dual extrusion and a professional-grade Lulzbot heated bed.
I stuck with a bed-slinger configuration despite CoreXY being trendy. The simplicity appealed to me because belt-driven motion on the bed and X-axis gantry meant fewer things to break. Plus, I understood the mechanics completely after years with the Mendel.
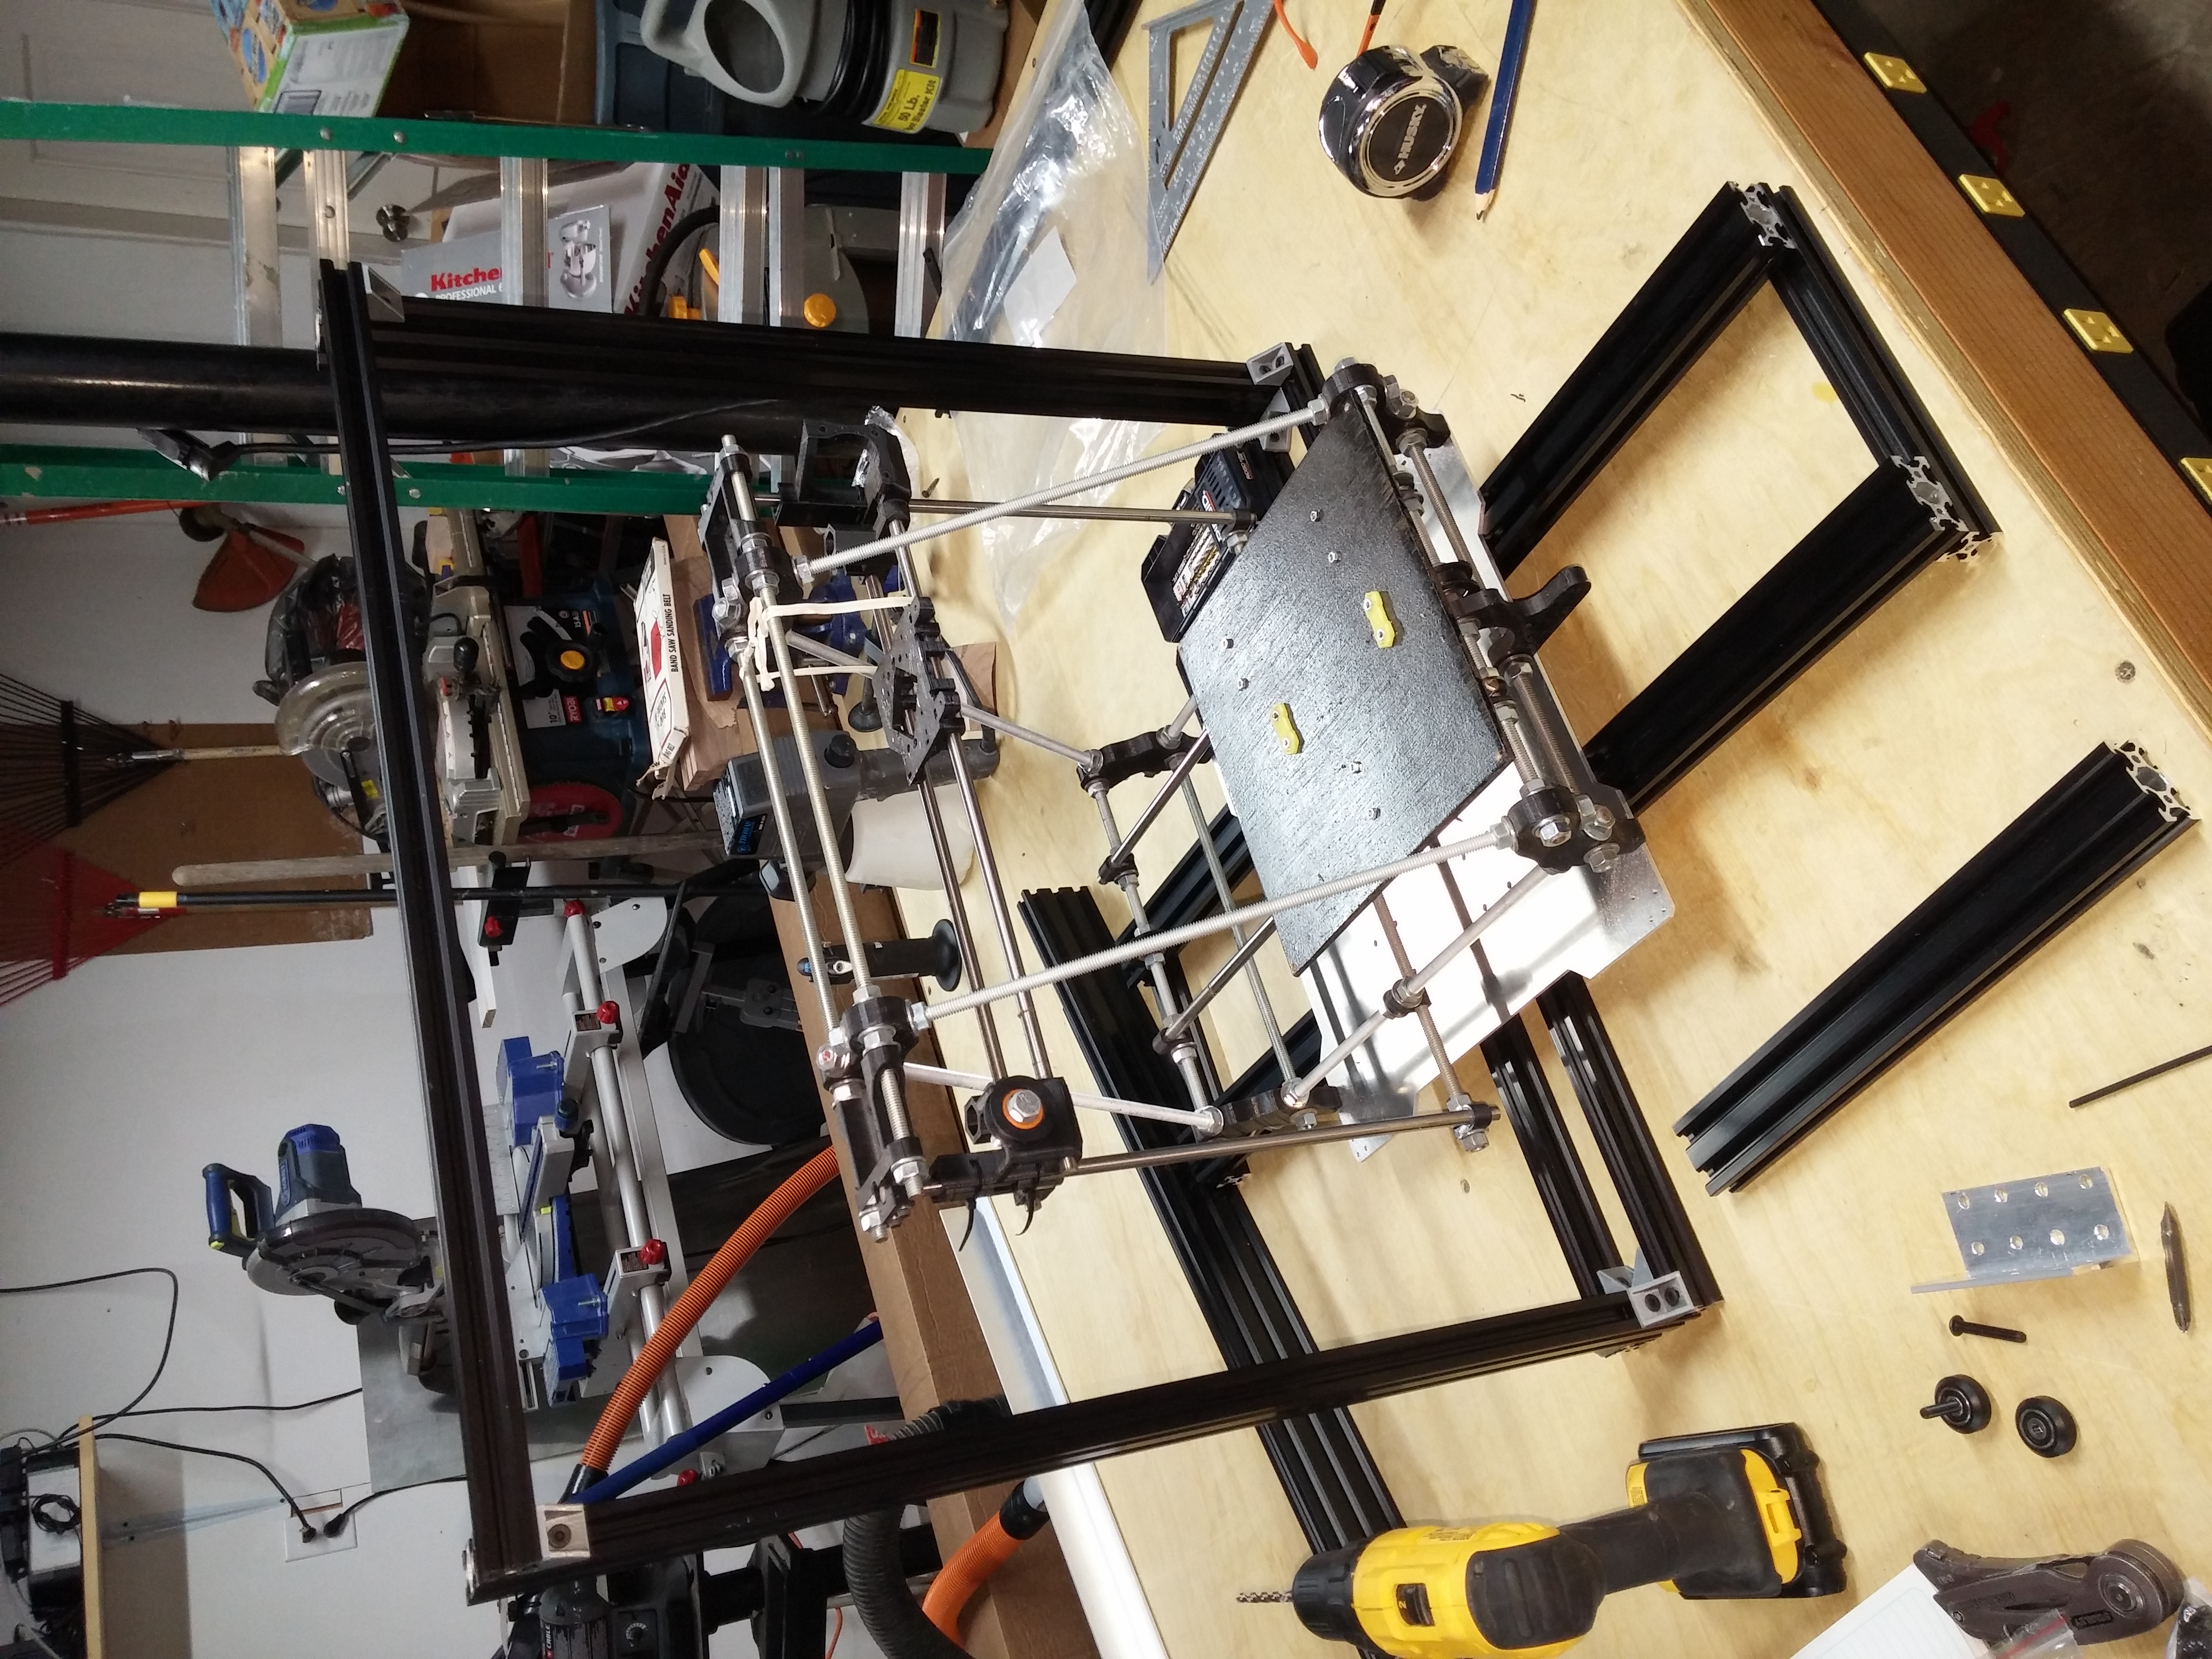
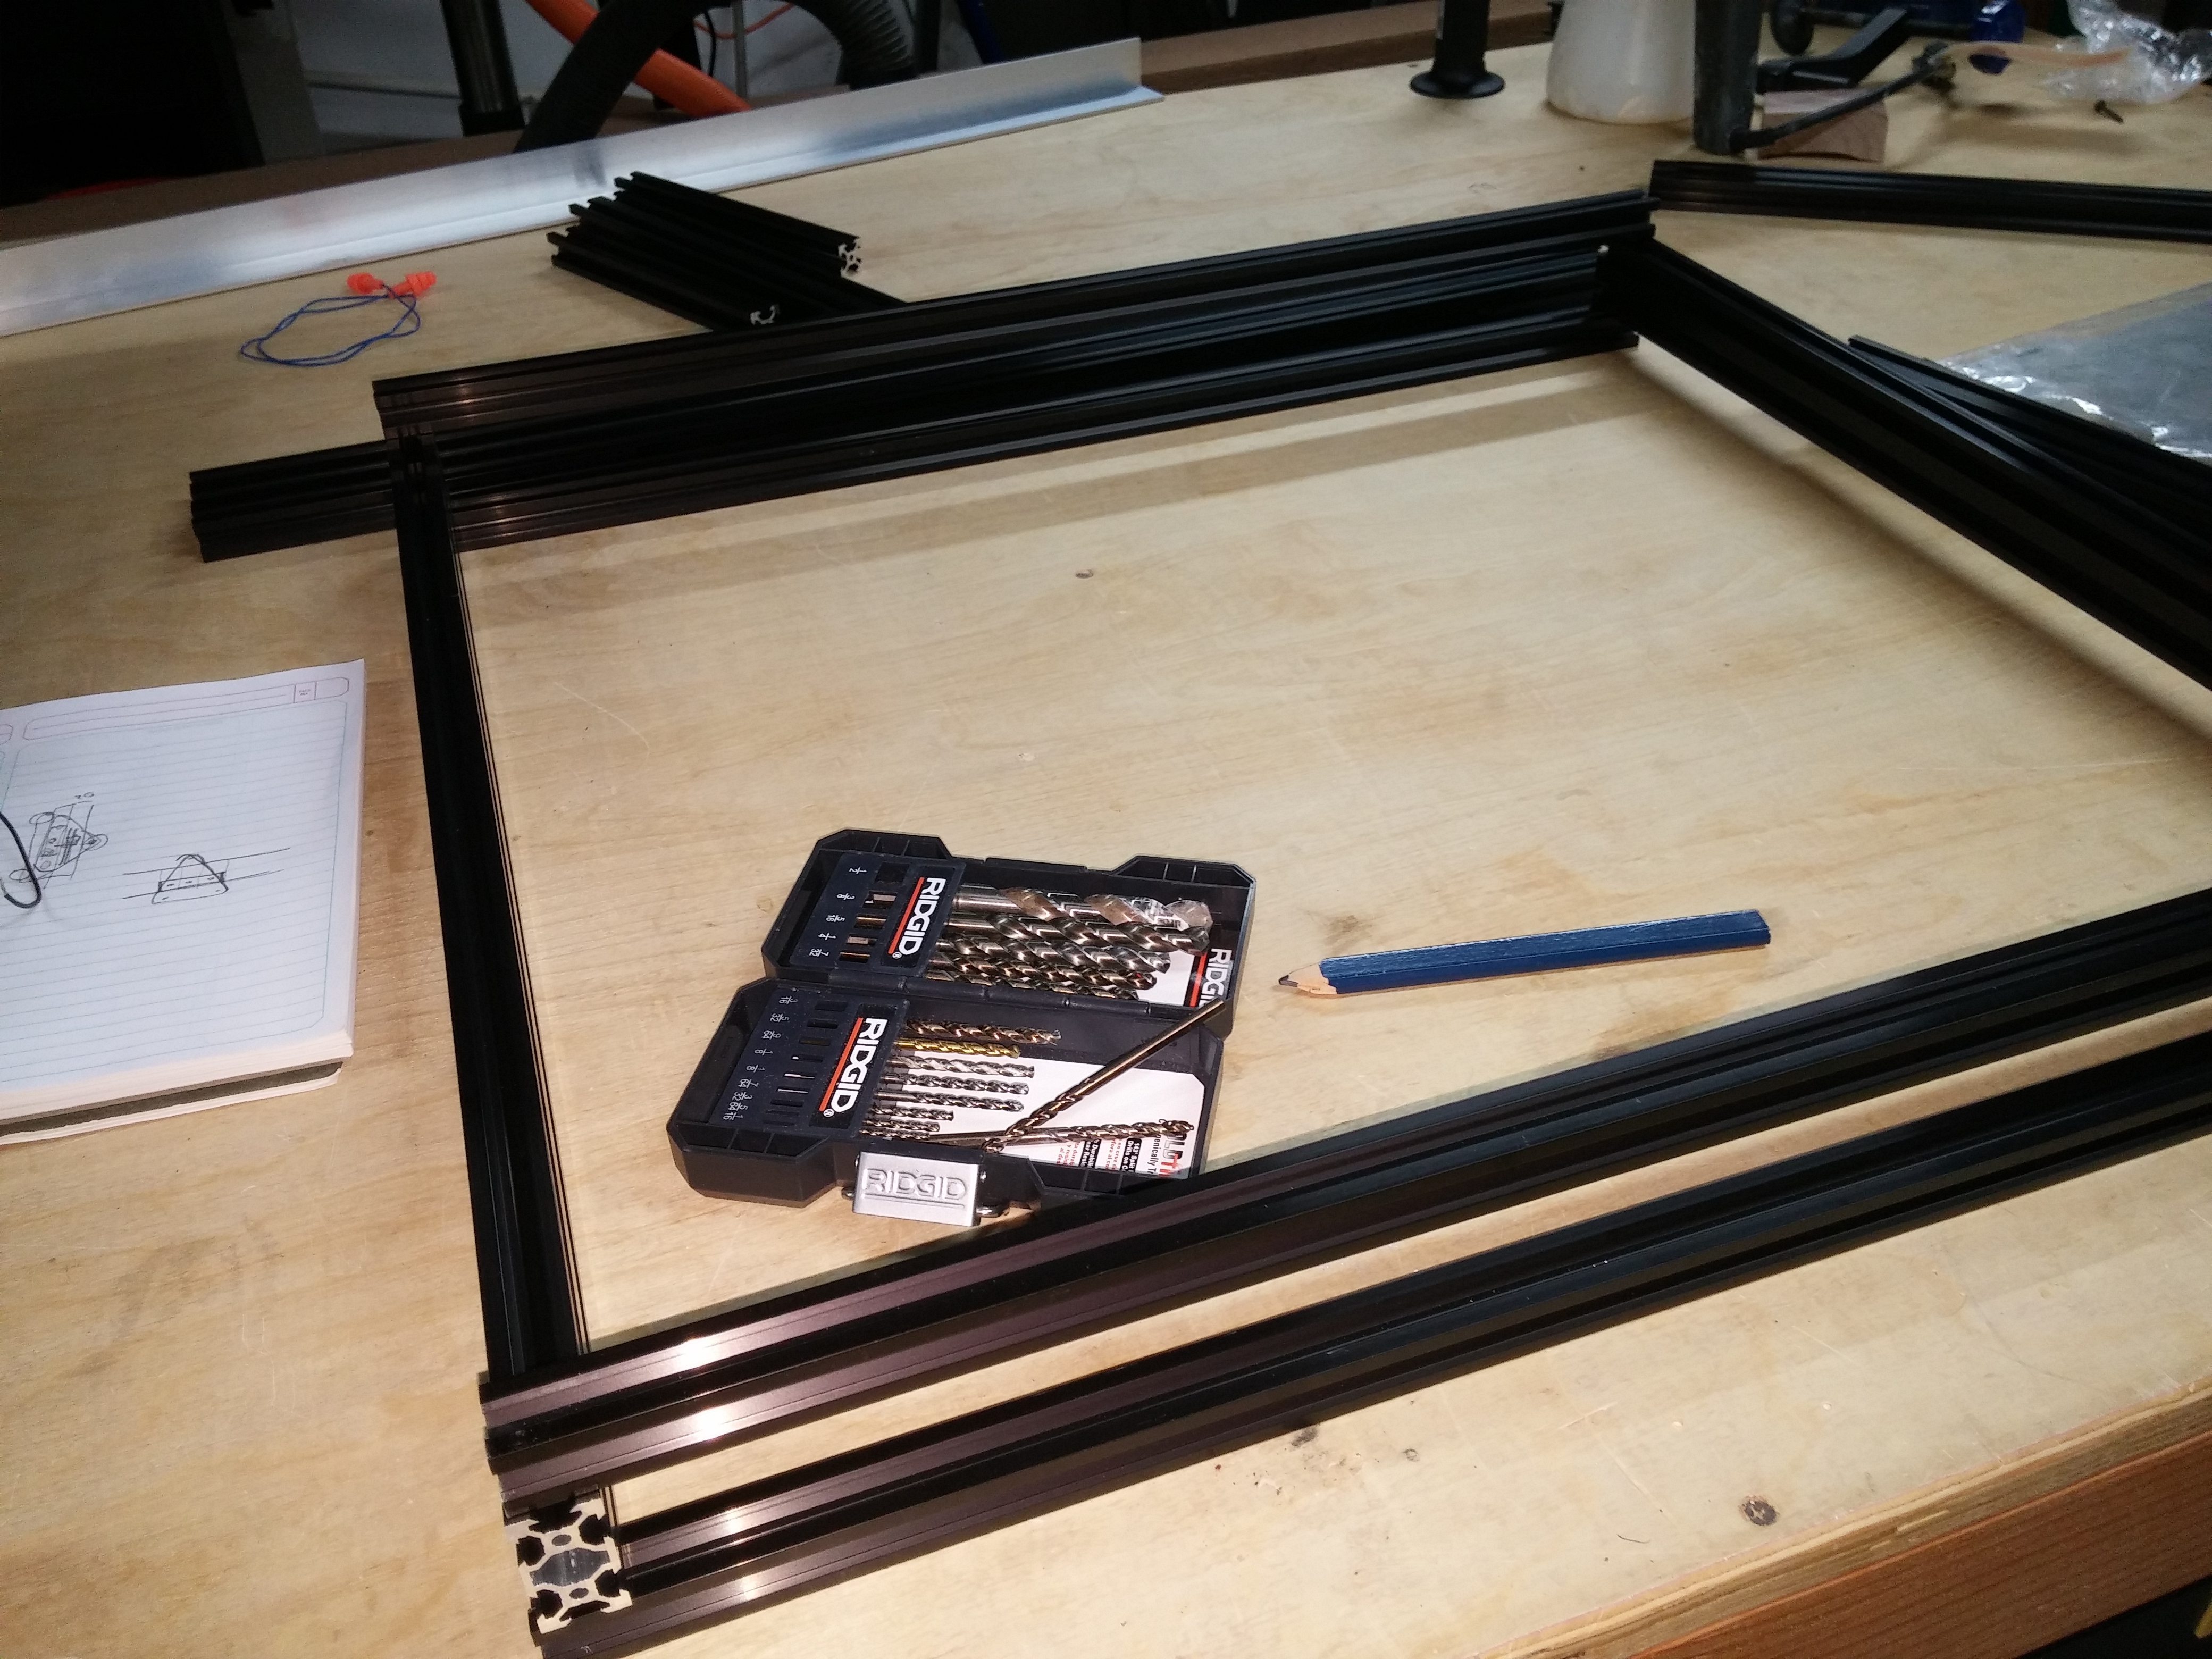
The frame used 2020 V-slot aluminum extrusion throughout, a massive upgrade from the Mendel’s threaded rod. The V-slot profiles served double duty as both structural frame and linear motion guides. The T-slot design meant I could adjust positions on the fly, add brackets, and refine things without cutting new parts. I wanted rigidity, and the chunky V-slot extrusions with V-wheel carriages delivered.
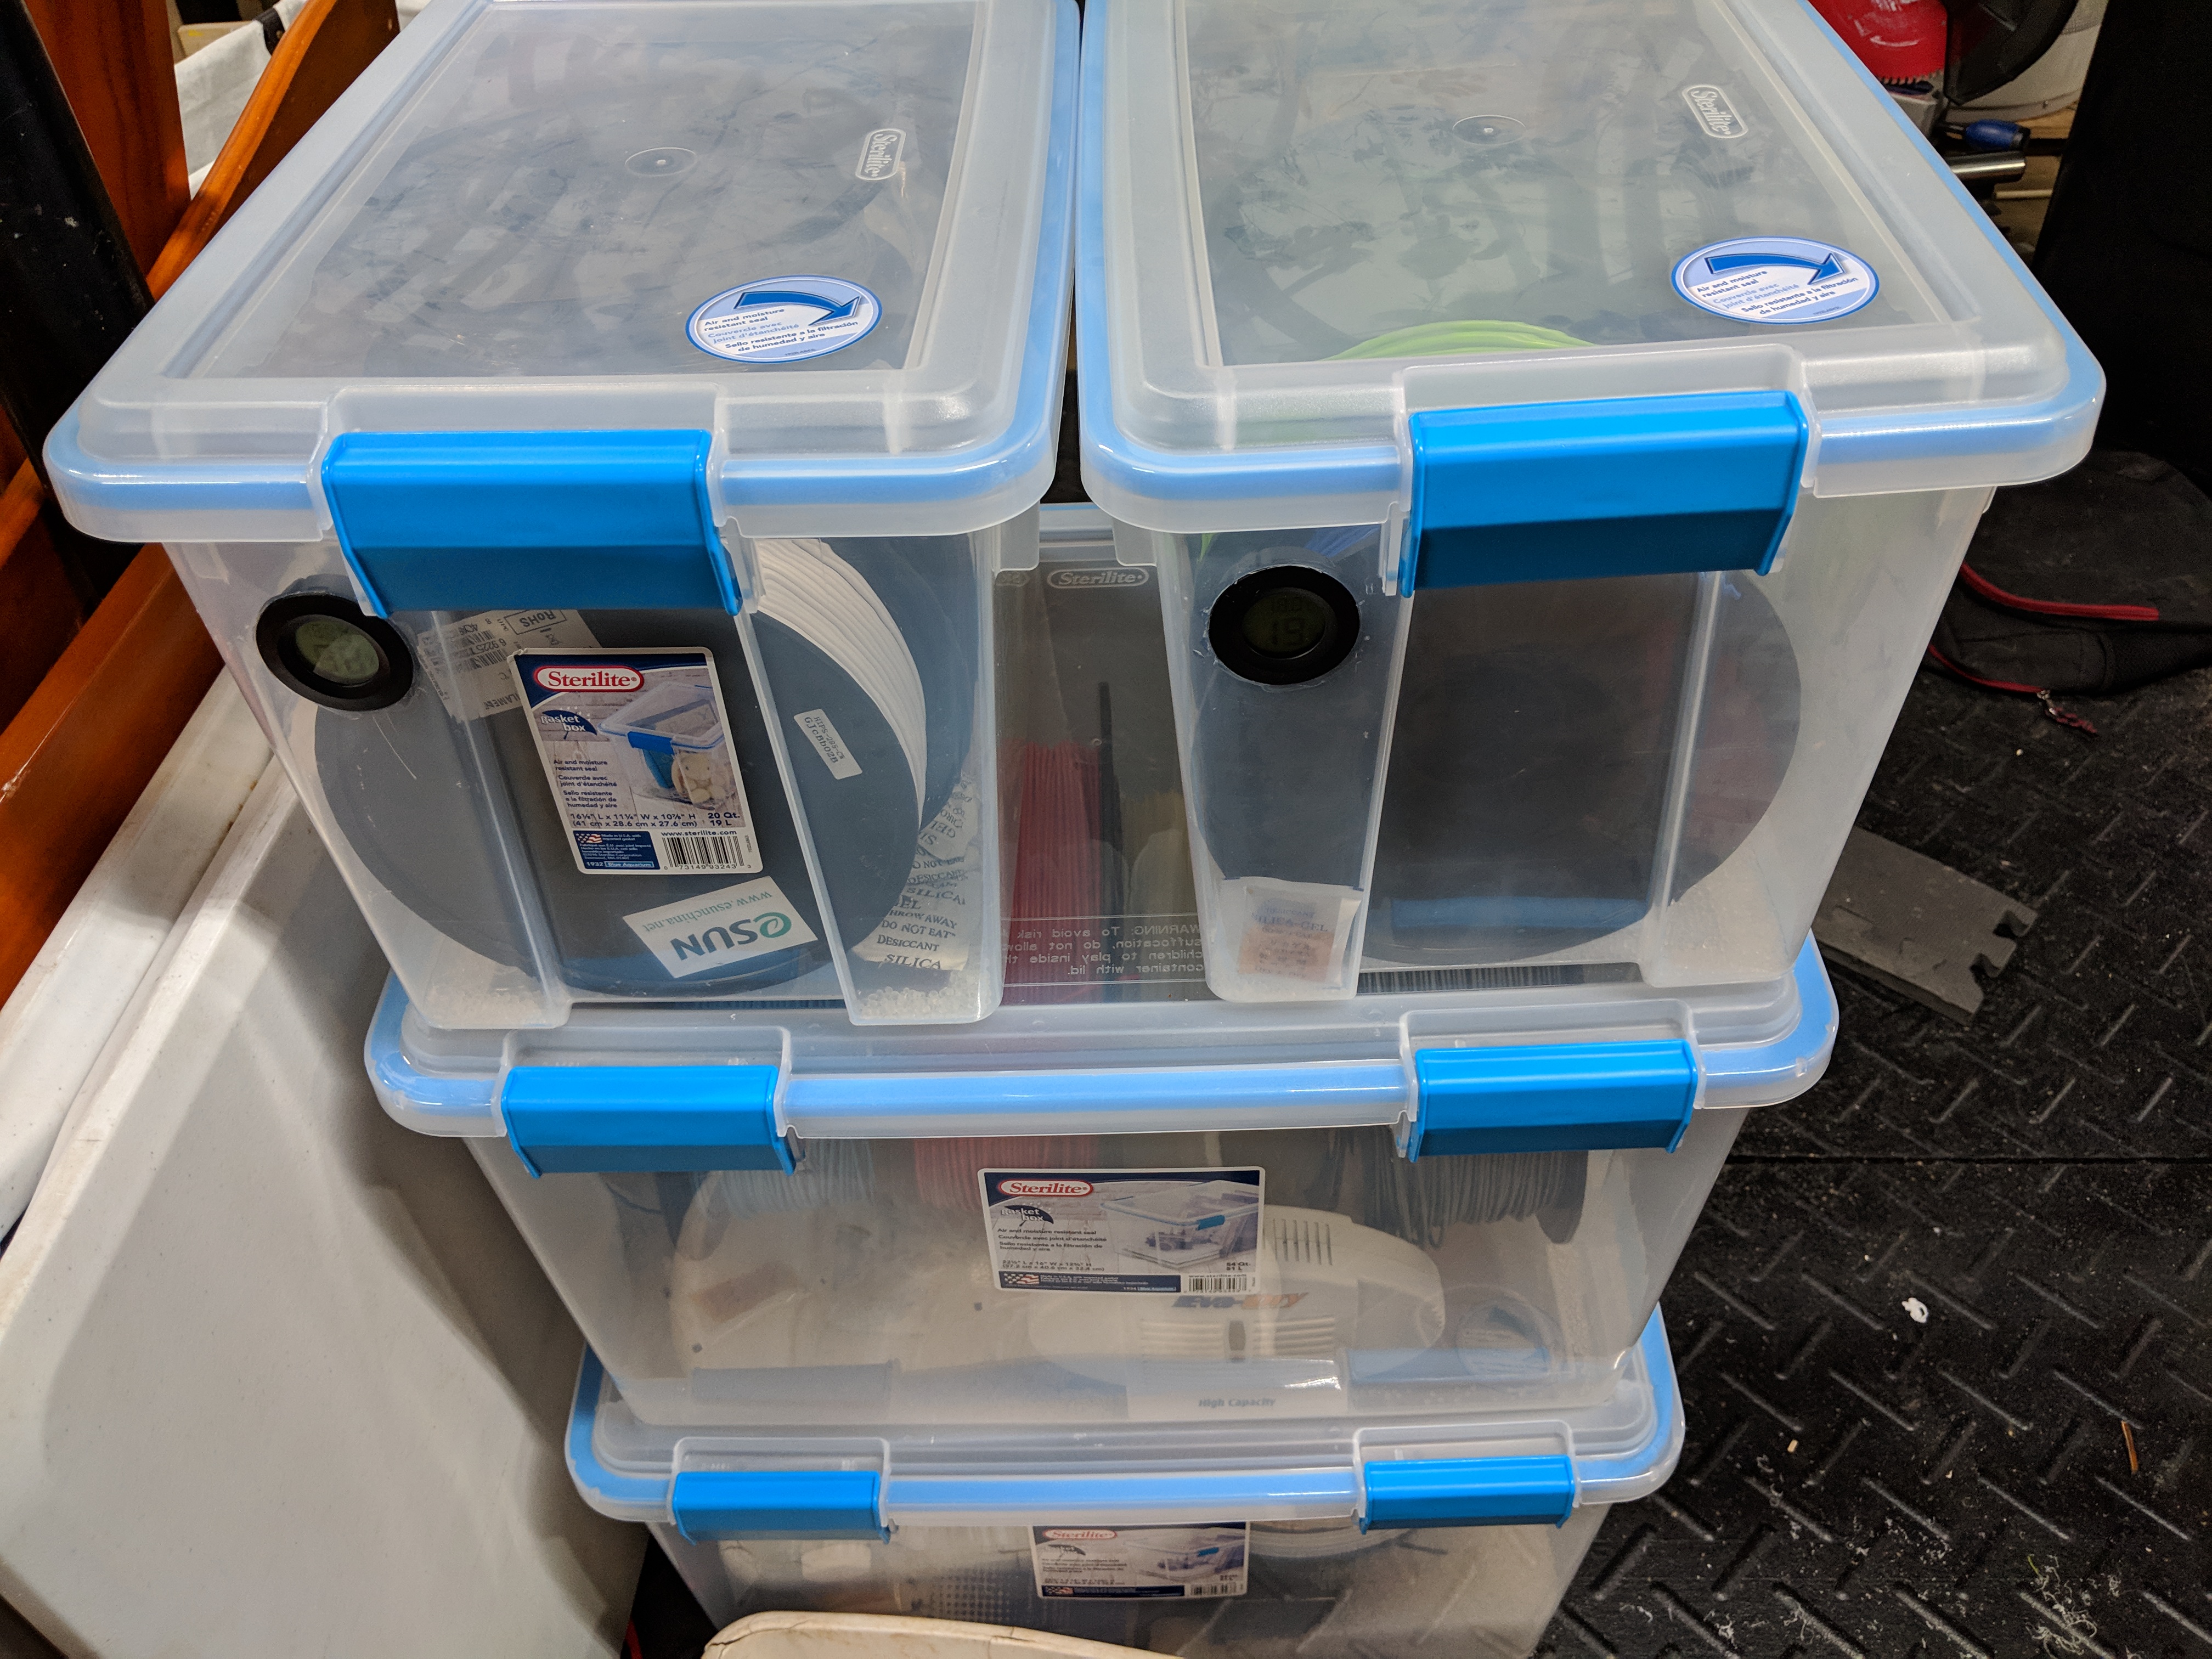
Rather than fight with DIY heated bed designs again, I splurged on a complete Lulzbot heated bed assembly. It was expensive, but the PEI surface and proven thermal performance eliminated countless hours of bed adhesion troubleshooting I’d endured on earlier machines.
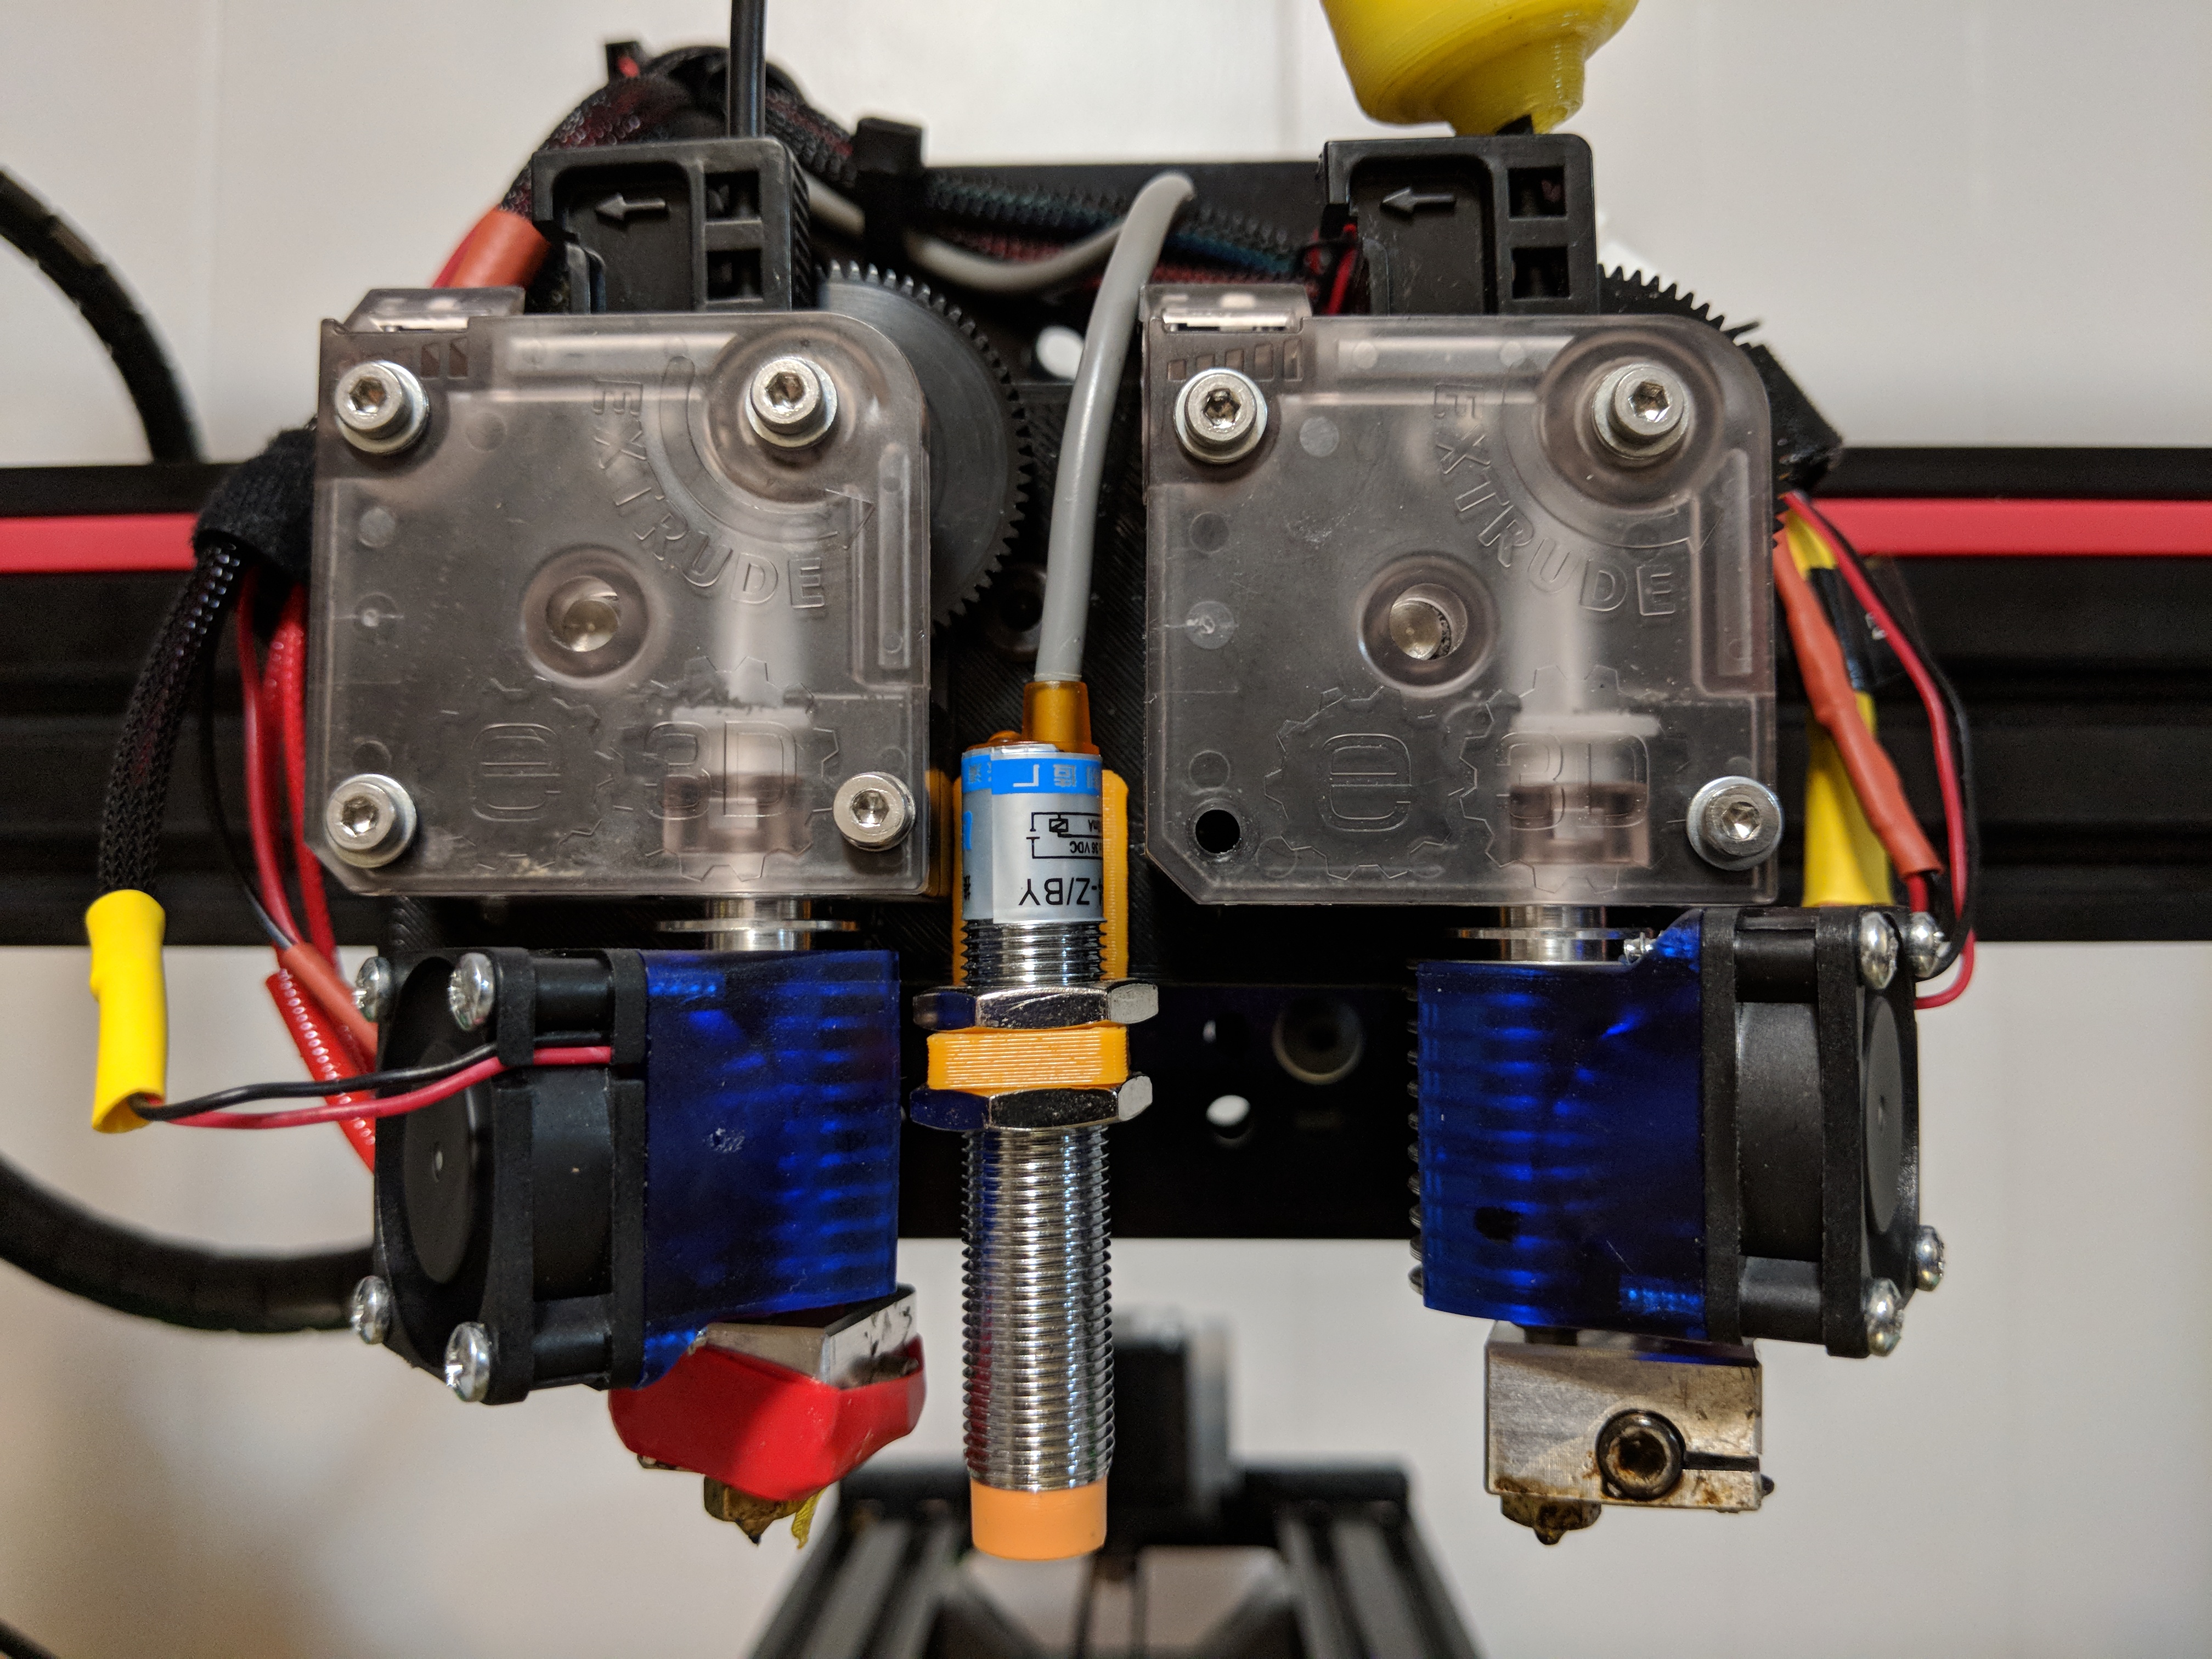
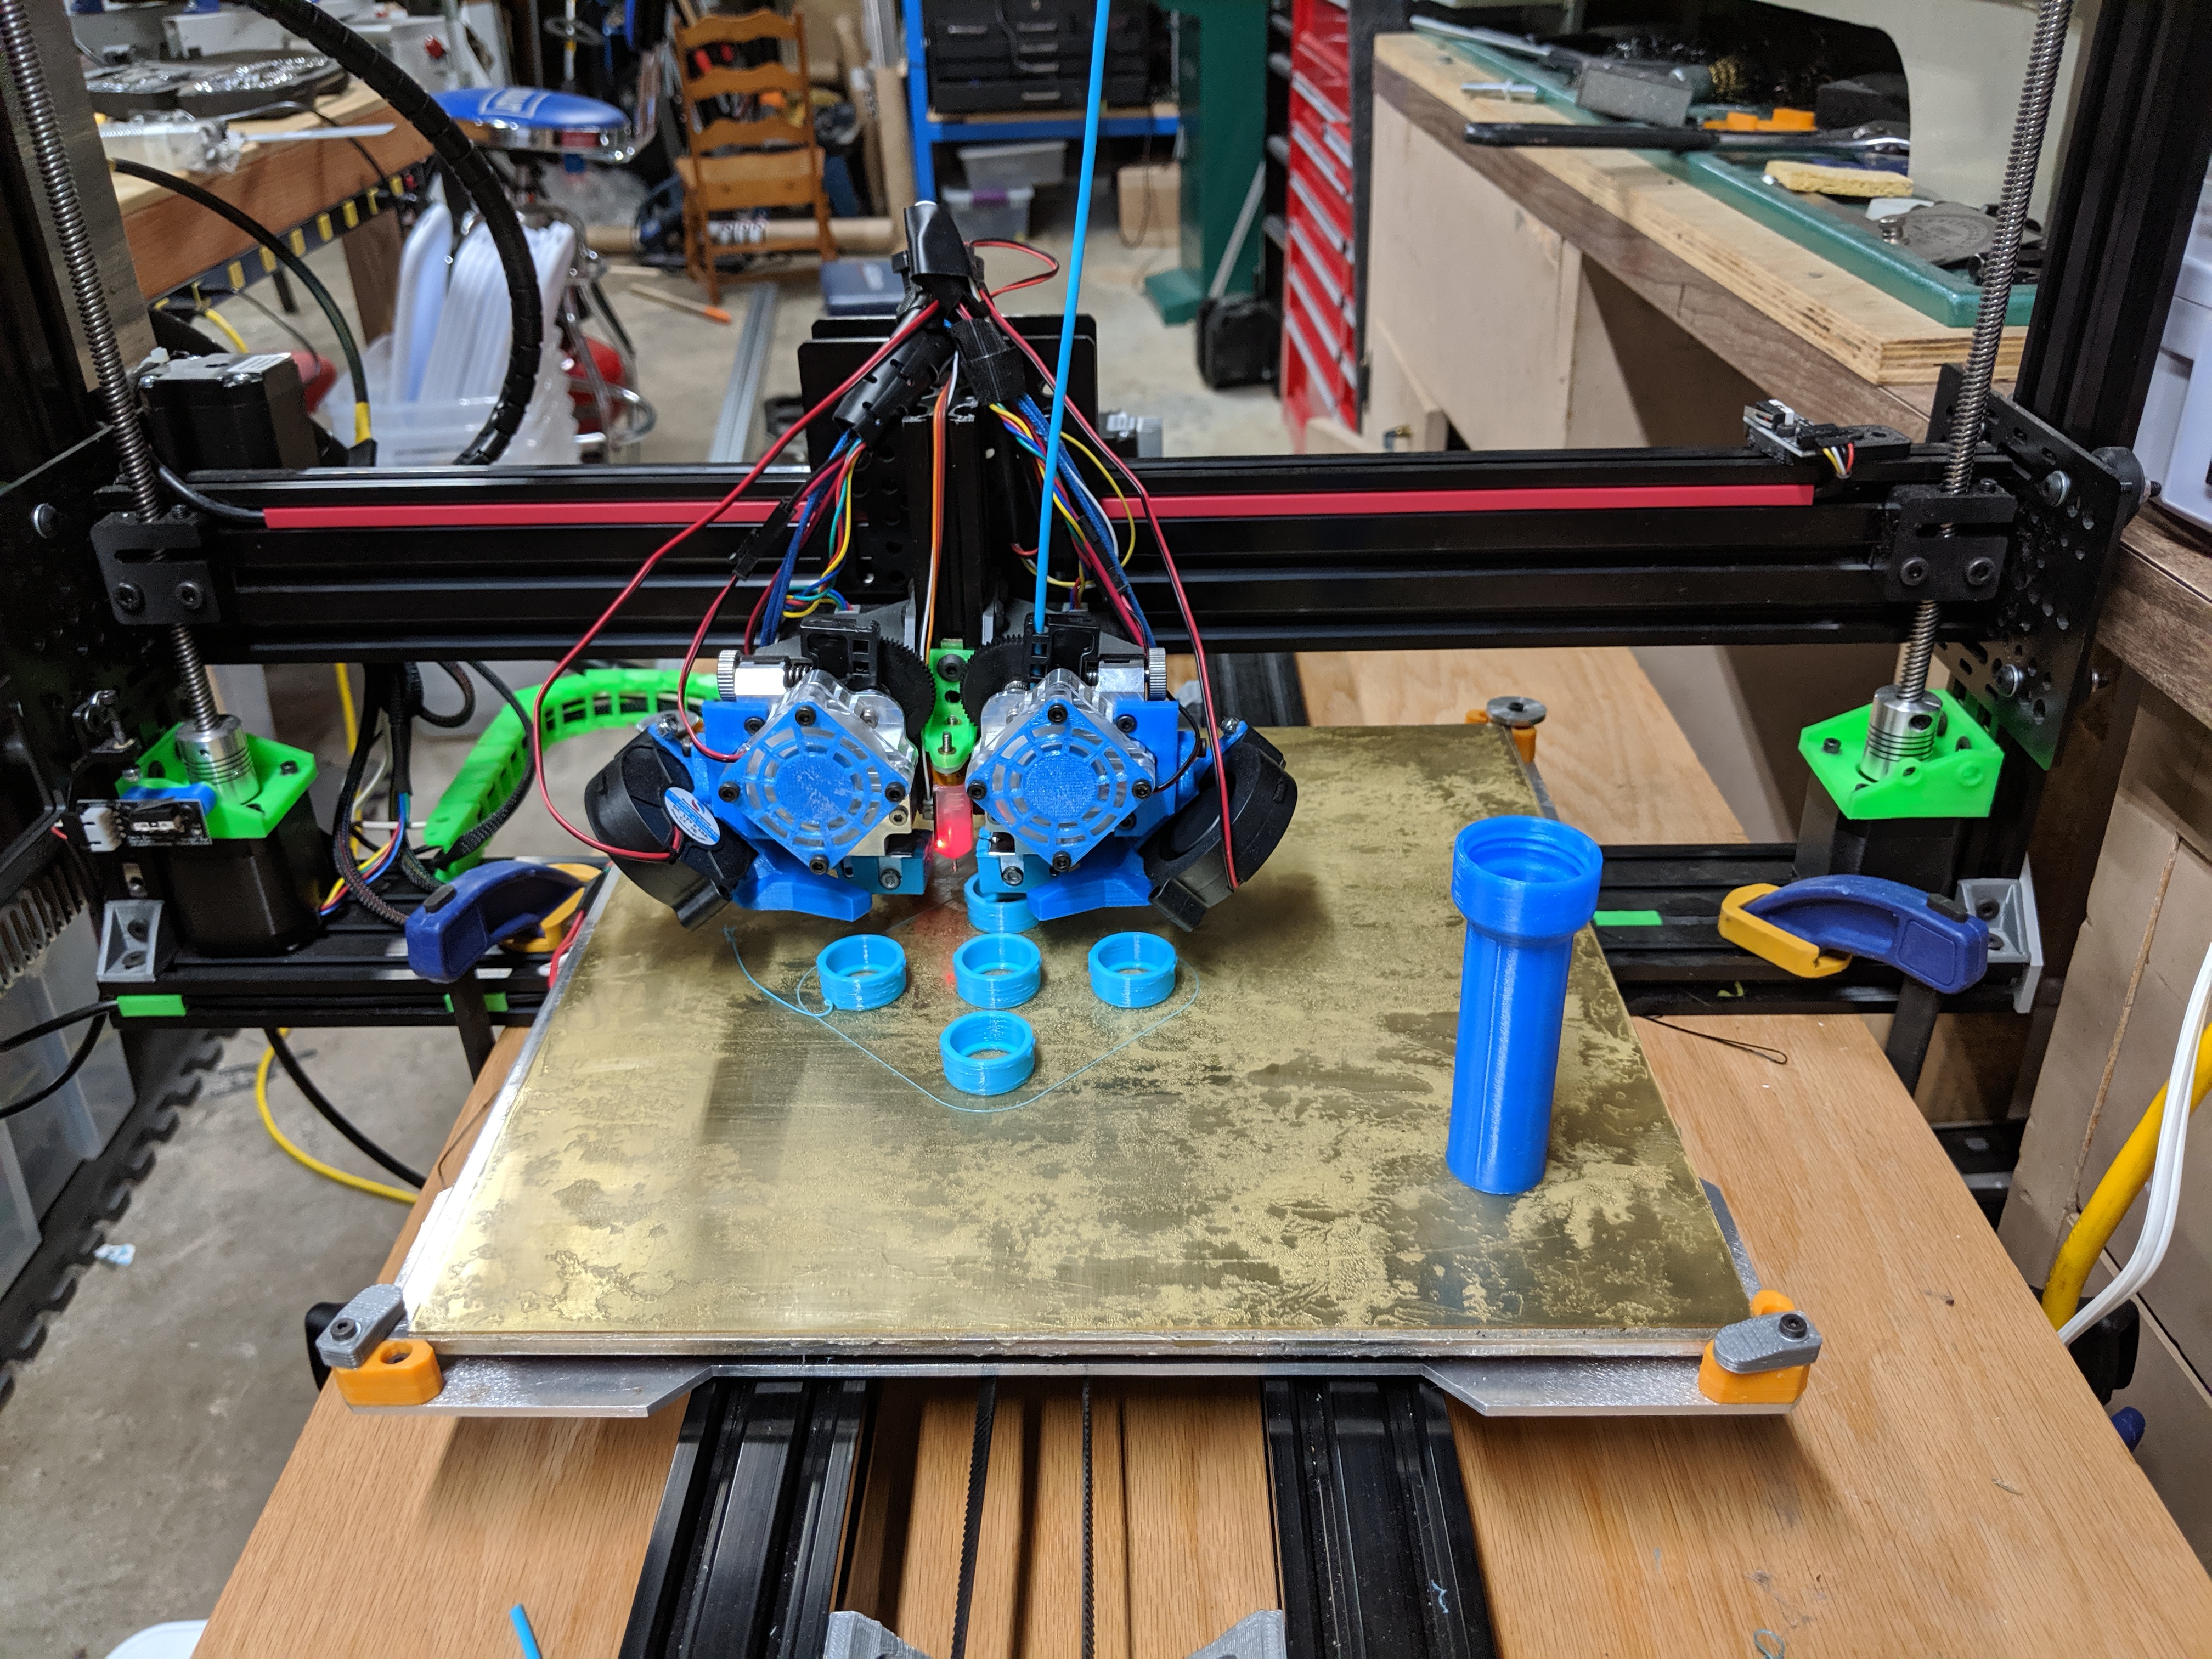
The dual extruder setup was the most complex part. Each extruder needed its own stepper motor, hobbed bolt, bearing assembly, and cooling fans. More critically, the nozzles had to be at exactly the same Z-height. Even 0.1mm difference would cause the inactive nozzle to drag through prints or leave gaps. I used genuine E3D v6 hotends. After struggling with cheap clones on earlier builds, I’d learned that quality components were worth every penny.
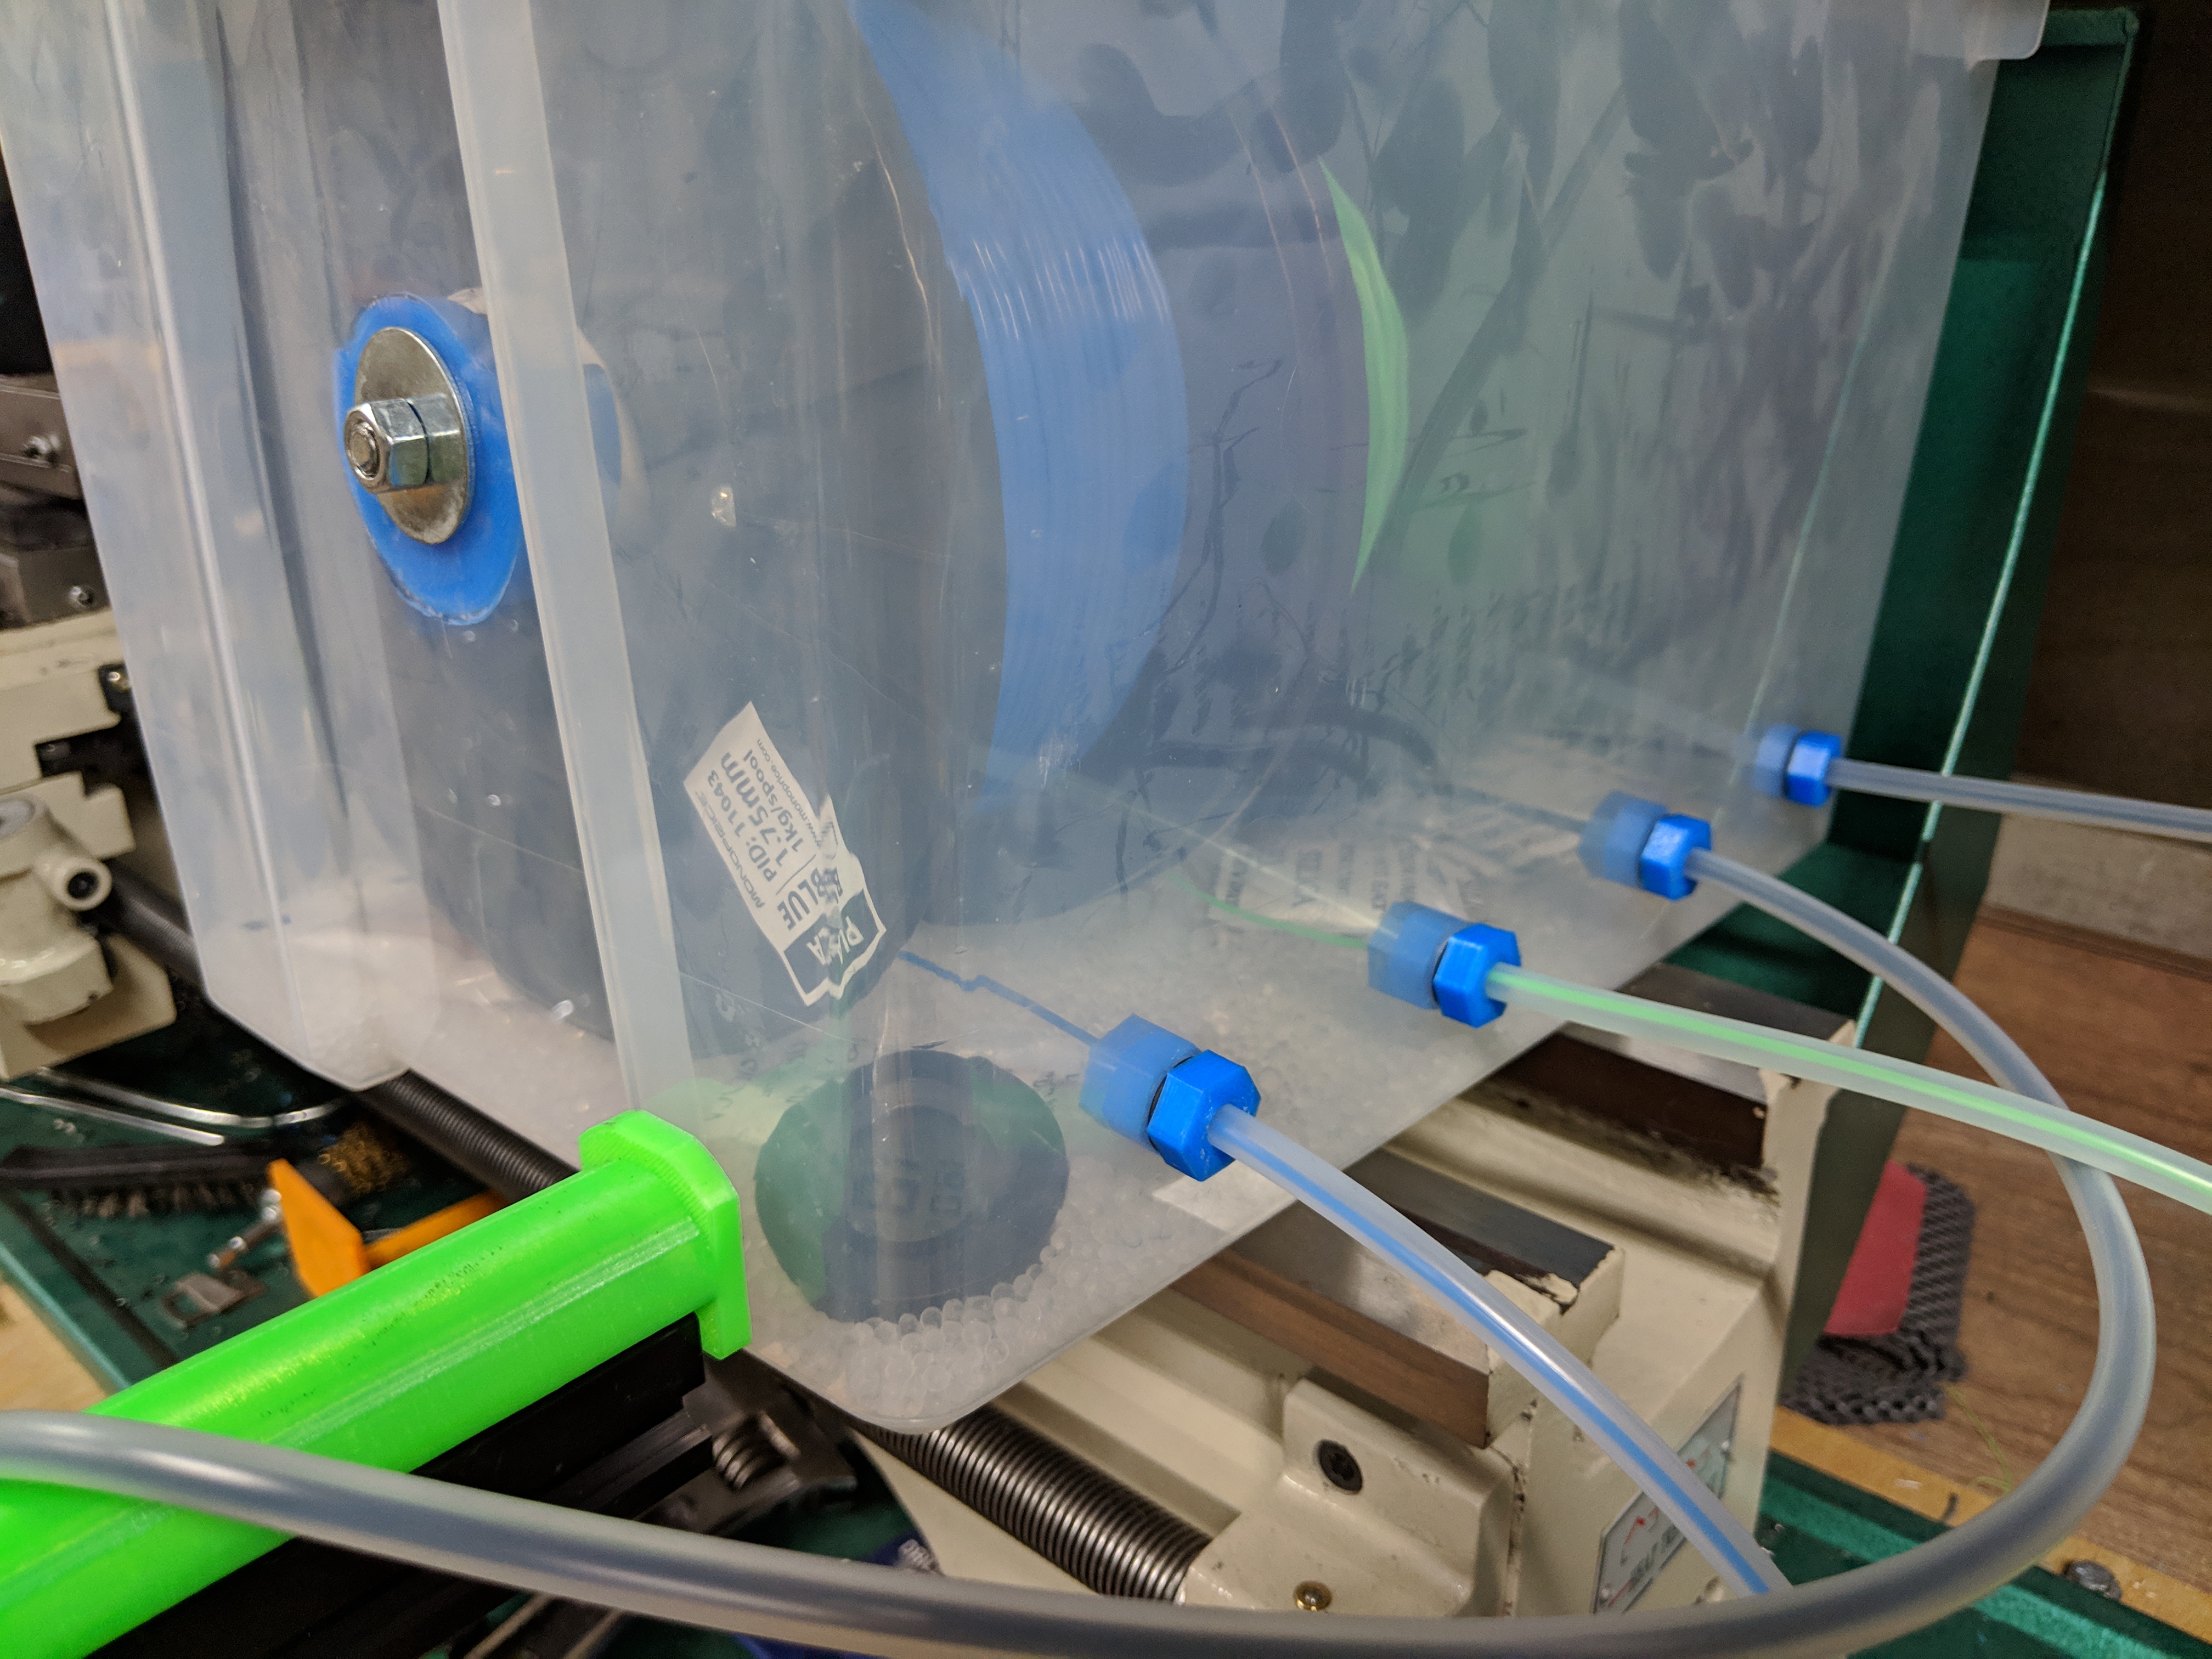
The electronics setup used an Azteg GT control board with integrated stepper drivers. Each extruder got its own motor cable, heater cartridge wires, thermistor wires, and two cooling fan connections. I used cable chains for the moving X-axis, a lesson learned from countless wire breaks on the Mendel.
Getting dual extrusion working required patience. I spent an entire evening matching nozzle heights with a piece of paper, adjusting mounting screws until both nozzles had identical drag. Then came extruder calibration: marking filament, commanding extrusion, measuring, calculating, adjusting. With two extruders, this had to be perfect for both.
Temperature management added another layer of complexity. The active nozzle printed at normal temperature, but the standby nozzle needed to stay hot enough to prevent jams while cool enough to not ooze. Finding that sweet spot took dozens of test prints.
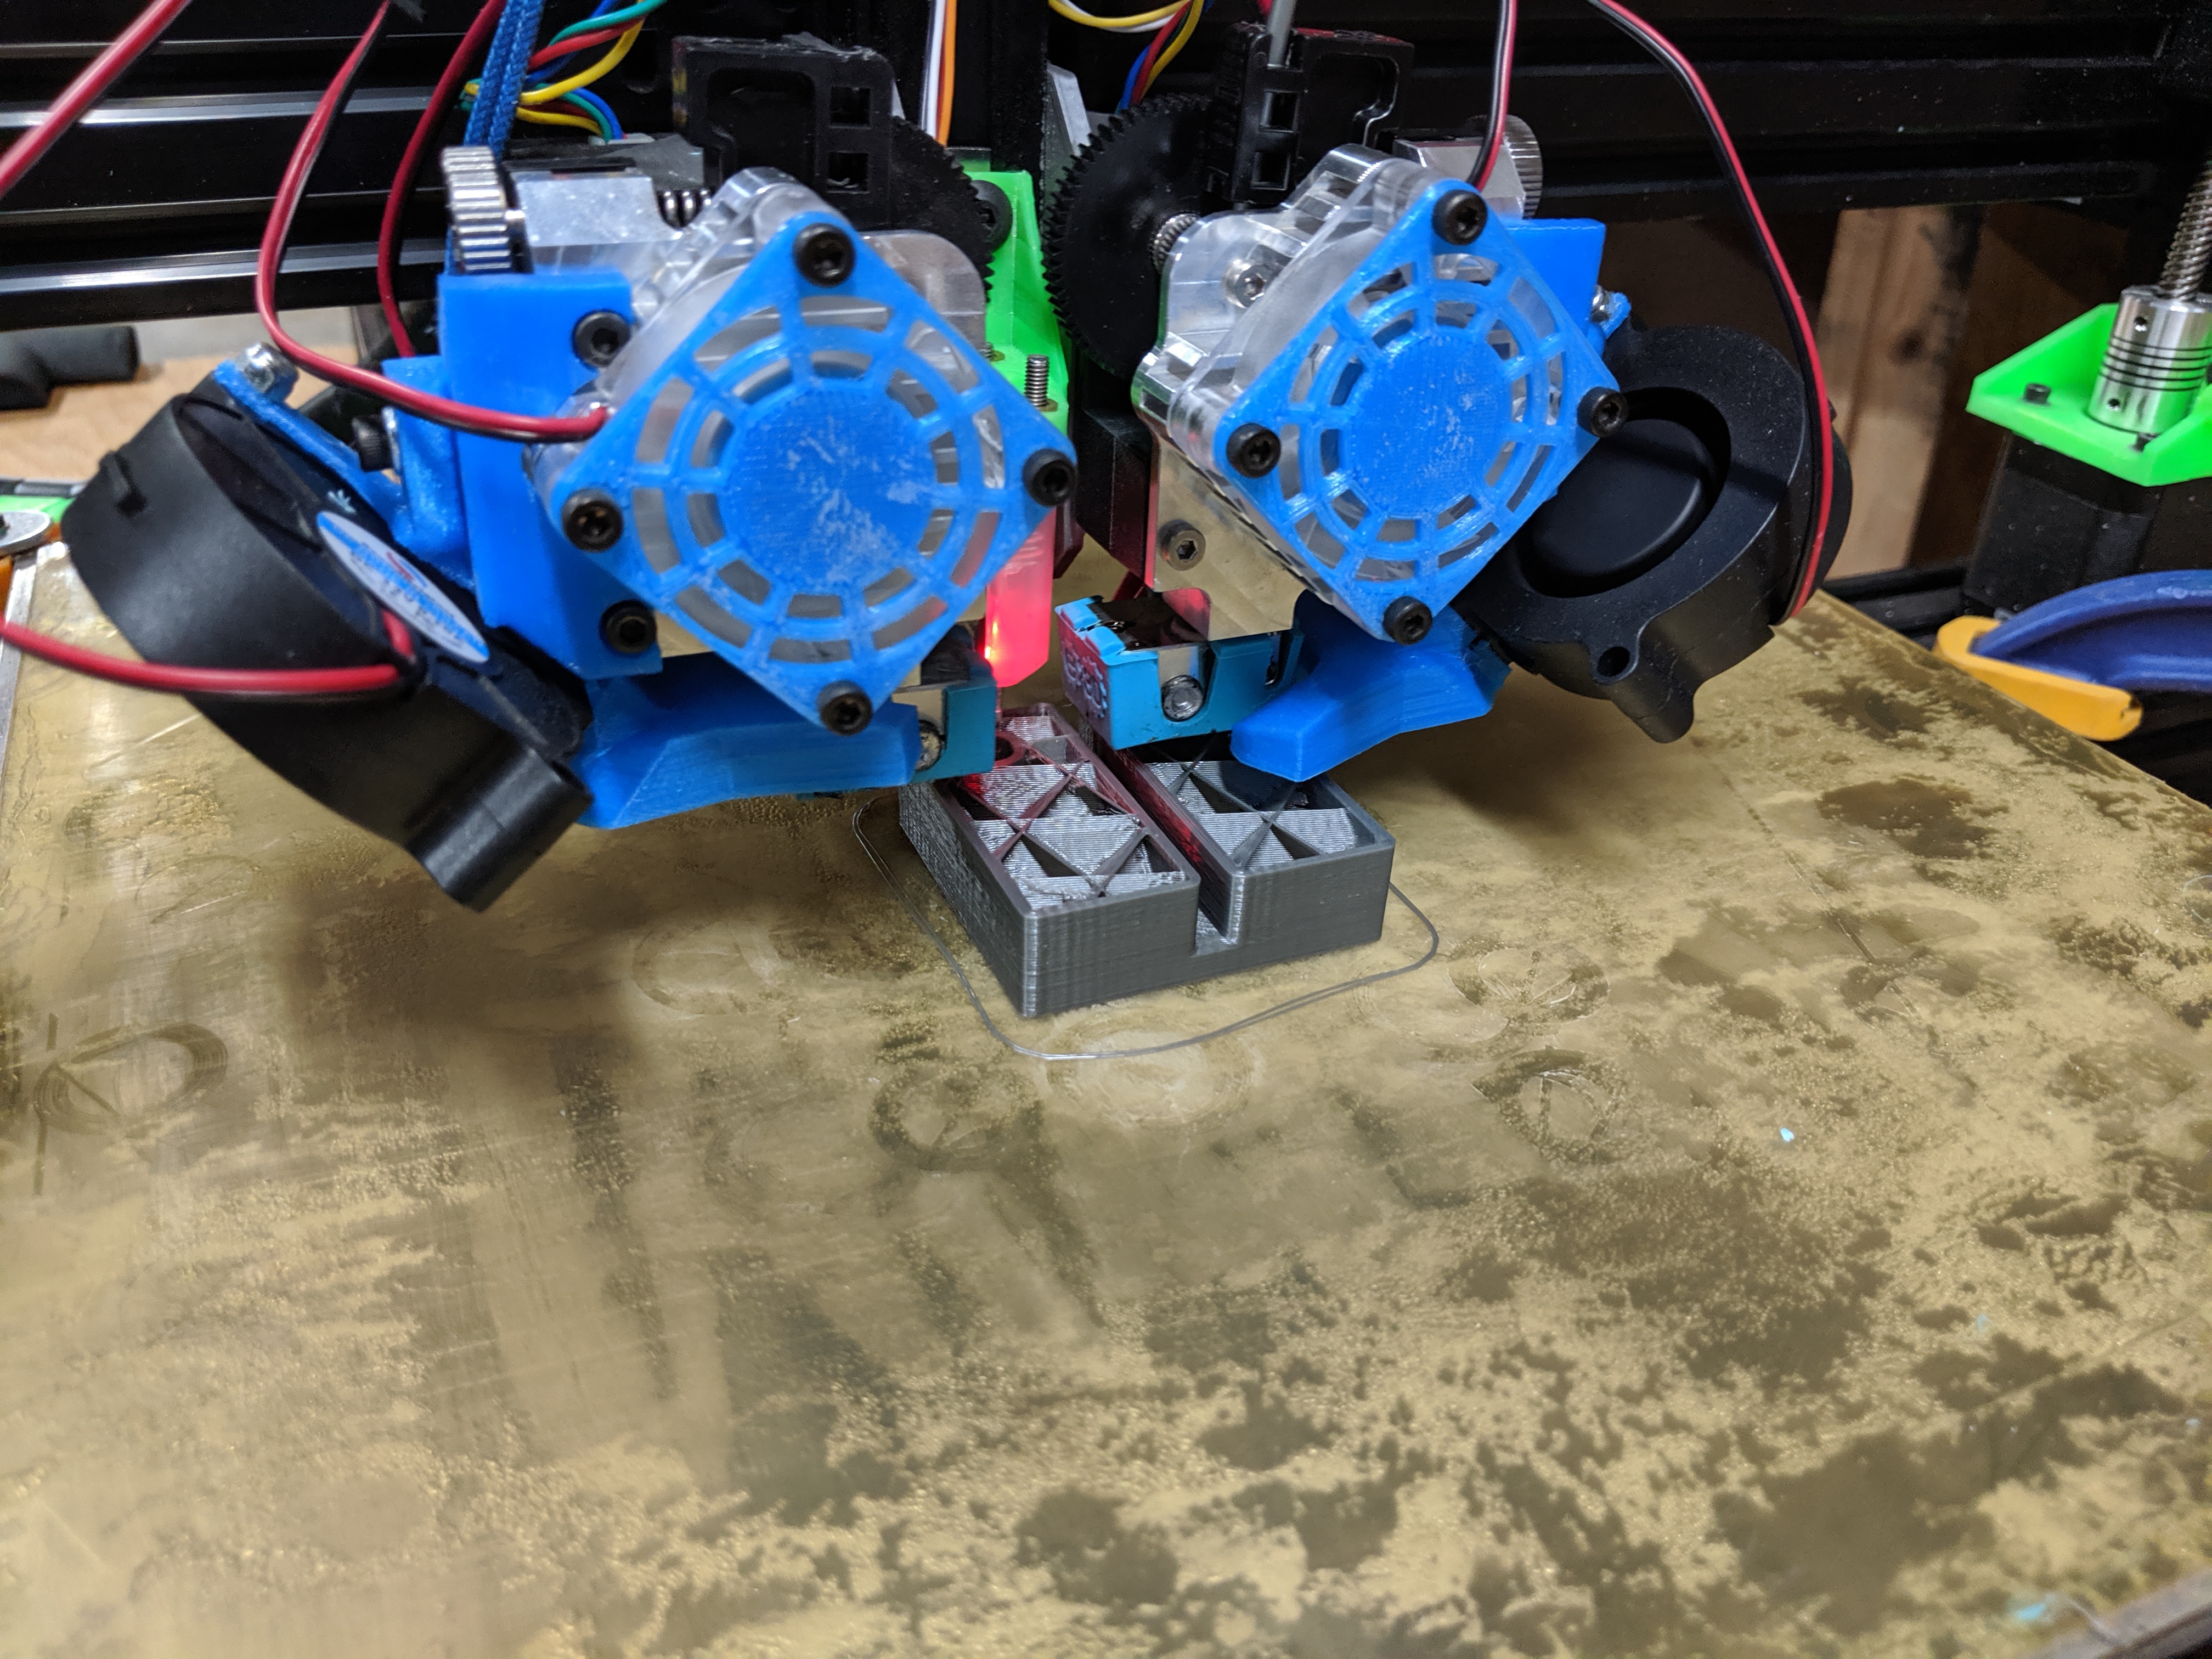
Early test print showing dual extrusion in action
Once calibrated, the printer became a workhorse. The 300mm cubic build volume fundamentally changed what was possible. Parts that required multi-piece assembly on the Mendel became single prints. I could print full sets of components in one run, complete furniture pieces, and large enclosures that simply wouldn’t fit before.
The Lulzbot bed’s PEI surface was magical. Prints stuck firmly during printing and popped off easily when cool. No more blue tape, no glue stick, no hair spray rituals.
The dual extruders opened up new possibilities. I could print complex overhangs with dissolvable support material, then dissolve away the supports for perfect surface finish. Two-color prints created striking logos and decorative items. I experimented with combining rigid and flexible materials, printing rigid frames with flexible hinges as single pieces.
But I’ll be honest: dual extrusion added significant complexity. Ooze control required careful temperature management. Switching between extruders took 3-5 seconds each time. Wipe towers wasted material. For many prints, single extrusion with clever support design worked better. I used the dual capability maybe 20% of the time.
This printer ran as my primary machine for several years, producing thousands of parts. The Lulzbot bed never failed. The E3D hotends required occasional nozzle changes but were otherwise bulletproof. I printed cases, brackets, jigs, and fixtures for other workshop projects. The printer paid for itself quickly by eliminating outsourcing costs.
The bed-slinger design had limitations. Moving that heavy heated bed meant conservative acceleration to prevent ringing. Even so, the mechanical simplicity meant easy troubleshooting when things went wrong.
Eventually, I found myself using single extrusion more than dual. The complexity wasn’t worth it for most prints. I converted the machine back to single extruder for simplicity, keeping the second extruder assembly on the shelf for special projects.
This printer ran as my workhorse for several years and printed parts for other builders’ projects. The Mendel had printed many of the tooling parts I used to build this machine, continuing the RepRap tradition of machines building better machines.
Editor’s Note (2025): Dual extrusion has evolved significantly since this build. The Azteg GT boards unfortunately suffered from reliability issues and lack of community support, while the RepRap community standardized on RAMPS, Duet, and later 32-bit boards. Modern printers use tool-changing systems (Prusa MMU, Bambu AMS) or IDEX (Independent Dual Extruder) configurations that eliminate many of the challenges described here. The bed-slinger design remains popular in budget printers like the Ender 3, though high-performance machines have largely moved to CoreXY. Regardless of configuration changes, the fundamental lessons about build volume, quality components, and rigorous calibration remain timeless.