After months of getting the McWire RepStrap working reliably, it was finally time for the ultimate goal: printing parts for a proper RepRap Mendel. This self-replicating printer design represented the culmination of the RepRap project’s vision, a machine that could reproduce most of its own components.
Printing Mendel Parts on the McWire#
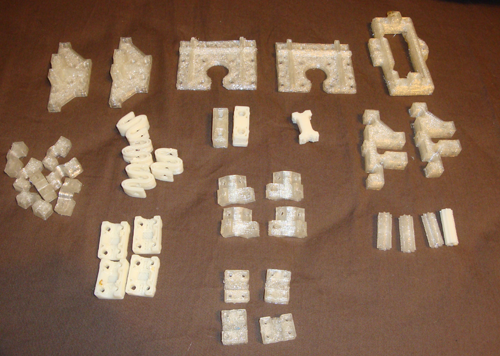
Using the heated bed setup and double-resistor extruder, I printed approximately 25% of the required plastic parts for a Mendel. Each part took anywhere from 20 minutes to several hours, and getting good prints required careful attention to bed adhesion (heated bed at approximately 110°C for ABS), extrusion temperature (240-245°C), print speed (typically 40-60mm/s for structural parts), and layer height (0.35-0.50mm for strength).
The RepRap philosophy of “self-replication” was becoming reality. A machine built from hardware store parts was now creating specialized components that would go into a more refined printer.
Mendel Assembly Begins#
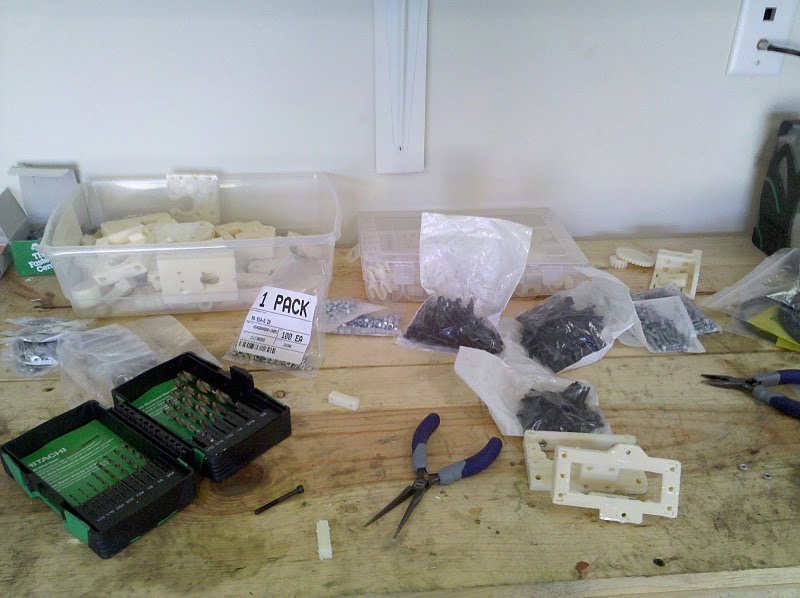
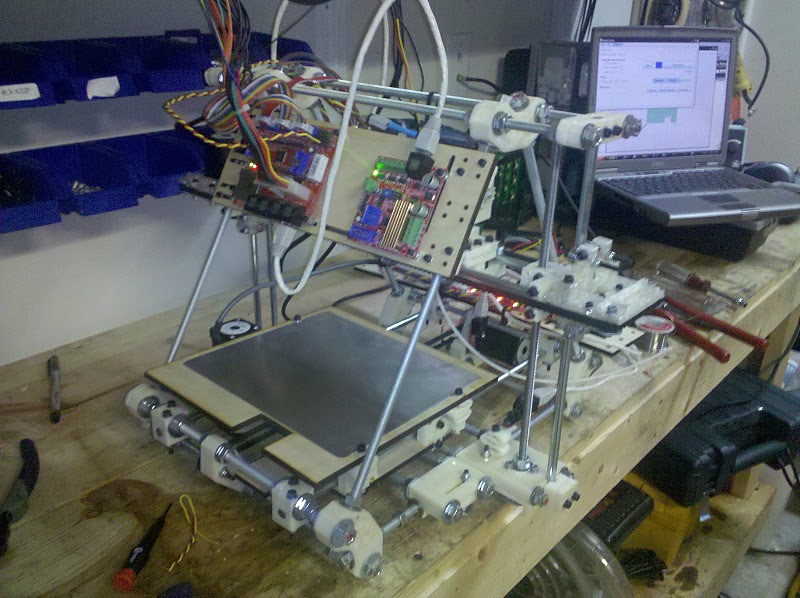
All the metal hardware arrived: threaded rods, nuts, bolts, bearings, and smooth steel rods for the linear motion system. The Mendel design was more elegant than the McWire, lighter, more compact, and using less material overall.
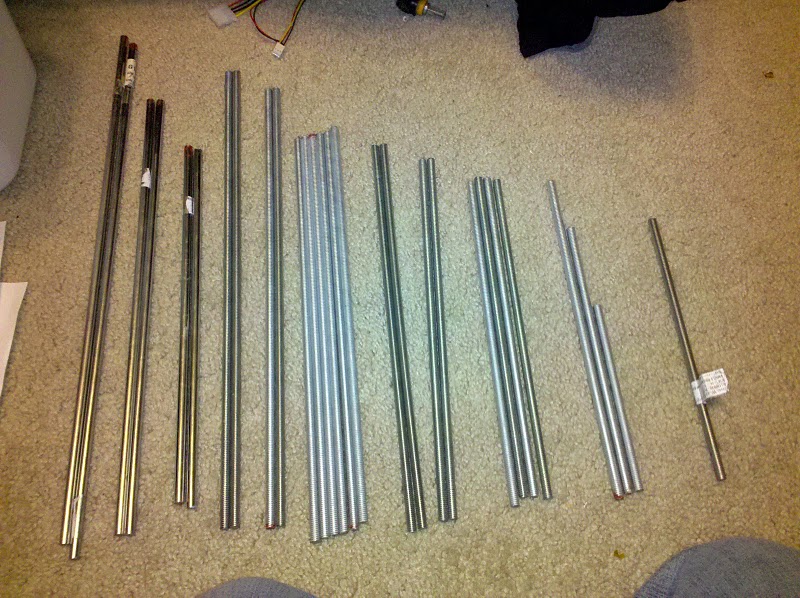
The frame used threaded rod and smooth rod for the linear bearings. This was a significant improvement over the McWire’s heavier construction.
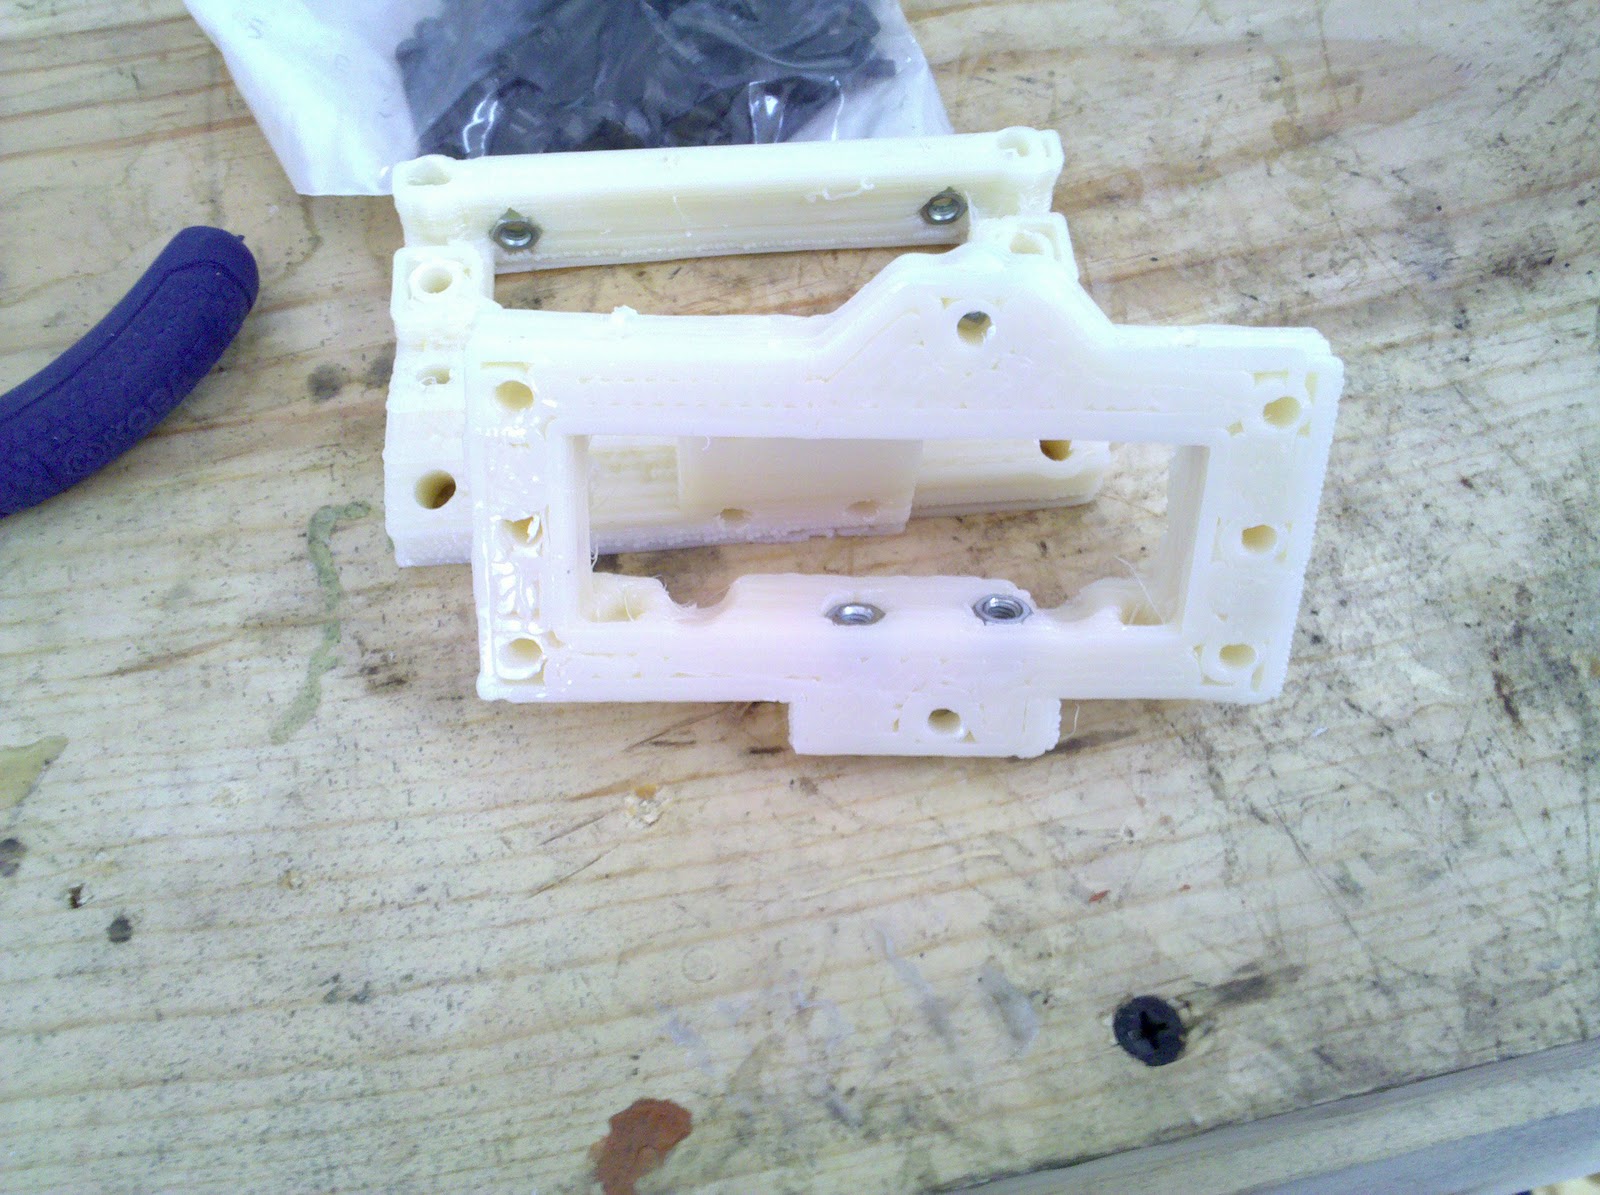
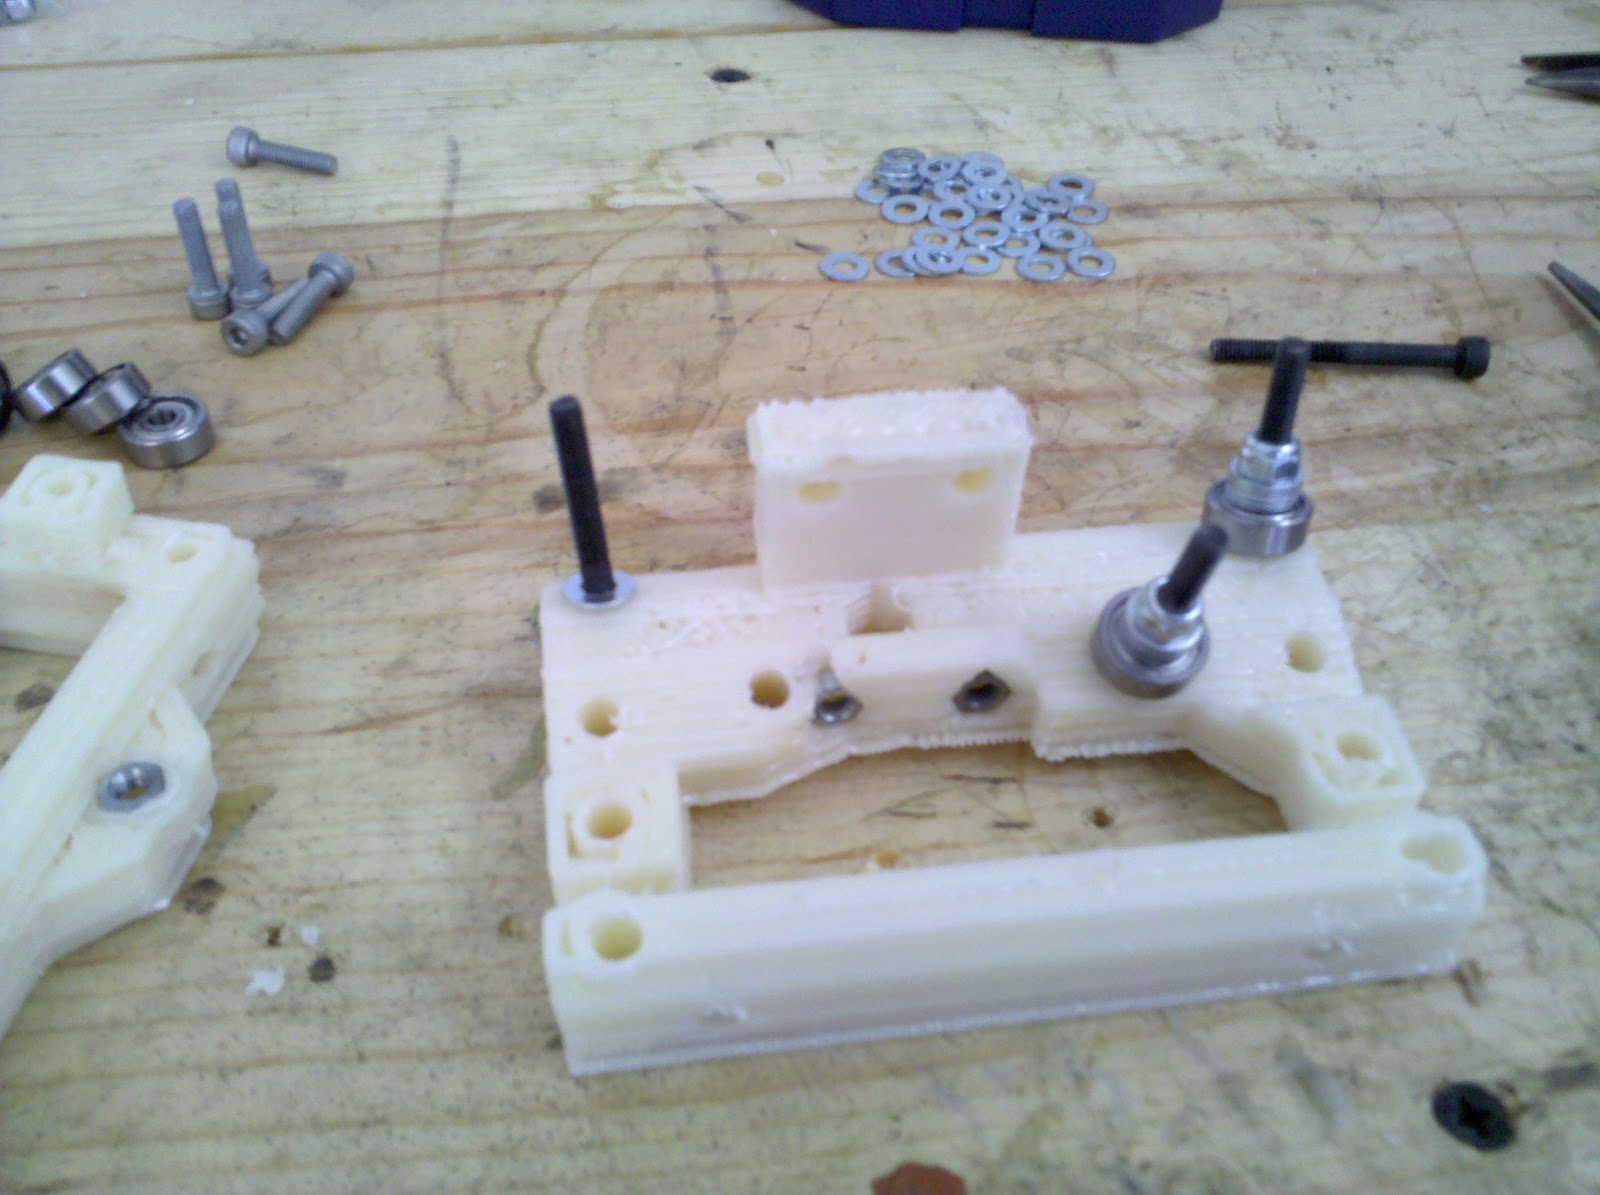
Several printed parts used “trapped nuts,” nuts embedded in the plastic during printing or pressed in afterward. To get a good fit, I heated the nuts with a small torch and pressed them into the sockets with pliers while the plastic was slightly softened. This created a secure mechanical connection. I also cleaned up any rough edges or squished first layers with a razor blade. The print quality from the McWire was decent but not perfect, so some manual finishing was necessary.
X-Axis Assembly#
The X-axis carriage held the extruder and rode on smooth rods. This was one of the more critical assemblies because any misalignment here would show up as print quality issues.
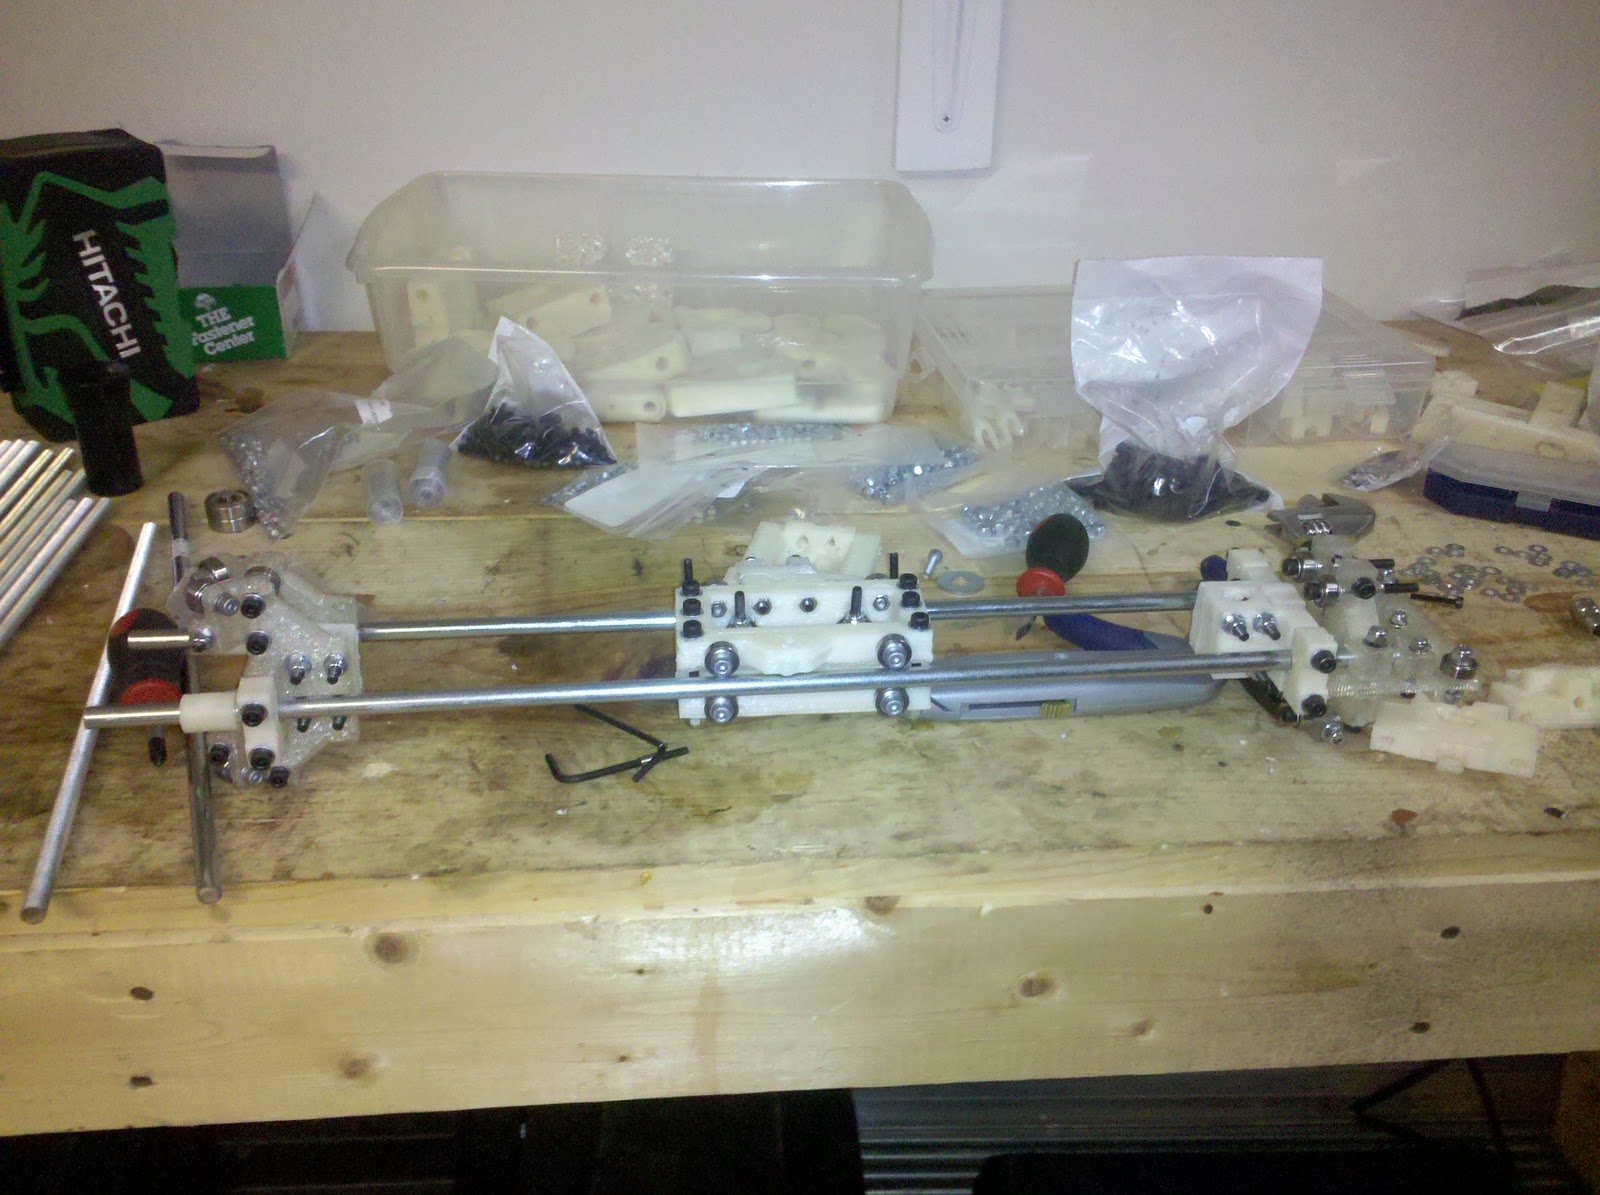
With the X-axis assembled, I could see how much cleaner the Mendel’s design was compared to the McWire. The engineering was more refined, taking advantage of lessons learned from earlier RepRap generations.
Frame Assembly#
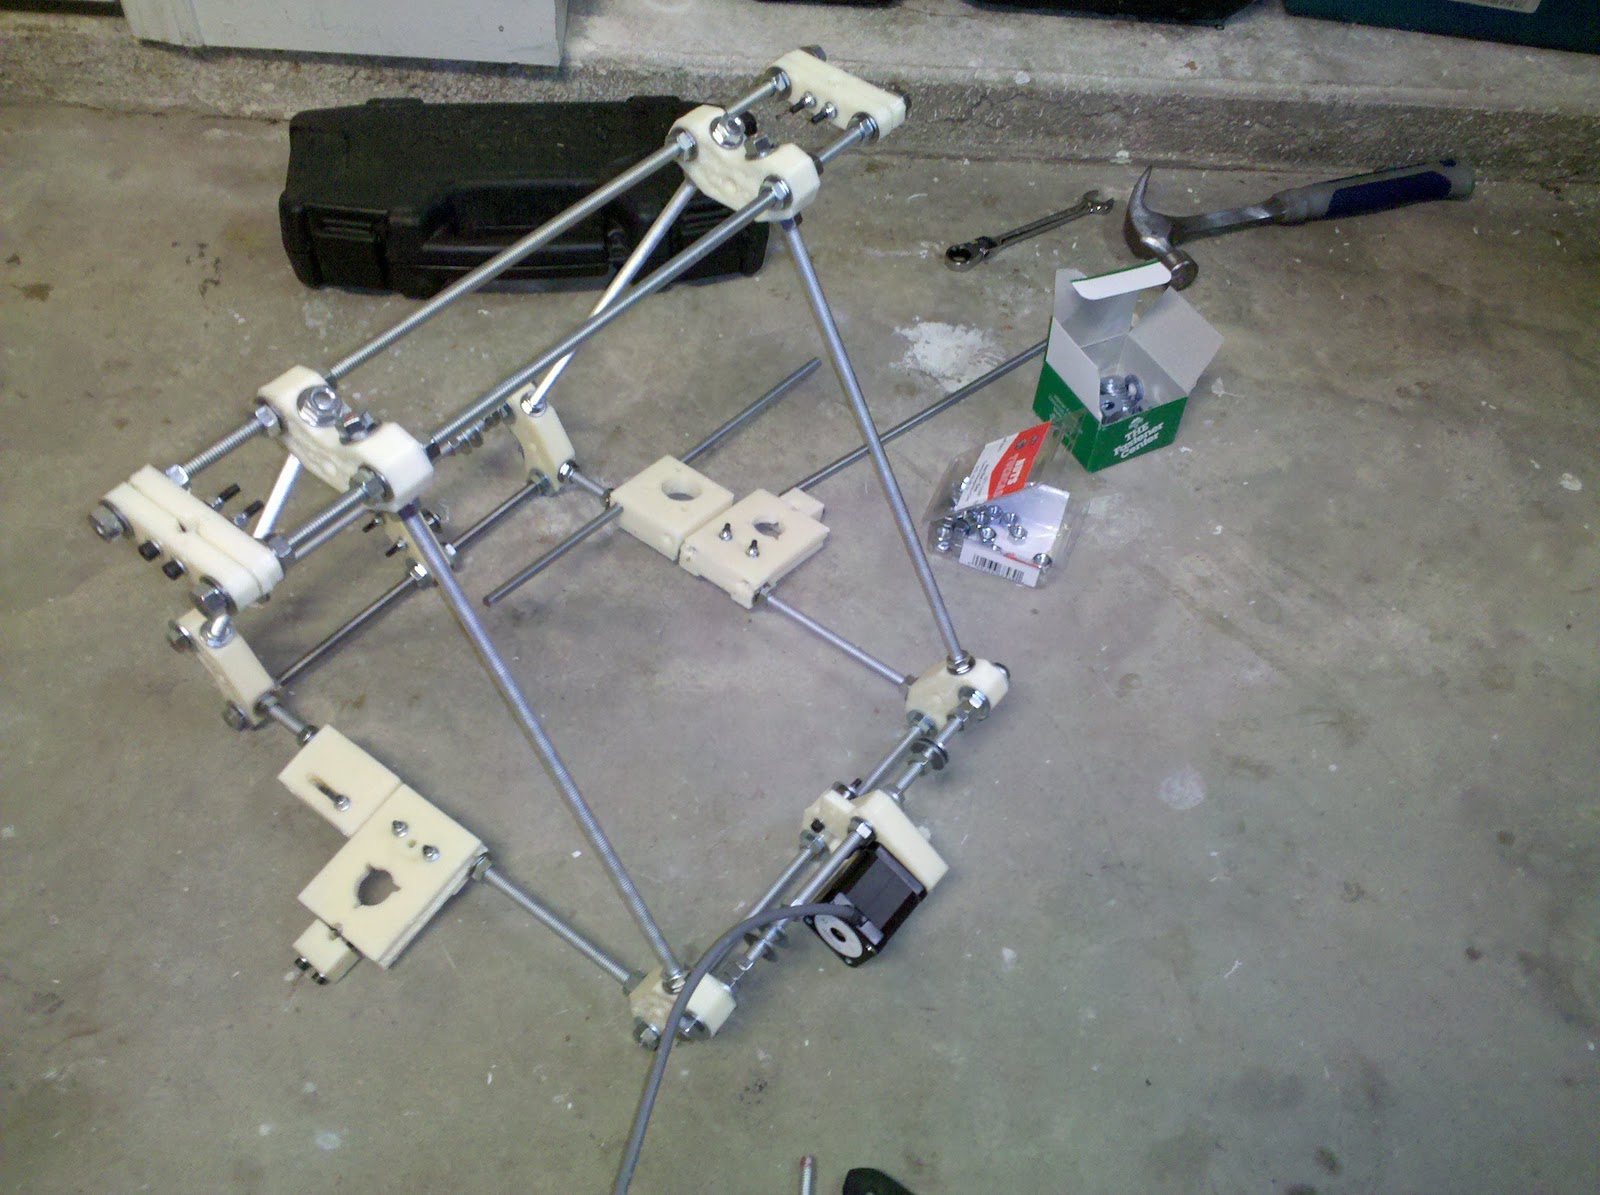
The frame started coming together quickly. The printed parts fit together well, a testament to the McWire’s improved reliability after months of tuning. A few holes needed to be drilled out slightly due to print tolerances, but this was expected. The RepRap community generally recommended printing holes slightly undersized and drilling them out for a better fit.
The frame assembled minus the Z-axis belt, which I was waiting to receive. The bill of materials originally specified the wrong belt.
Extruder Challenges#
The NEMA17 motor I planned to use for the Mendel’s extruder was slipping under load. The extruder controller couldn’t deliver enough current to get the full torque rating.
Potential solutions I considered: driving from one of the main stepper driver boards instead of the extruder controller, or moving to a Bowden cable design. A Bowden setup would move the extruder motor off the moving carriage entirely, using Teflon-lined tubing to guide filament to the hotend. This would allow using a larger NEMA 23 motor without adding weight to the moving parts.
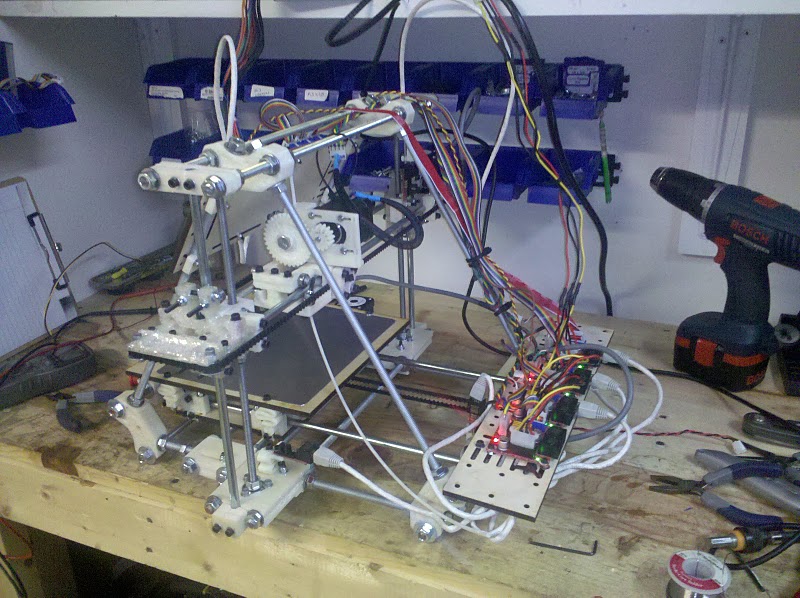
I temporarily mounted the stepper controller plate outside the frame to accommodate the fourth stepper. This wasn’t ideal because it might restrict Y-axis movement, but it let me continue testing while working on a better mounting solution.
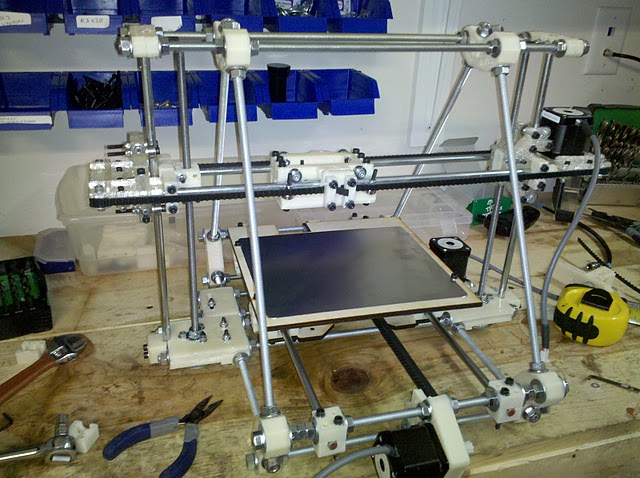
Getting the Mendel Working#
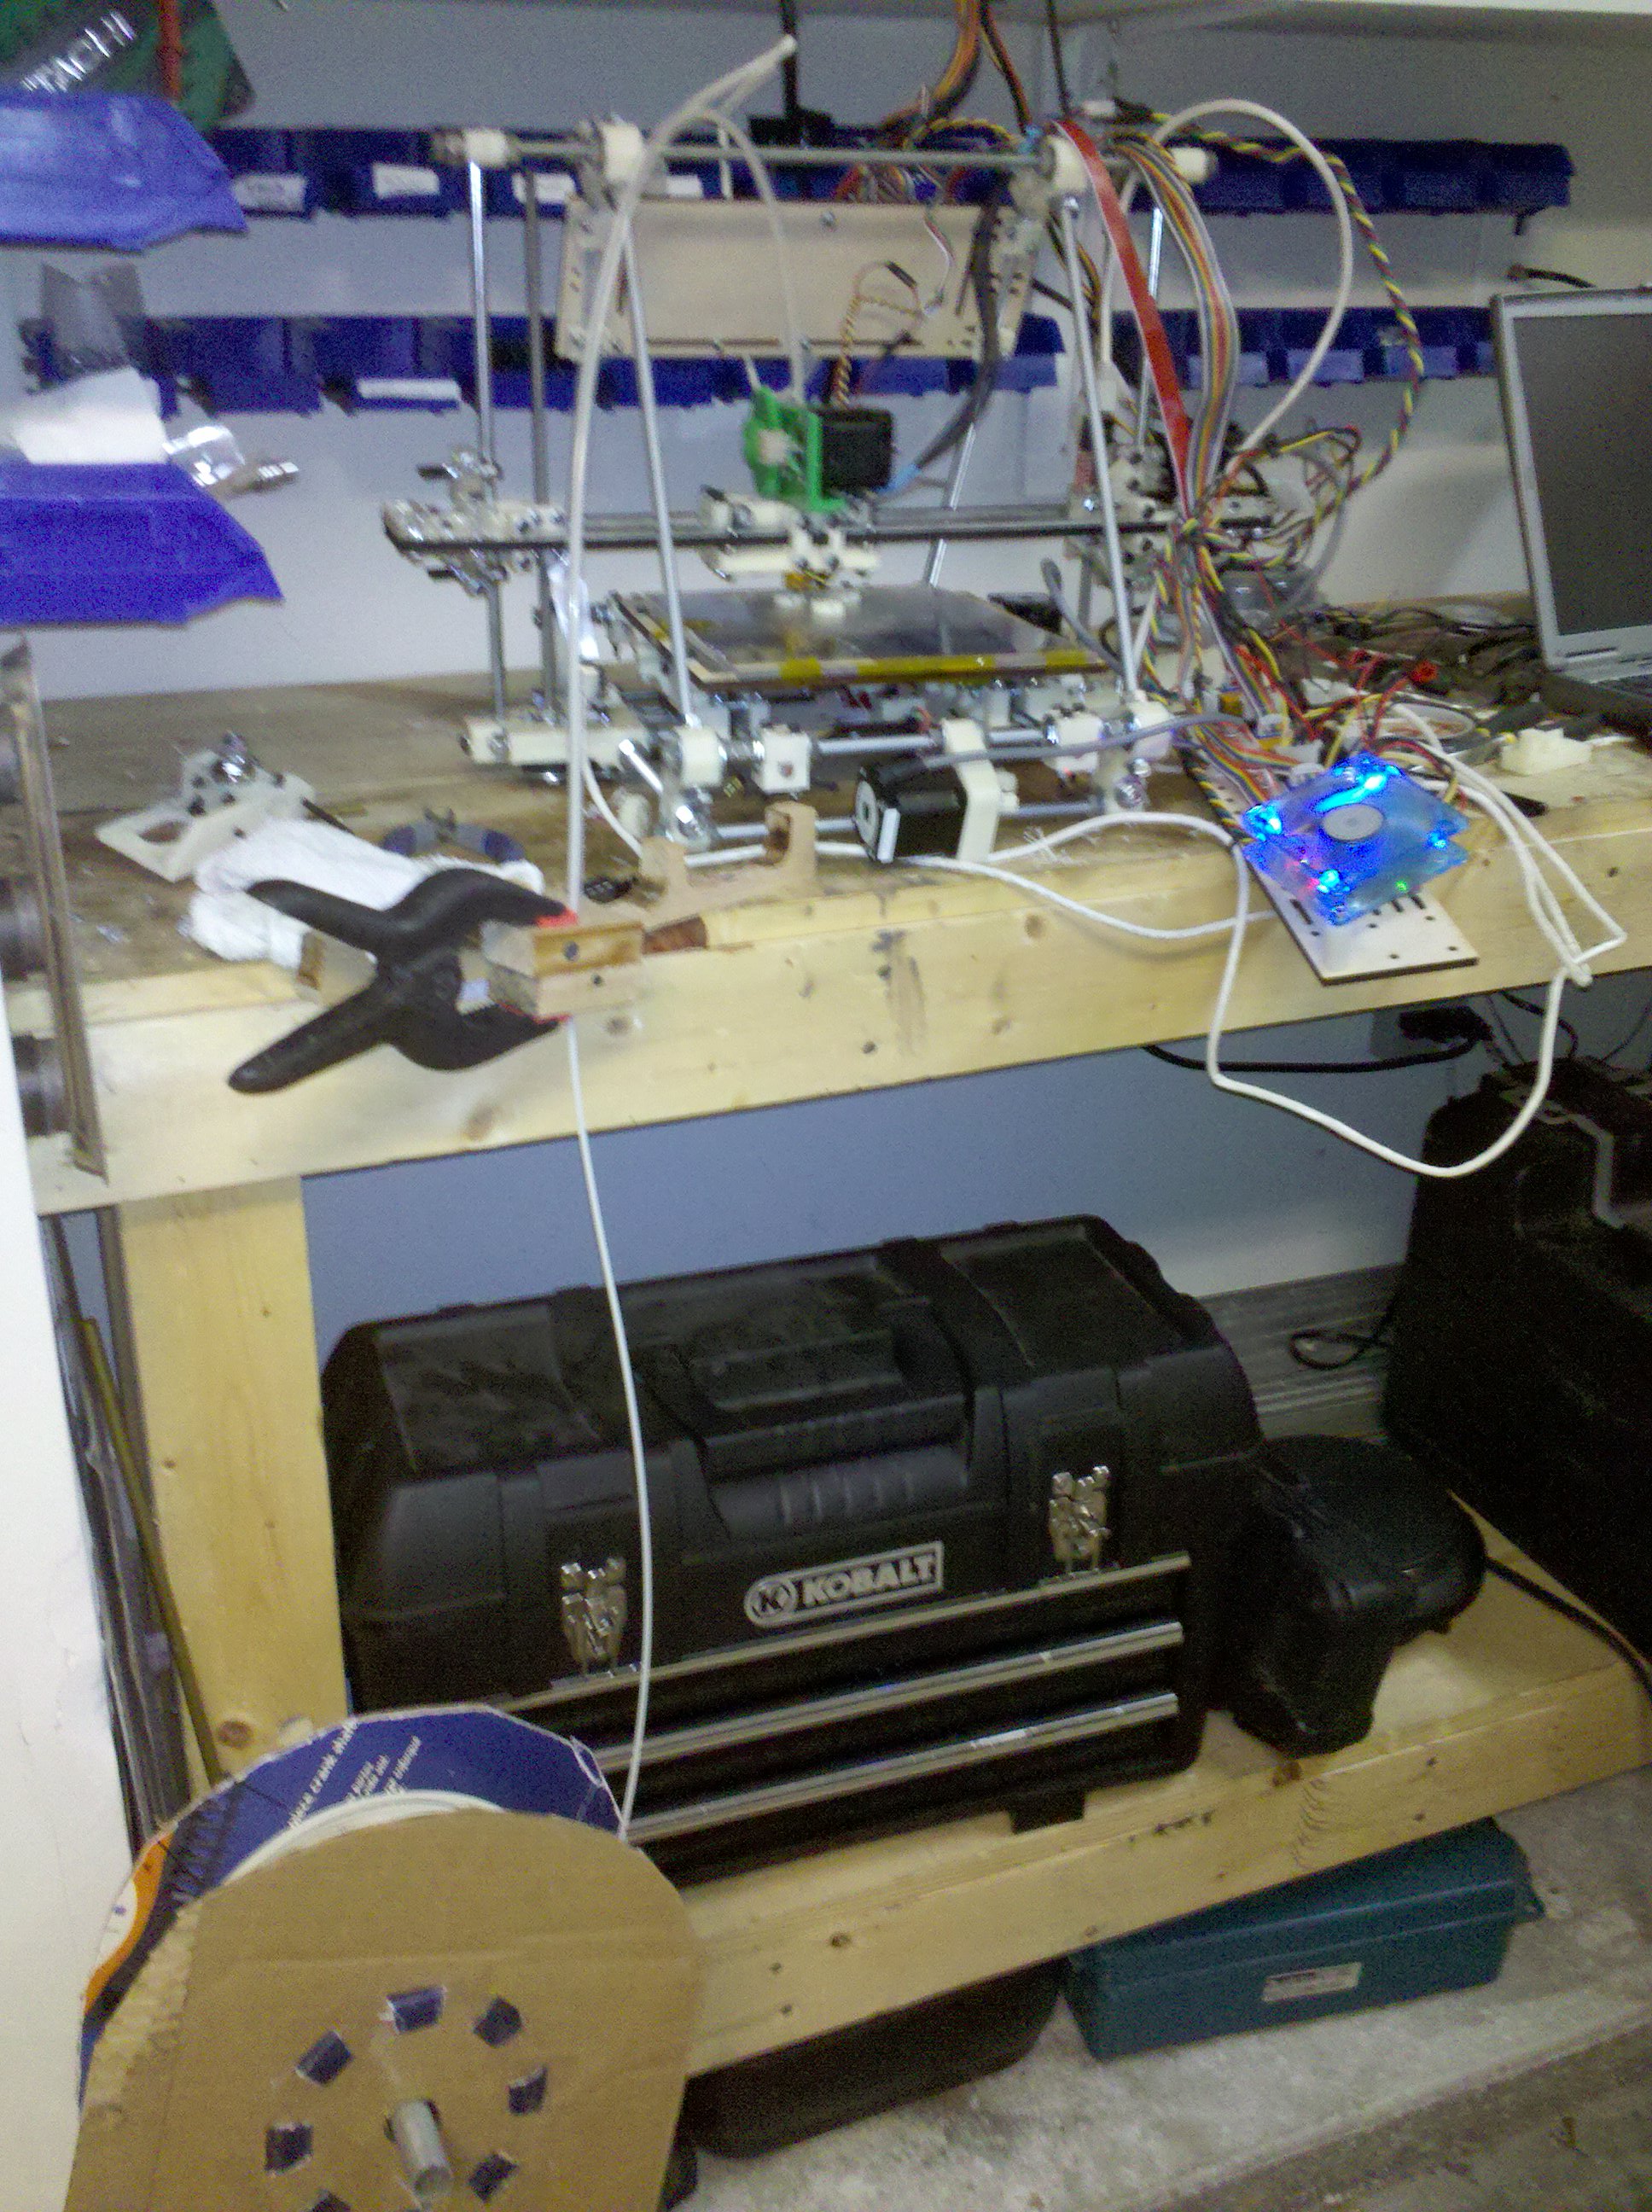
After assembling the mechanical components, the moment of truth arrived: powering everything up and attempting to print.
Initial testing revealed a critical problem: the thermistor calibration was completely wrong. The software reported 250°C when the actual temperature was only about 225°C. This explained months of inconsistent behavior. I found the correct lookup table on the RepRap forums and reflashed the firmware. Suddenly, everything worked correctly.
RepSnapper: A Faster Workflow#
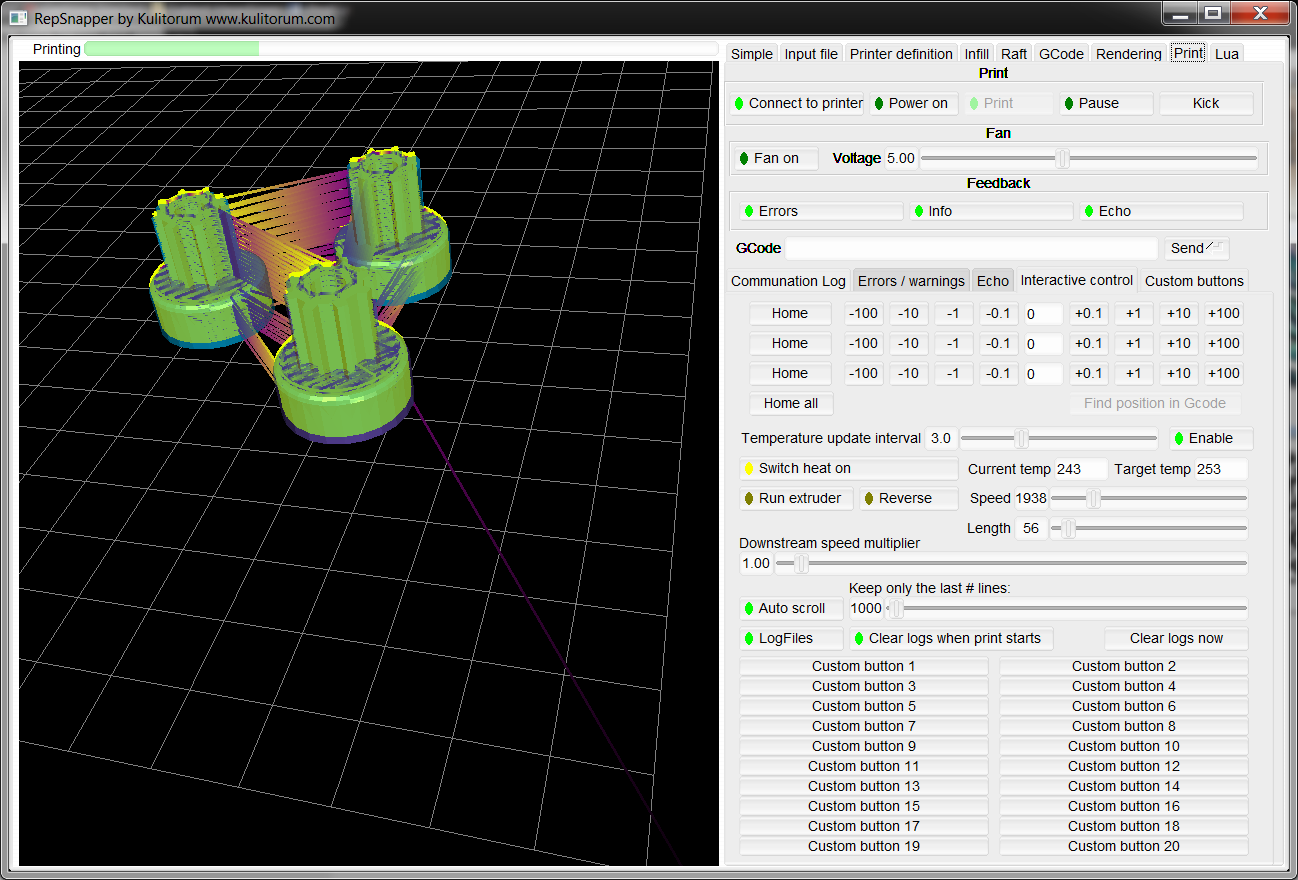
I started using RepSnapper instead of Skeinforge, and it dramatically improved my workflow. RepSnapper offered extremely fast slicing (under 5 seconds for most Mendel parts), easy repositioning and rotation of objects, simple settings and manual machine control, and a nice 3D preview.
Limitations at the time included no solid top/bottom layers initially, non-functional raft support, no extruder reversing for clean starts, and gaps at layer starts in multi-object prints. Despite these issues, the speed advantage was enormous. Being able to rapidly iterate on print settings made calibration far easier than waiting for Skeinforge to process everything.
First Successful Prints#
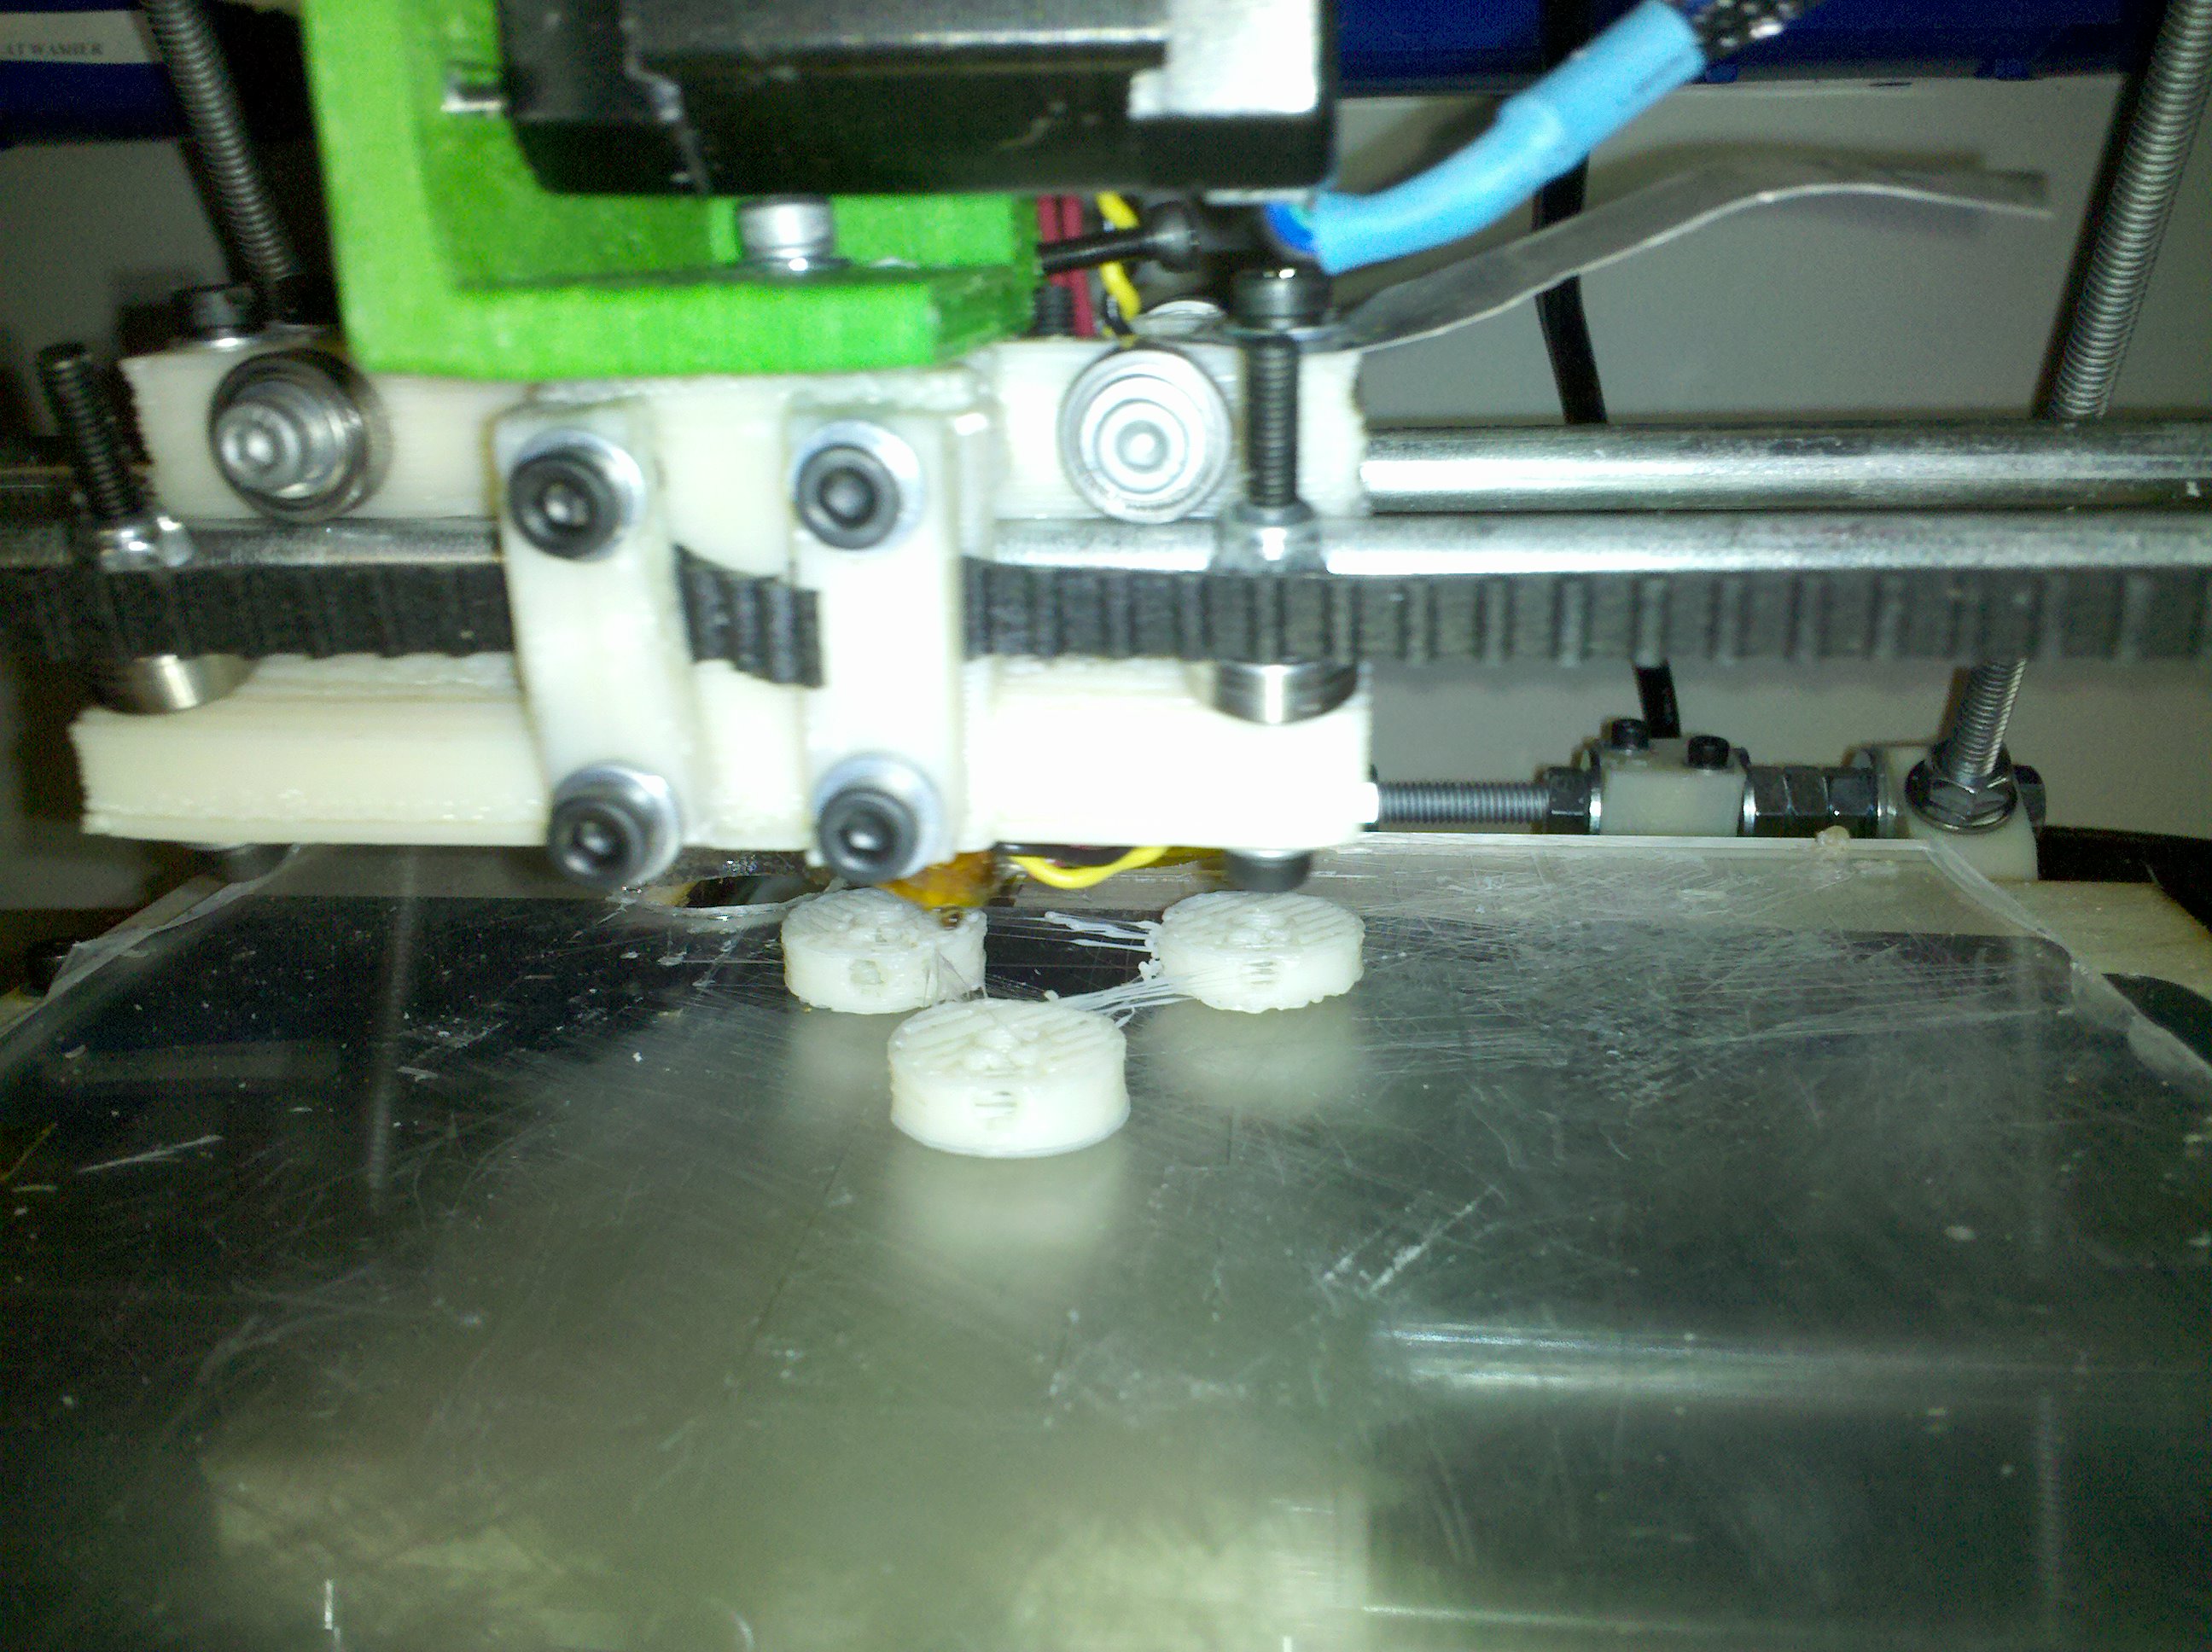
Parametric pulleys were one of the standard calibration prints. Getting three clean pulleys proved the Mendel was working properly.
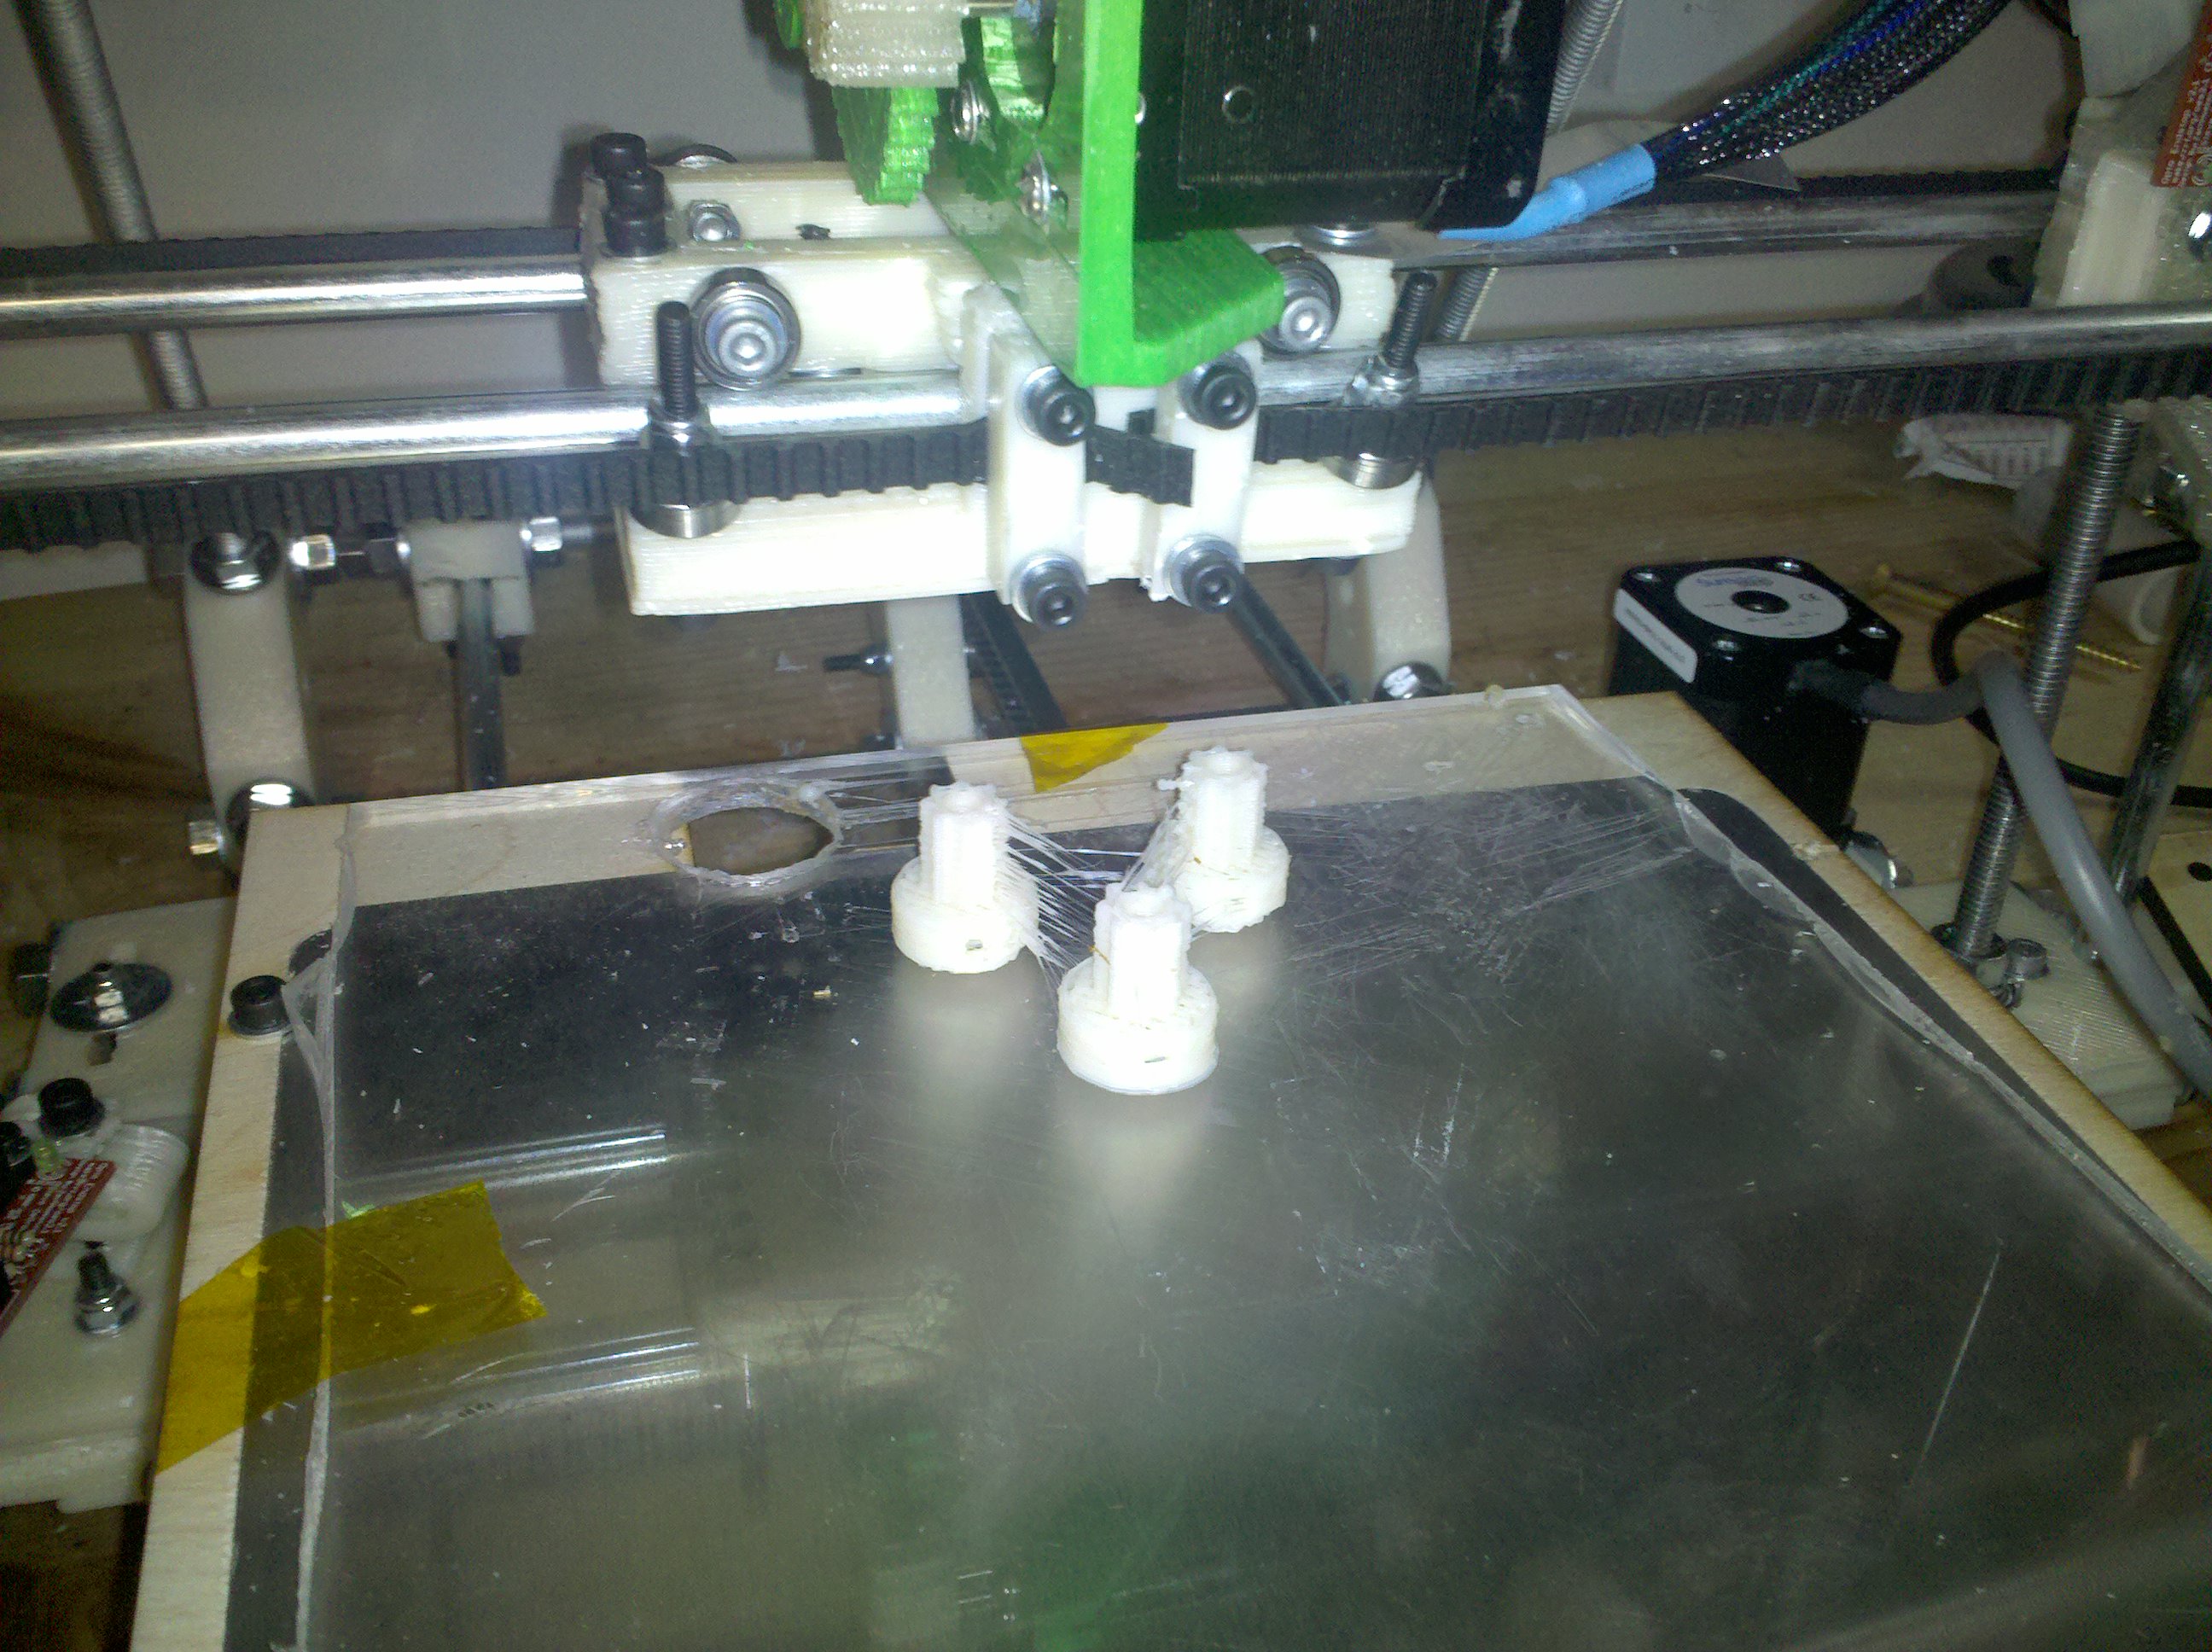
Success! The Mendel could now print its own replacement parts and parts for the next generation of RepRap machines.
The thermistor calibration issue had caused months of problems. Once I found the correct lookup table on the RepRap forums and reflashed the firmware, everything worked. That single fix, verifying the temperature tables against actual measured temperatures, solved more issues than any hardware upgrade.
Using a homemade machine built from hardware store parts, I had created a machine capable of printing parts for another Mendel. In 2010, building a RepRap cost a few hundred dollars in parts and required access to the community’s knowledge through forums and wikis. The McWire printed Mendel parts, the Mendel printed better Mendel parts, and those machines printed parts for other builders.
Editor’s Note (2025): This article combines posts from April-June 2010 documenting the transition from the McWire RepStrap to a working RepRap Mendel. The language has been updated for clarity, but the technical content reflects the actual state of hobby 3D printing in 2010. Modern printers are far more reliable and easier to use, but the fundamental principles of calibration, bed adhesion, and temperature control remain the same. The RepRap project’s goal of self-replication may not have been fully achieved (you still need metal parts and electronics), but it succeeded in creating a community-driven, open-source approach to 3D printing that changed the industry forever.